
2020 marked 200 years since Antarctica was first sighted.
We celebrated this by making an Antarctic pop-up scene.
Co-commissioned with the UK Antarctic Heritage Trust as part of its cultural programme Antarctica In Sight.
Nevertheless, this still remains a fun activity for the whole family.
Follow our step-by-step guide below and bring to life your own pop-up Antarctic scene.
You will need:
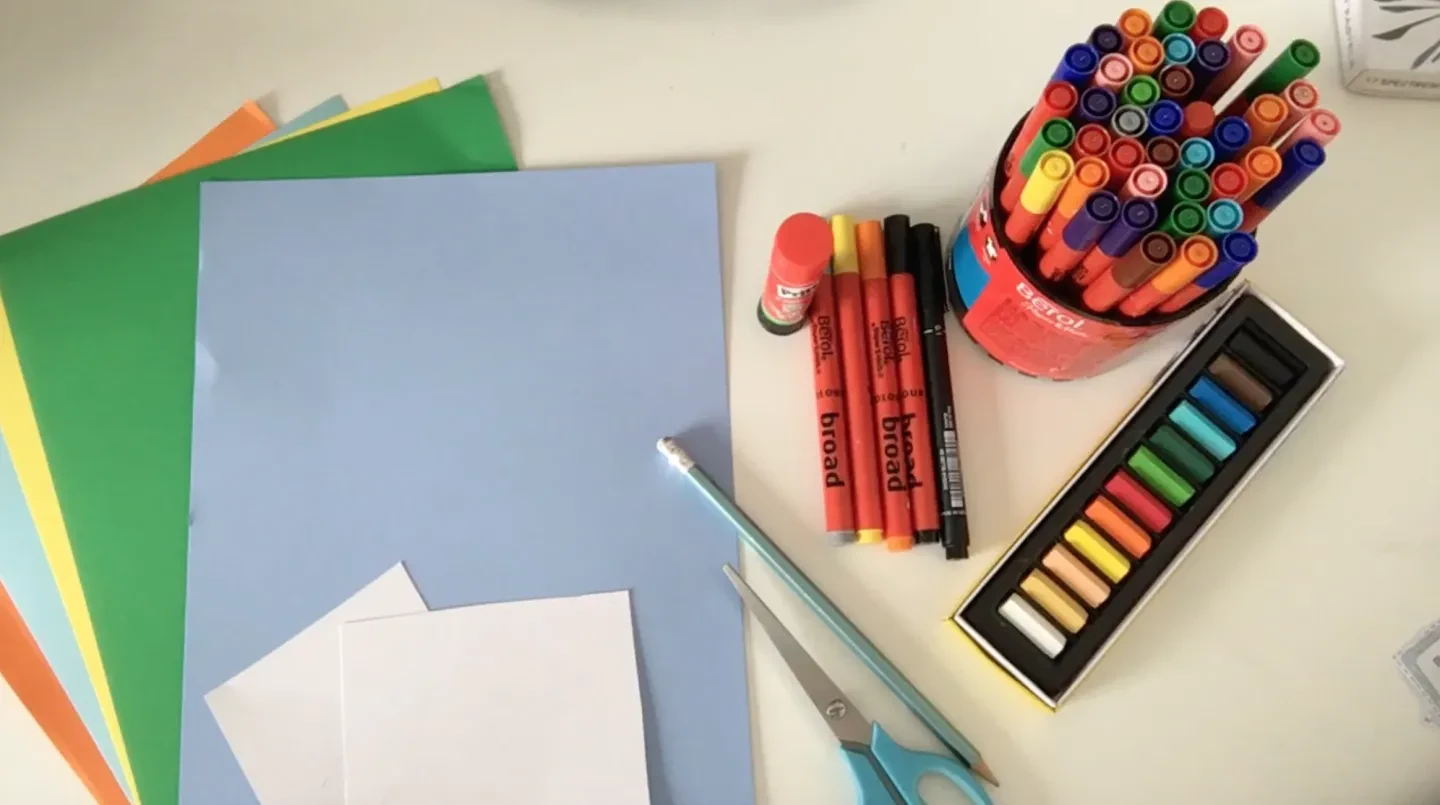
Coloured card
Pencils
Scissors
Glue sticks
Pastels
Felt tip pens
Not to worry if you don’t have everything as we’ll show you some alternatives you can use along the way.
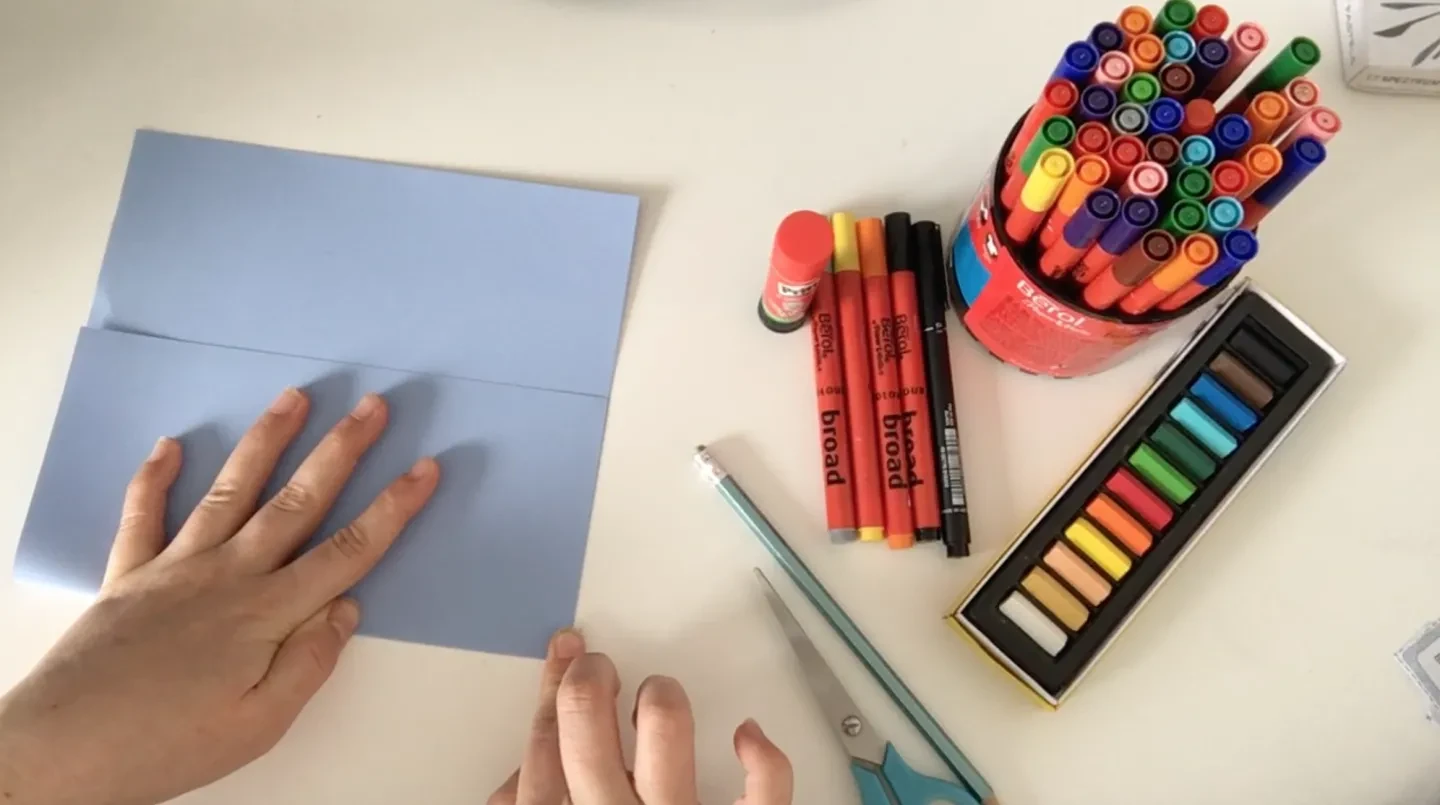
Step 1
Fold the coloured card over, about a third of the way down.
If you don’t have card then don’t worry – you can always use cardboard (like a cereal box), which you can decorate with coloured paper or paint.
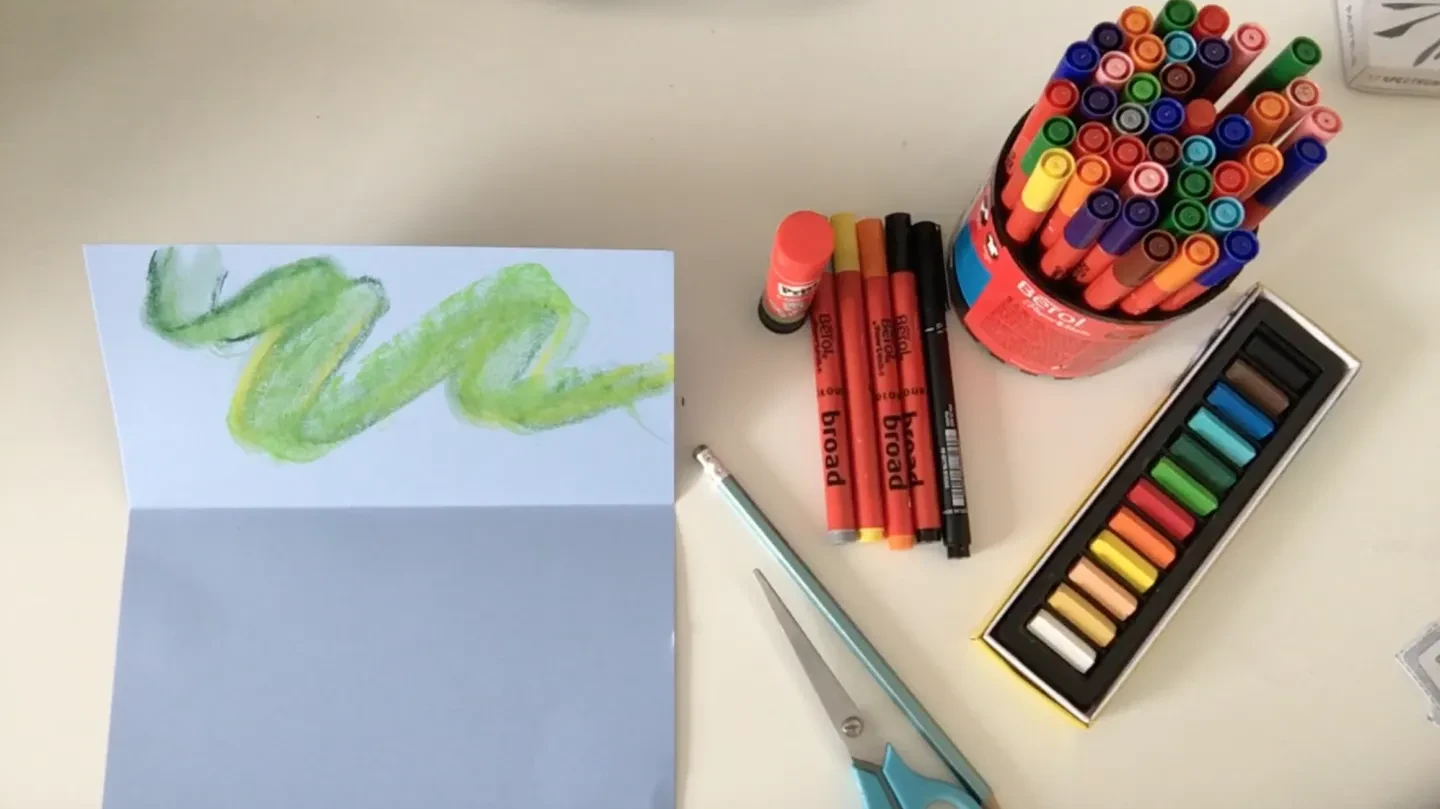
Step 2
Once you have folded the card it’s time to think about your background.
As we are looking at Antarctica you could draw the aurora astralis, otherwise known as the southern lights. These lights are typically green.
Use a soft pastel to create this.
If you don’t have pastels, you can use colouring pencils or crayons to do your drawing.
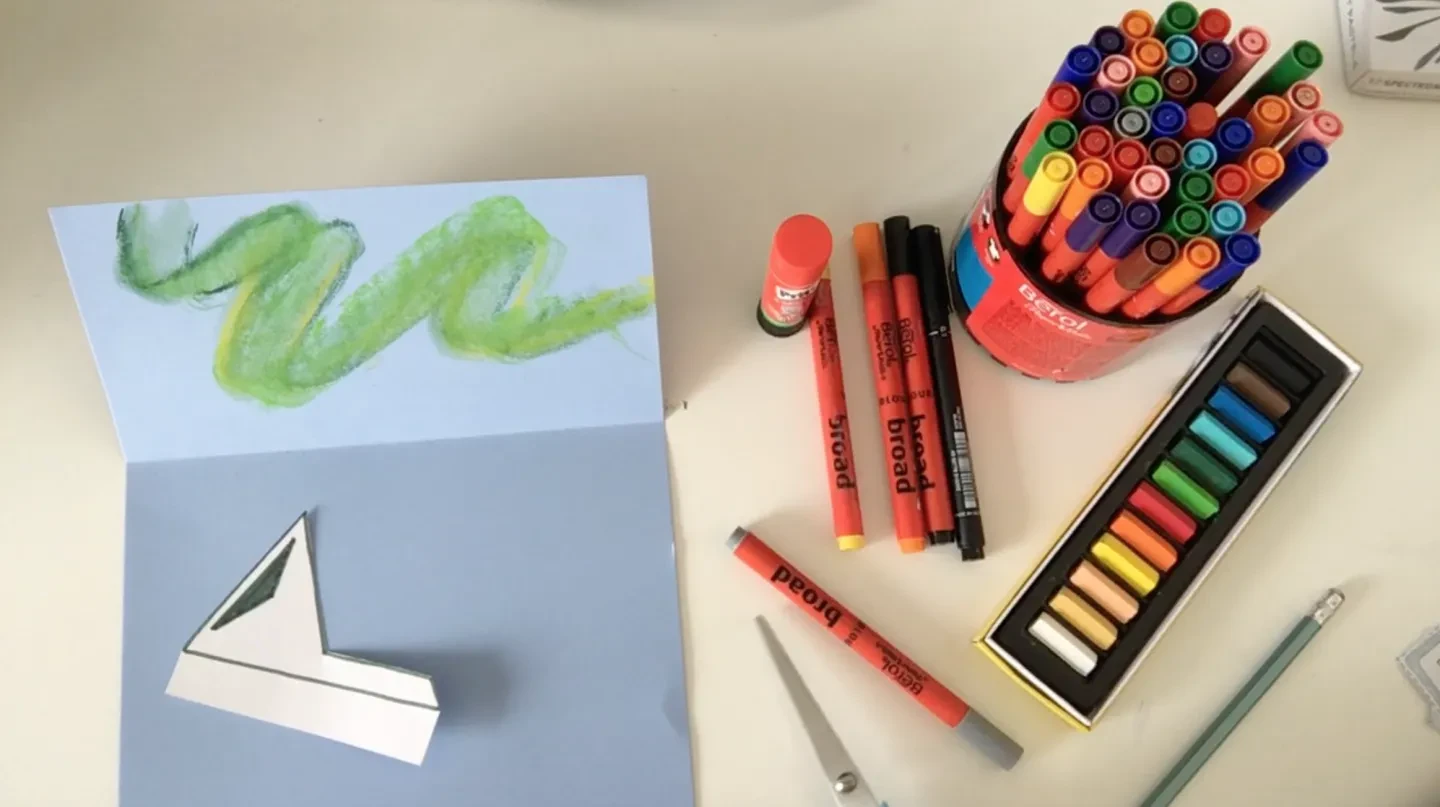
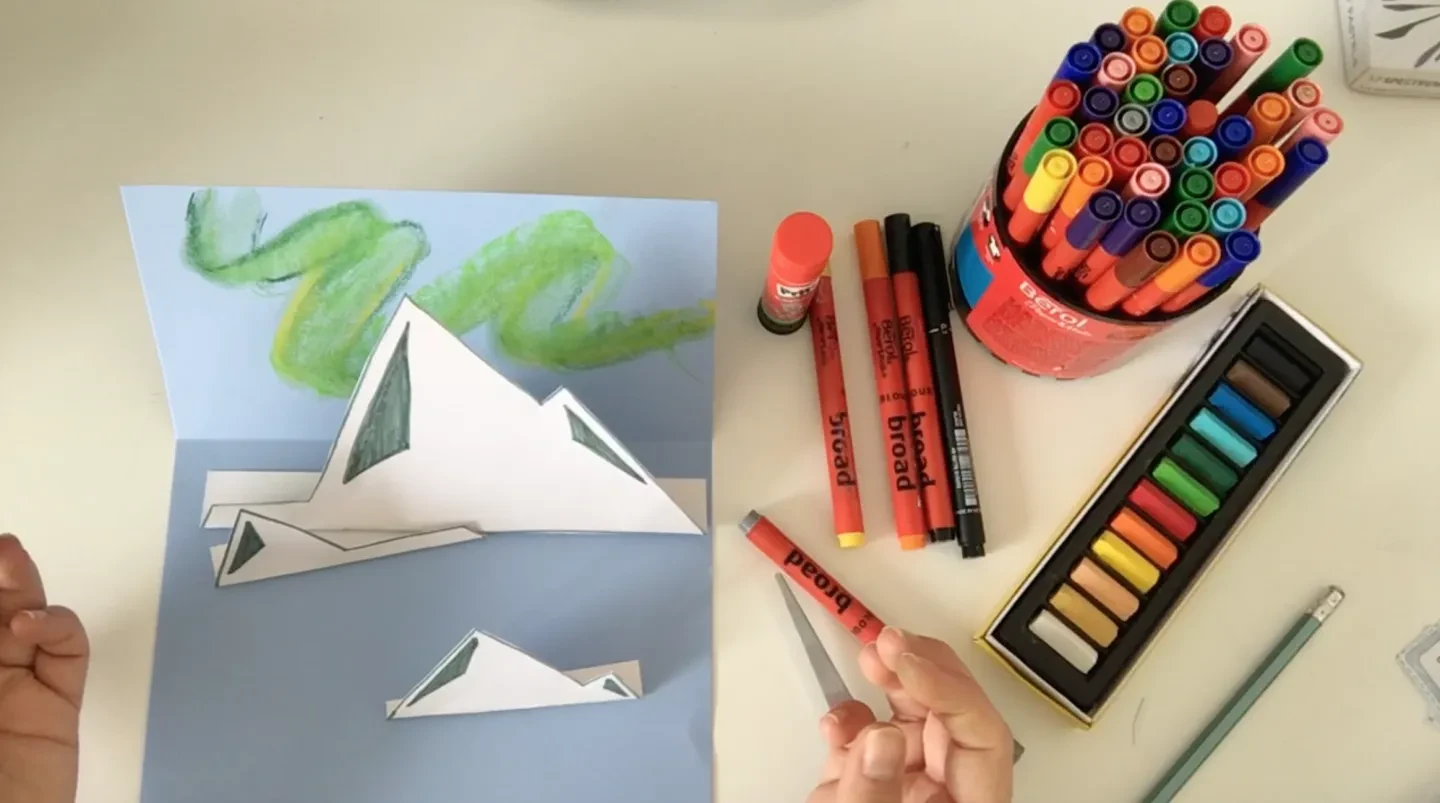
Step 3
Now it’s time to create the landscape!
Draw your iceberg onto card.
To draw an iceberg, draw a triangle with a smaller triangle on its side inside it.
If you don’t have any card, draw out your images on to paper and glue this on to cardboard – like the cereal box.
Step 4
Cut out your shapes. Make sure to leave a little bit of extra card at the bottom, so that you can glue it down.
Step 5
Draw more icebergs in different sizes. Make sure you're happy with your placement, and glue them down.
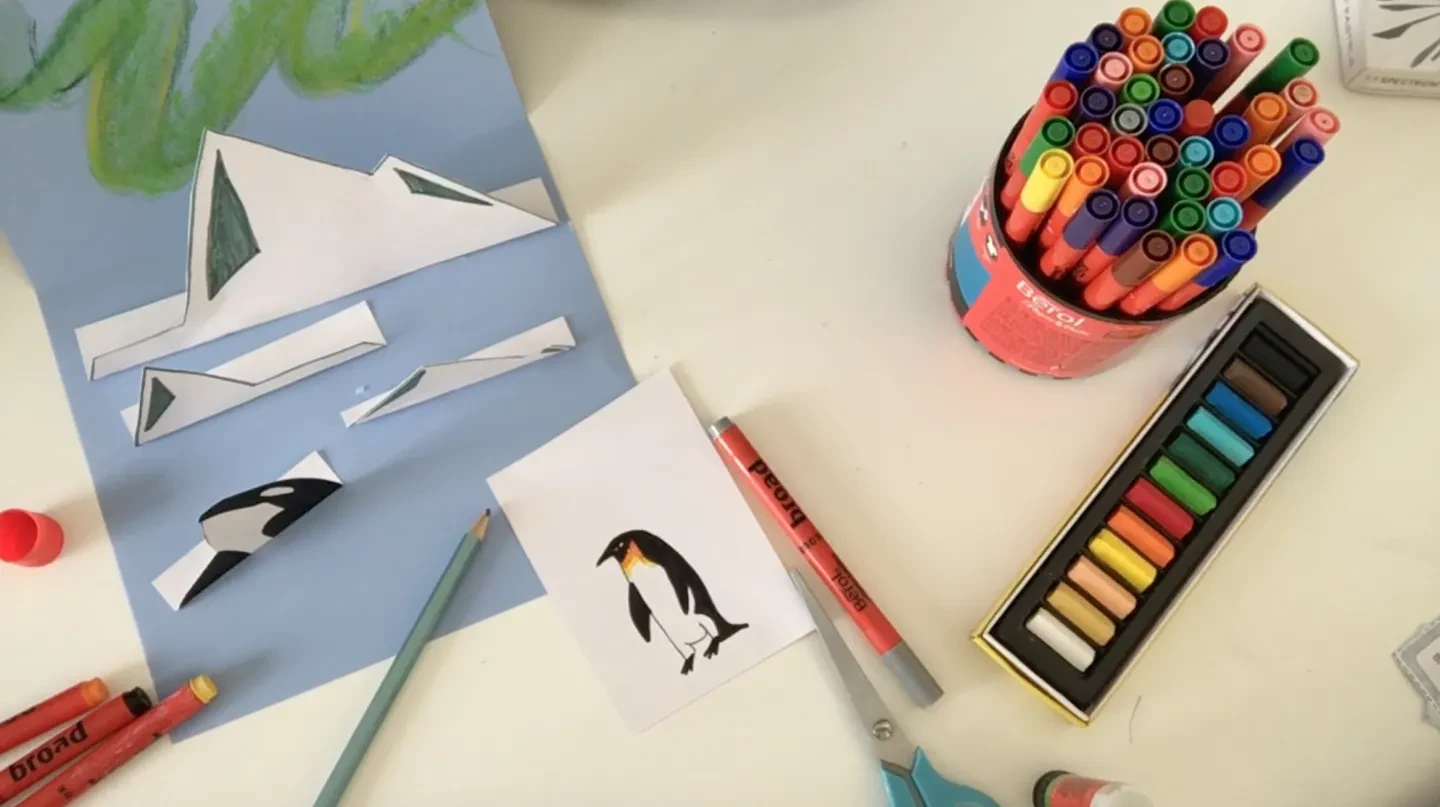
Step 6
Add in some Antarctic animals. You could add in a southern elephant seal, a killer whale, or an emperor penguin.
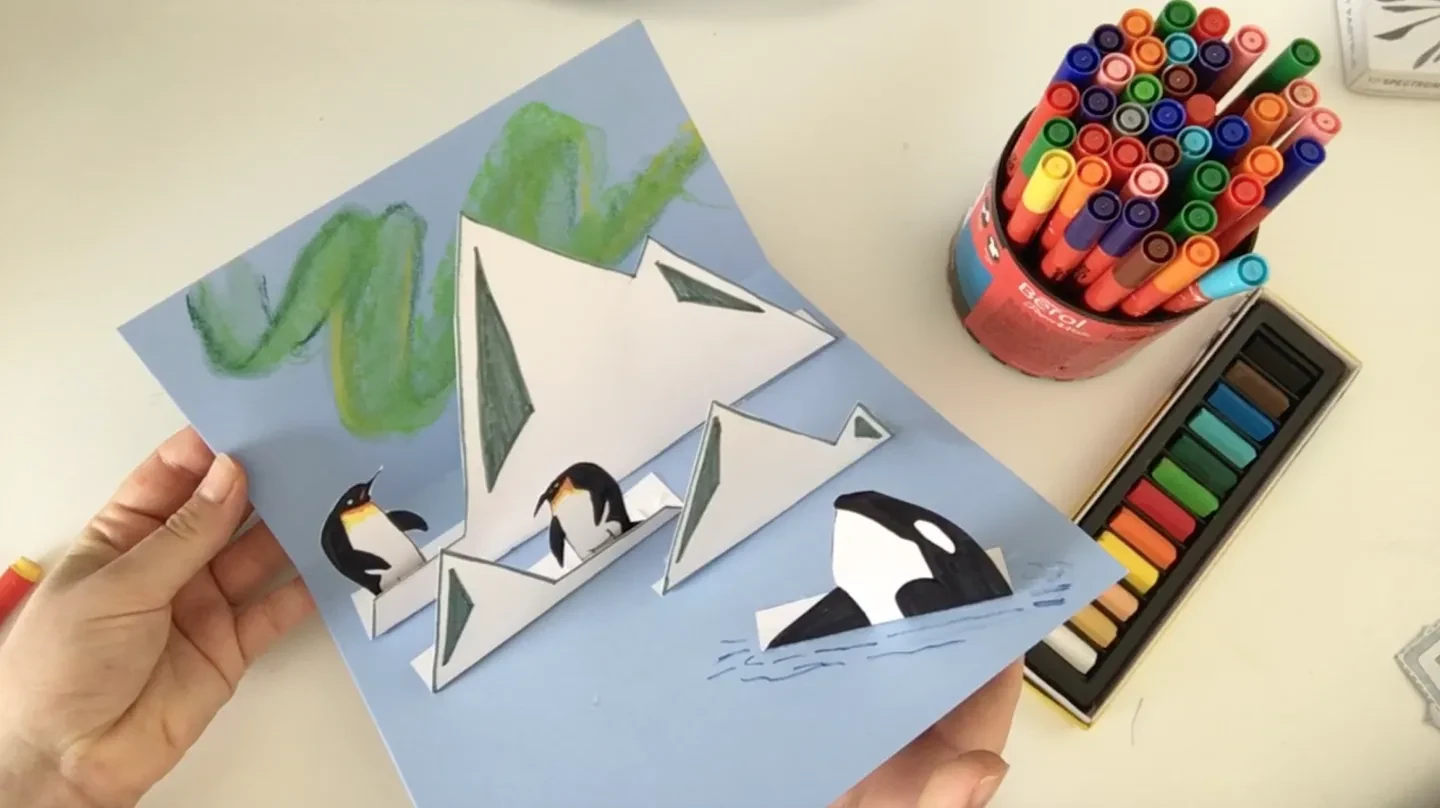
Step 7
Glue all your creatures down.
As you cut them out don't forget to leave a little bit extra at the bottom to help you stick them into place.
Finally, admire your landscape!