
This activity is inspired by a statuette of Lord Nelson in the Museum's collection and has been created by artist Jo Paul.
Watch the videos below to find out more about the story behind the statuette. Then it's time to start the activity!
Activity time
We will be making an identity box.
Just like the statuette of Lord Nelson, these identity boxes have an outside and an inside.
The outside of the box can be about your appearance and the things you like to do.
The inside can be about who you are, your feelings, your memories and your values (like love, friendship, laughter, etc.).
You will need:
- A cardboard box
- Pens or paint
- Newspapers, magazines, photos
- Paper
- Glue or tape
- Scissors
- A photo or drawing of yourself
Image
Step 1
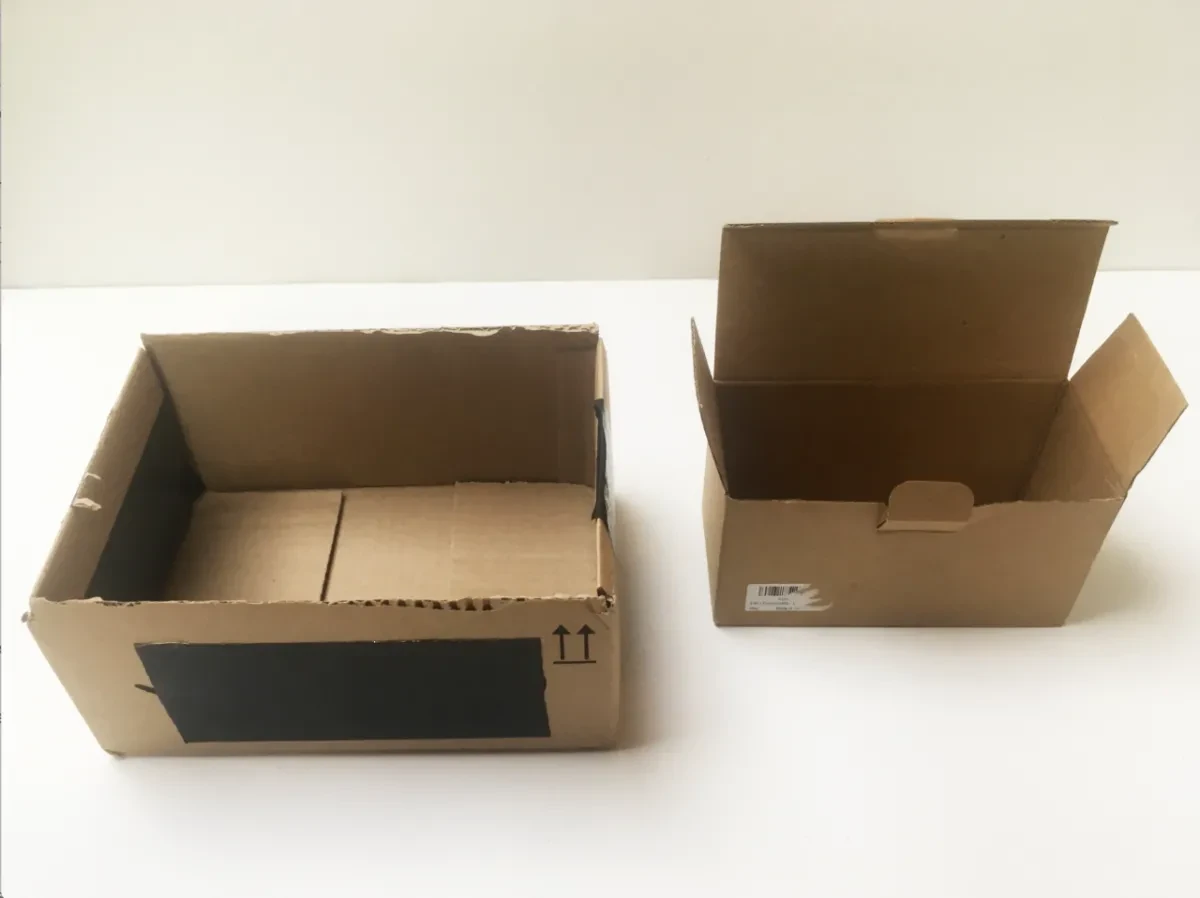
Find an empty cardboard box.
Image
Step 2
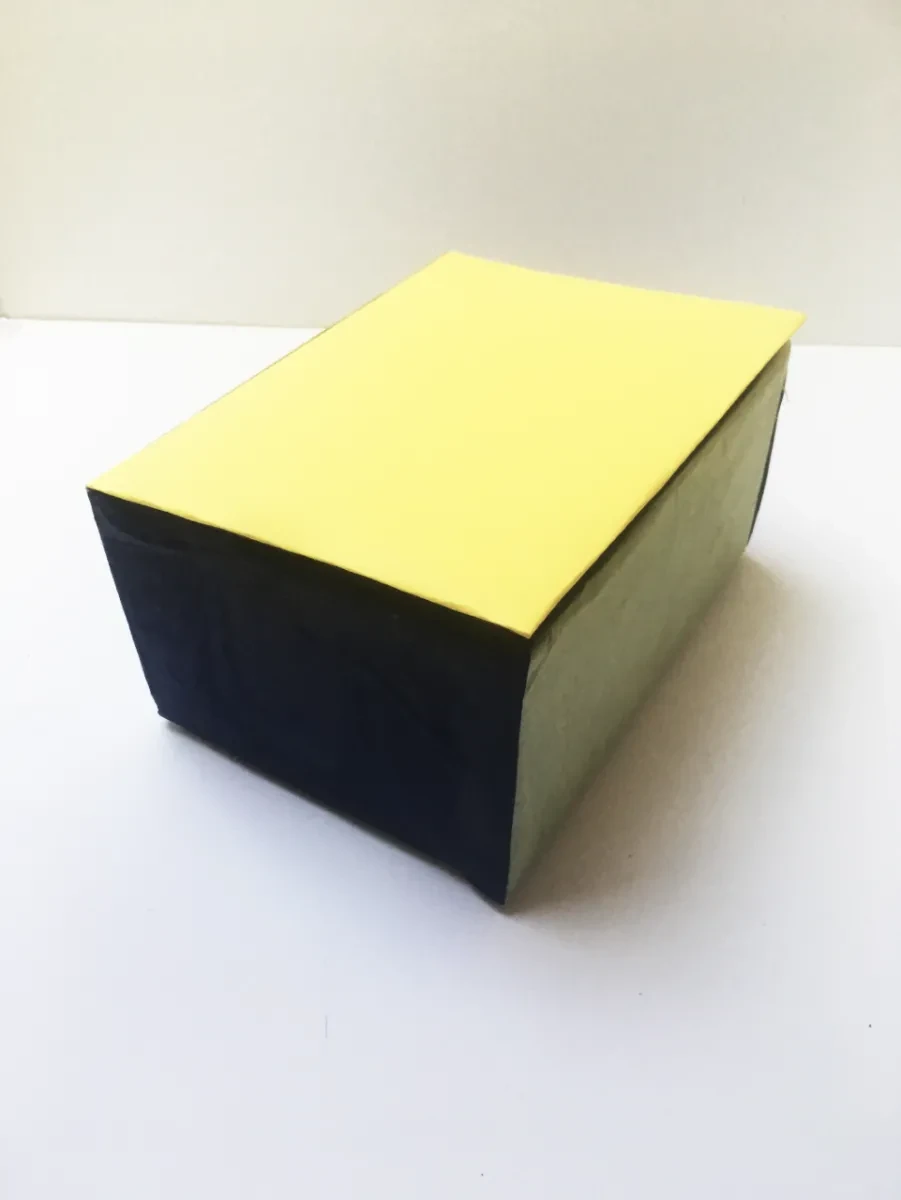
If your box doesn't have a lid already, make a cardboard lid. Then cover the outside of your box with paper, or paint it. Use colours that you like.
Image

Step 3
Stick a photo or drawing of yourself somewhere on the outside of the box.
You can tape a ribbon or string to the lid if you want to secure it shut.
Image
Step 4
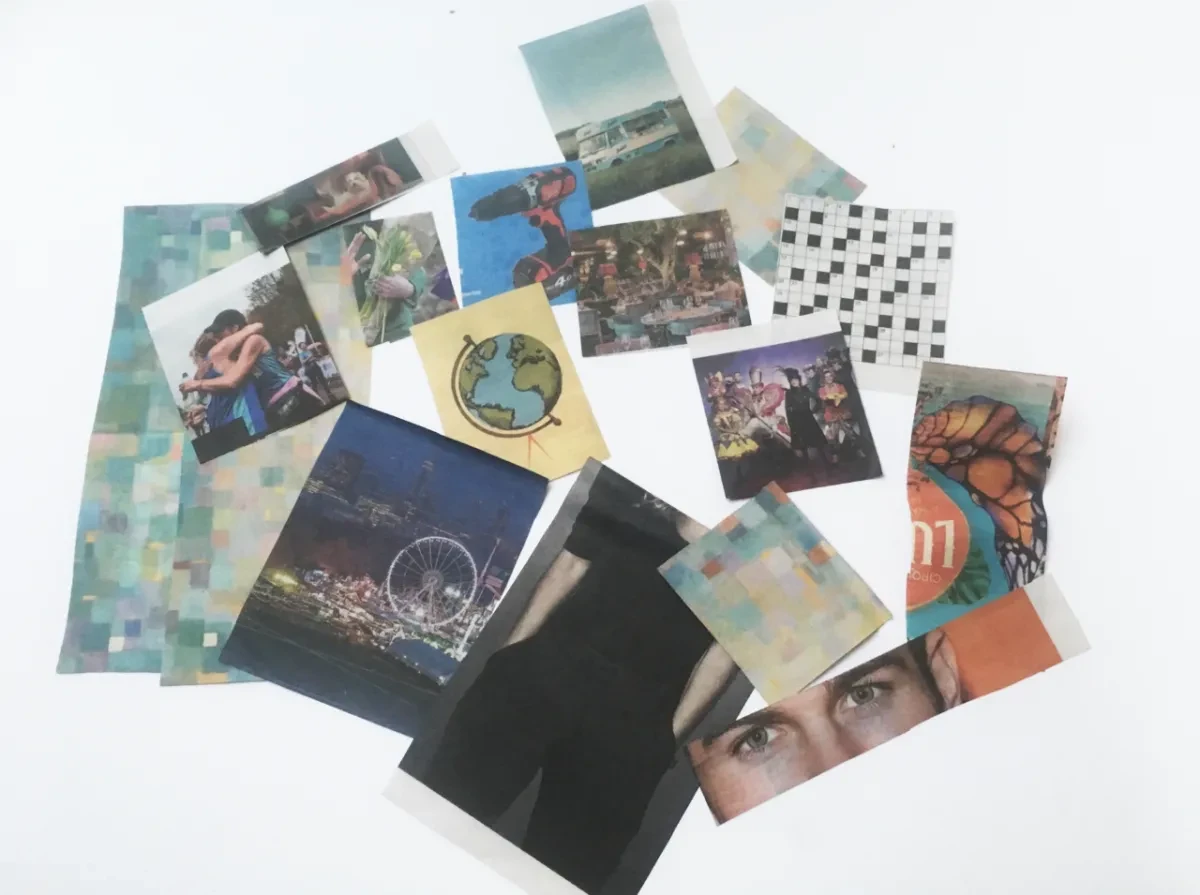
Cut out some images and words that show the things you are interested in.
Or you can draw them on a piece of paper and cut them out.
Image
Step 5
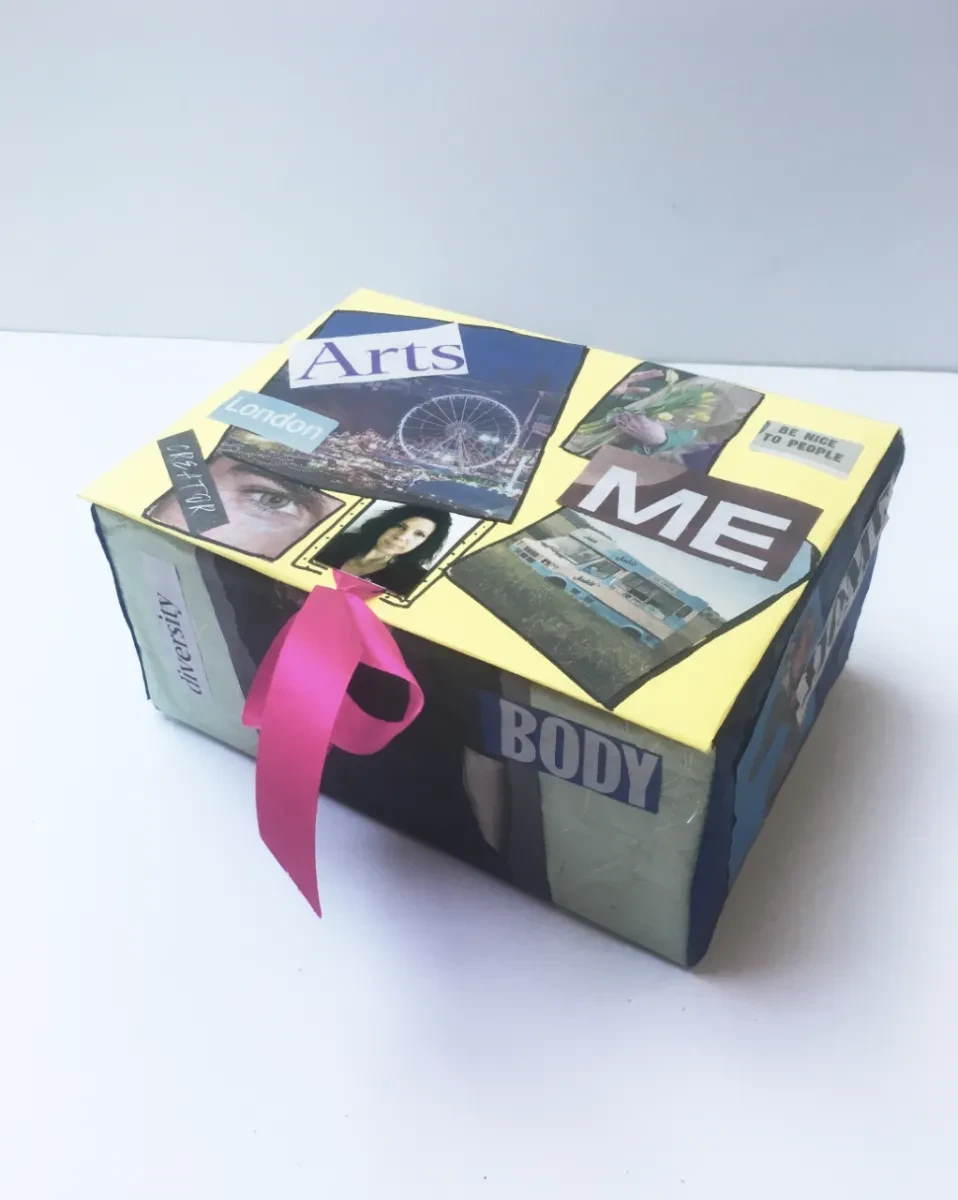
Arrange them onto the outside of your box and stick them on.
Image
Step 6
Now for the inside.
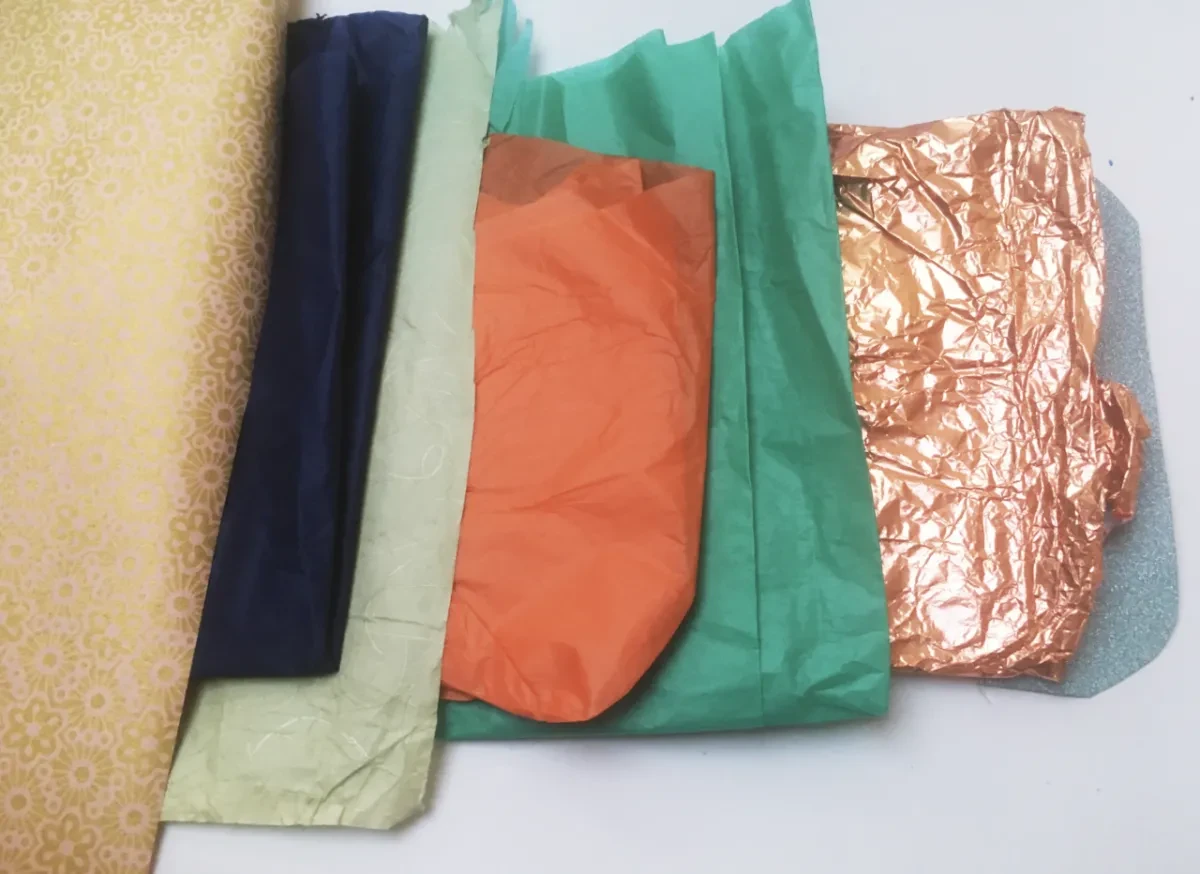
If you have some, collect some scraps of coloured paper. This could be wrapping paper, tin foil, tissue paper, etc.
Image
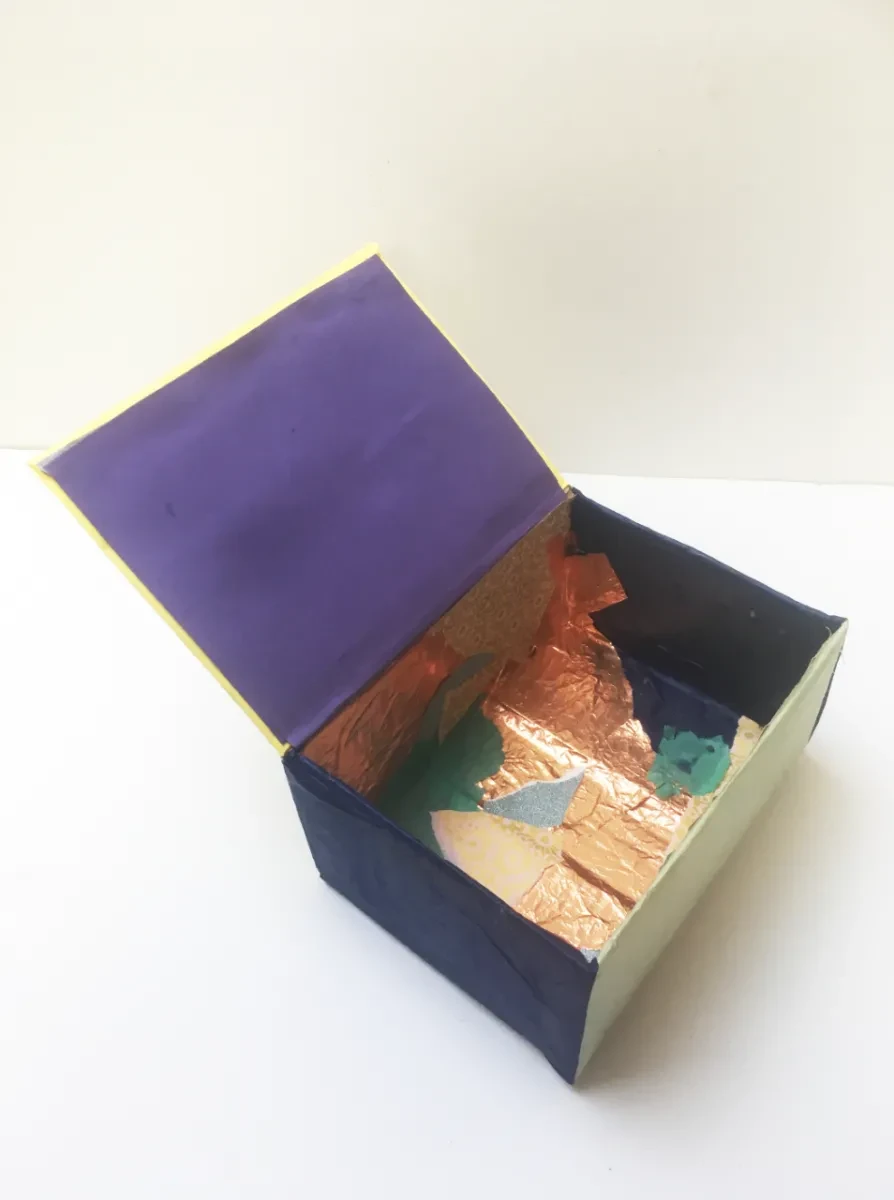
Step 7
Choose colours that feel like your feelings, memories and values, and stick them inside the box. You can tear the pieces or cut them.
Image
Step 8
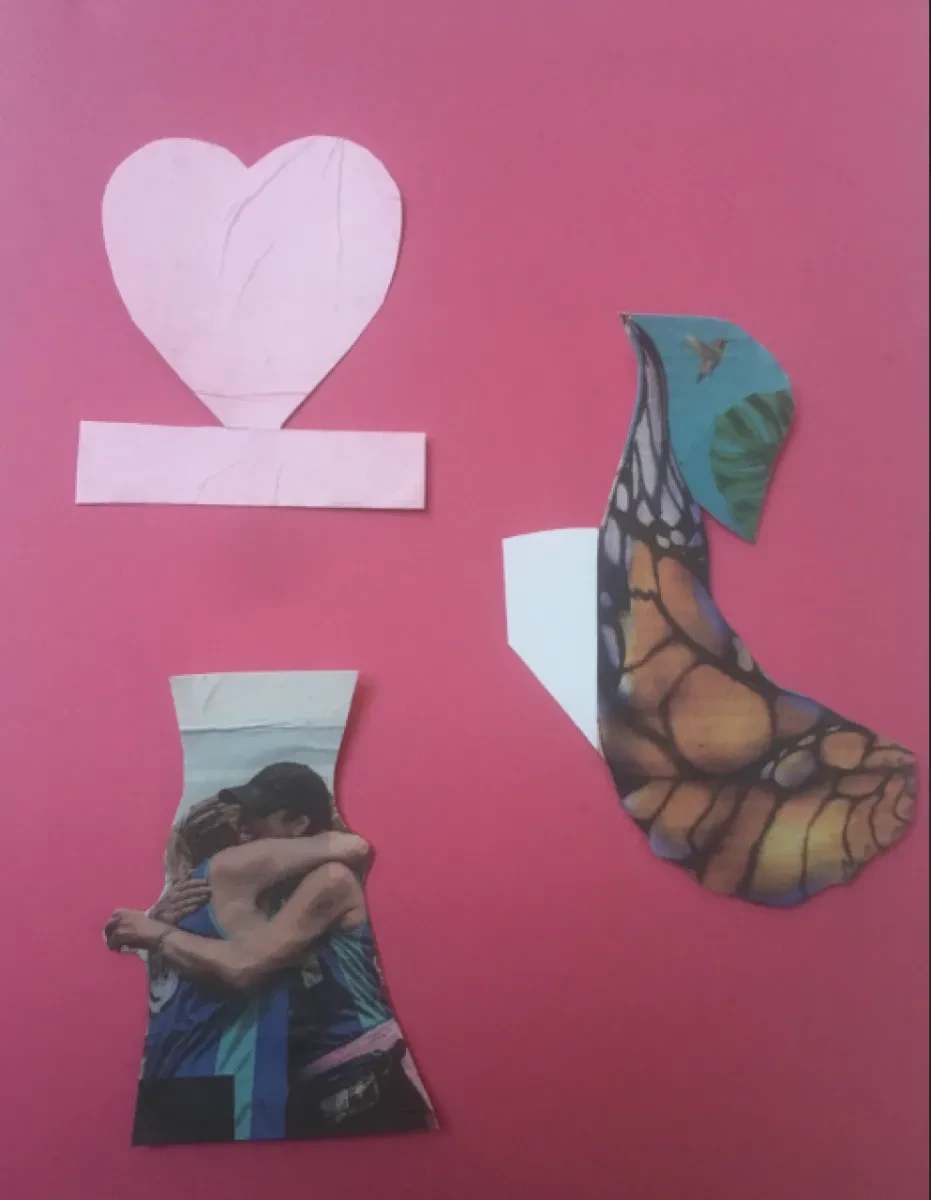
You can cut things out, draw things and make things to go inside the box. If things are flimsy then glue them to a piece of card first.
Before you cut them out, add a tab to the top, bottom or side, so you can stick it into position in a 3D way.
Image
Step 9
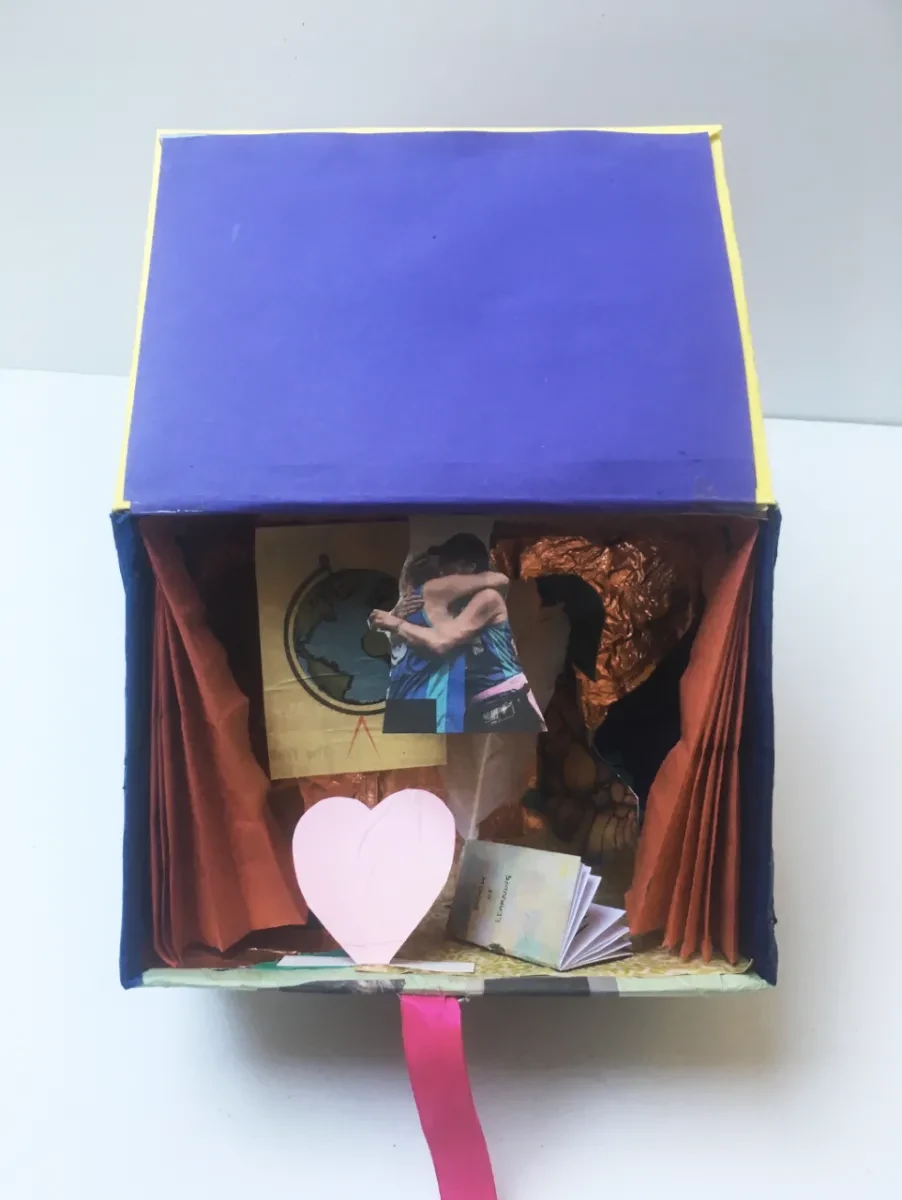
Stick your items inside the box. Some things you can just place in there for safe keeping.
Image
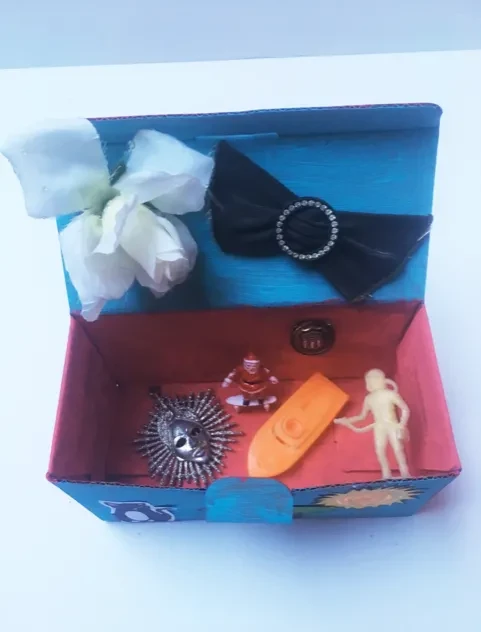
Step 10
This is one I made with old things that remind me of my past and my family.
You can make them for other people too!
Congratulations!
You've completed the activity. What have we learned?