Water Goddesses

There are many different water gods and goddesses across many different cultures. In this activity we are inspired by two Nigerian goddesses, Yemaya and Orisha. Listen to Ese from Black SuperSheroes to discover more about these goddesses. 


Often water goddesses, including Yemaya, are portrayed as mer-people. Did you know that mer-people are used as a symbol for the Trans community, as well as others within the LGBTQ+ community?


Image

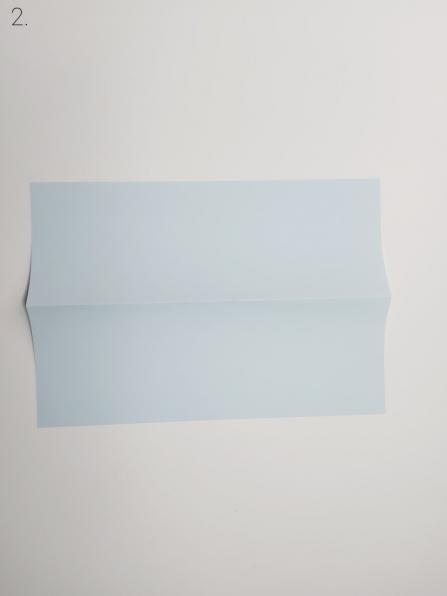
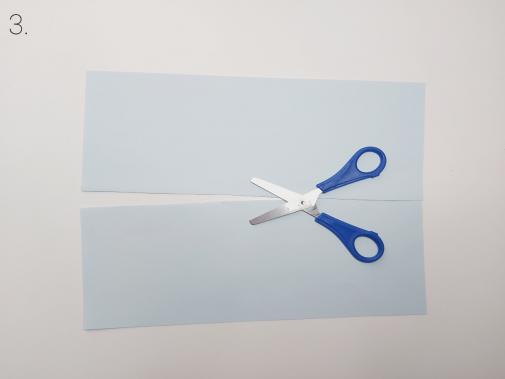
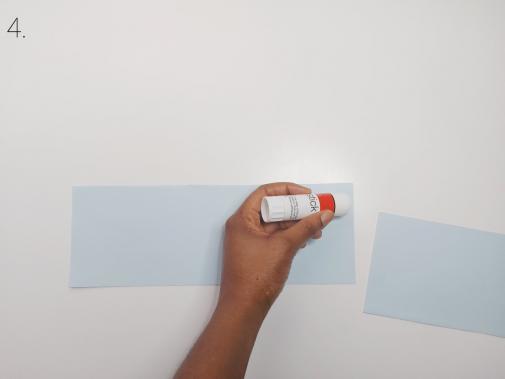
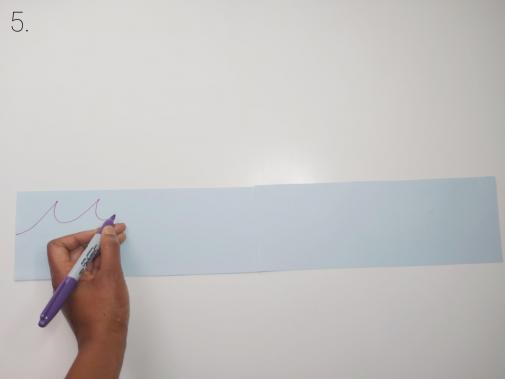
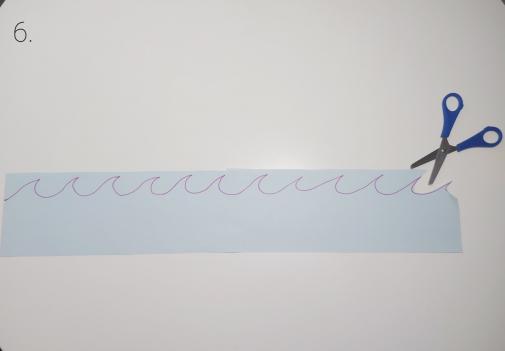
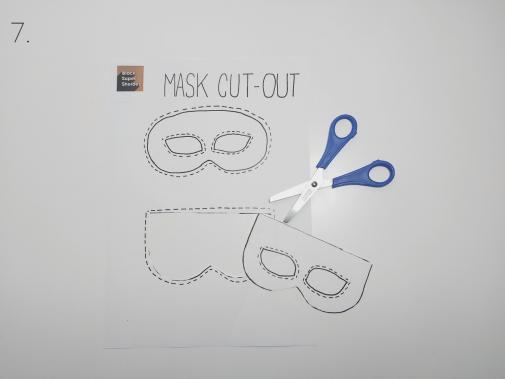
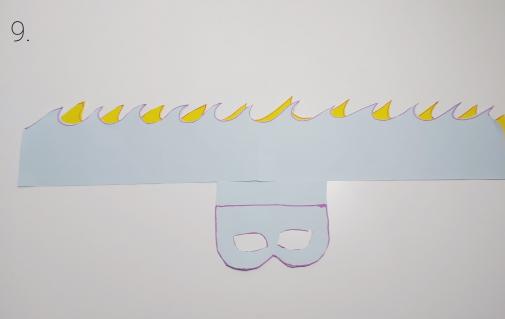
In this activity you can create your own mask, inspired by Yemaya and Orisha, as well as other water gods/goddesses and merfolk. Decorate your mask however you would like, as a symbol of inclusion, diversity and joy. 
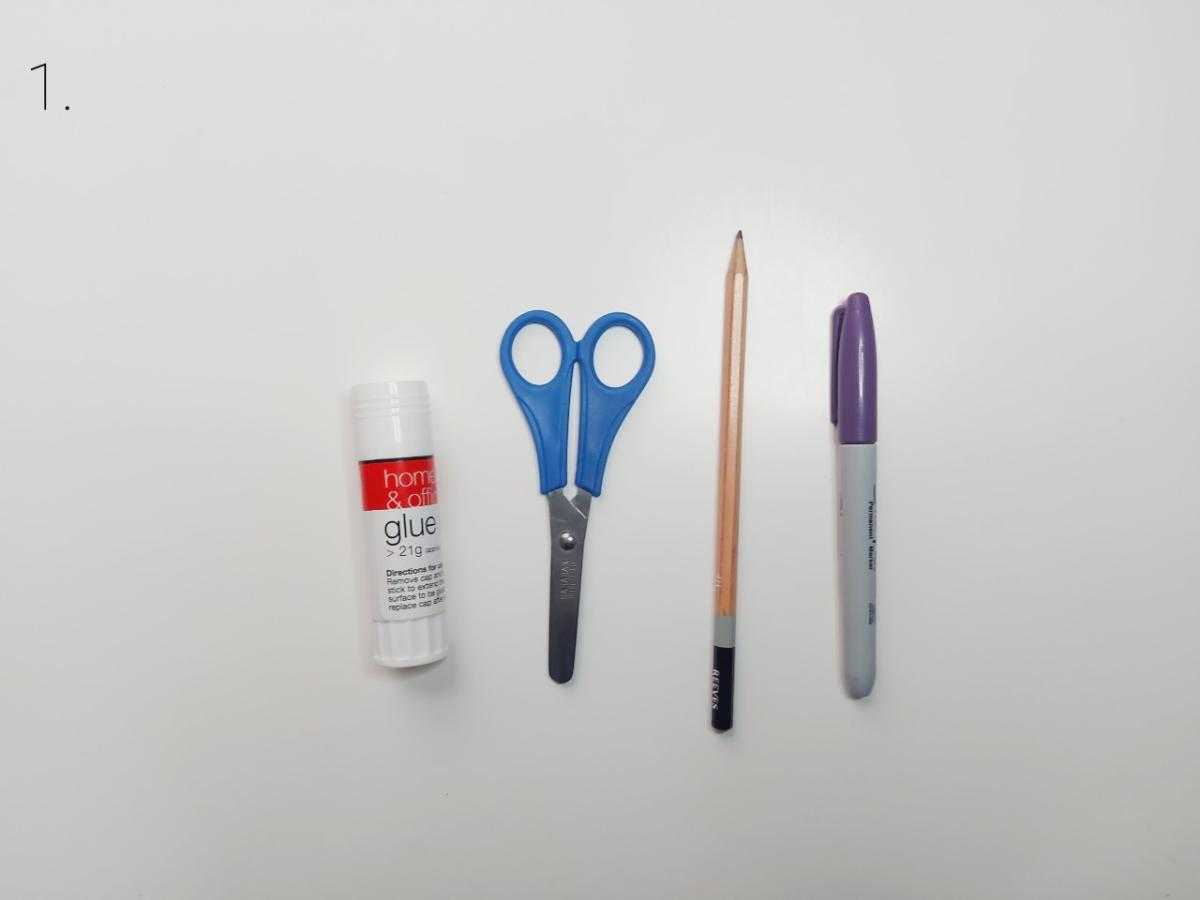
 

You will need:

Paper (coloured paper is optional)

Pencils or pens

Scissors

Glue

Mask template 

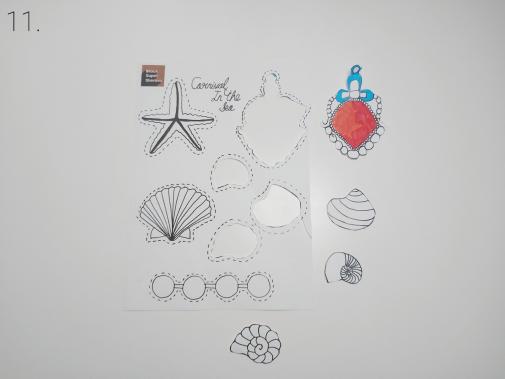
Decorations template 
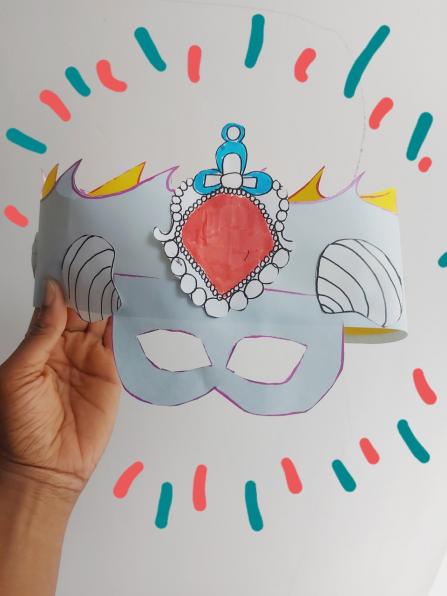
Step 1

Turn your paper landscape and fold in half.

An image for 'Step 1'

Step 2

Cut out your folded paper in half using scissors.

An image for 'Step 2'

Step 3

Glue one edge of your half paper and attach to the other half.

Repeat this method if you are using more than one coloured paper.

An image for 'Step 3'

Step 4

Using your pencil or board pen, draw out a sea wave pattern across your paper.

An image for 'Step 4'

Step 5

Cut out your pattern with the scissors.

An image for 'Step 5'

Step 6

Select your chosen mask from the ‘Mask Cut Out’ printout (see the attached PDF above) and begin to cut.

Cutting the holes for the eyes of a mask can be tricky but there is a trick: bend your mask slightly where you cut out the eye and make a single cut with your scissors. It is with your single snip, you can cut inside the hole.

An image for 'Step 6'

Step 7

Use you pencil/board pen to draw out your mask onto a coloured paper.

(If you are not using coloured paper, you can skip this part).


Position your mask in the middle of your crown strip and glue at the bottom.

An image for 'Step 7'

Step 8

Select your chosen design from the ‘Carnival in the Sea' printout (see pdf attached) and colour with your felt tip and cut out your designs with scissors.

An image for 'Step 8'

Step 9

Arrange your designs onto your crown and glue in place.

Glue one of your crown edges and attach to the other end for completion.

An image for 'Step 9'

Congratulations!

Well done on creating your amazing mask! Where will you wear it now?


Why not share your creation with us on social media?