
Celebrating Women's History Month
March is the month during which we celebrate women! Remembering those who in the past have done something remarkable in their lives and highlighting the contribution that women have given both in the past and today.
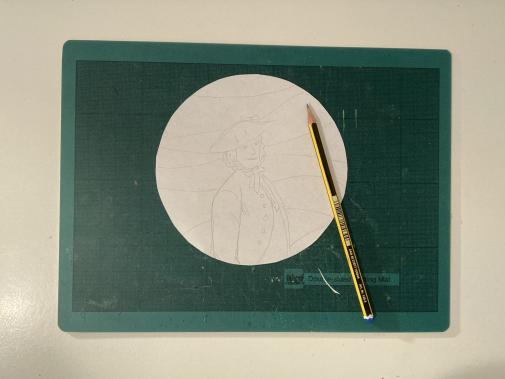
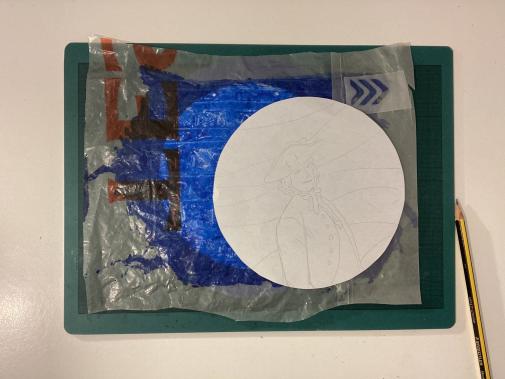
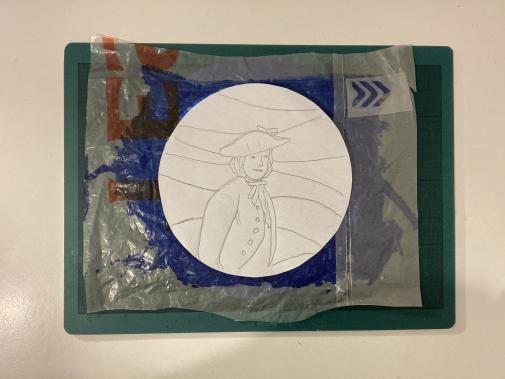
In our collections we have many objects related to incredible women, and Hannah Snell is one of those, an 18th-century British woman who disguised herself as a man and became a soldier and a sailor.

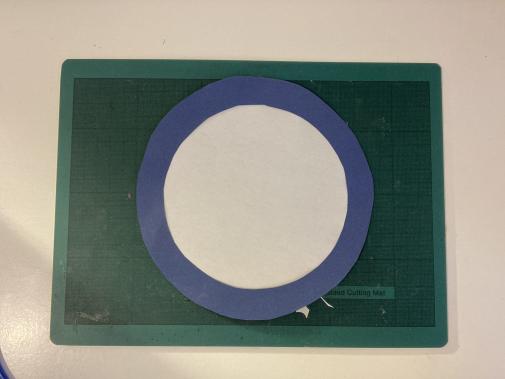
We will be celebrating Hannah Snell, or another woman you think should be celebrated, by creating a monoprinted plate with their image on!
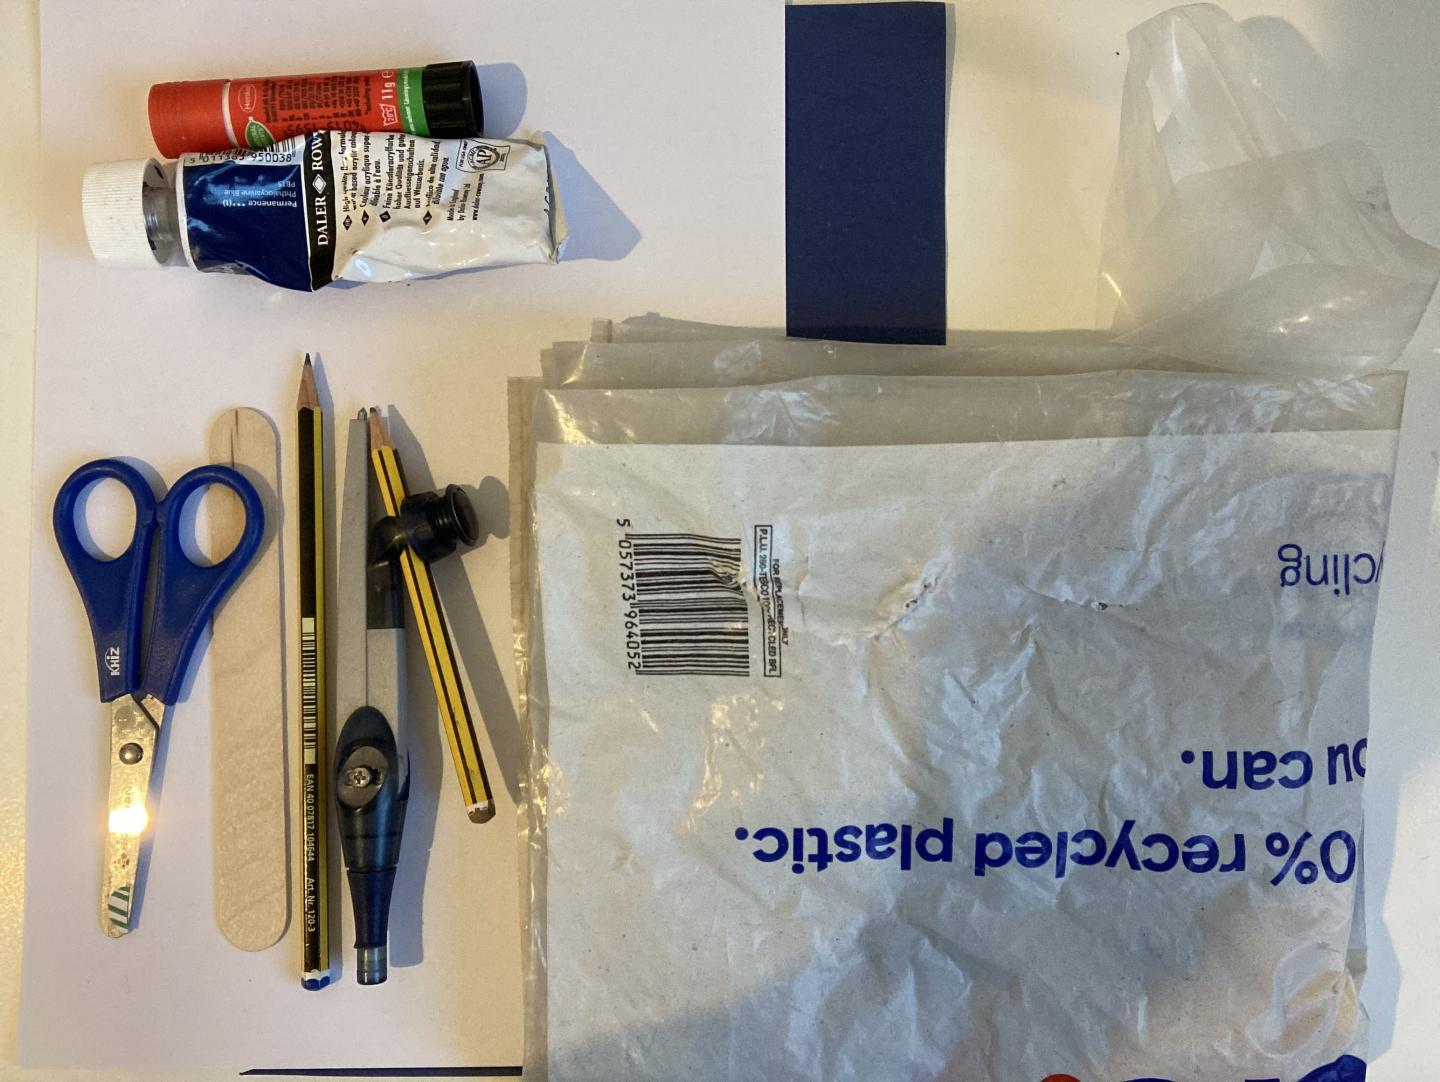
What will you need
- White and coloured paper
- Compass
- Pencil
- Scissors
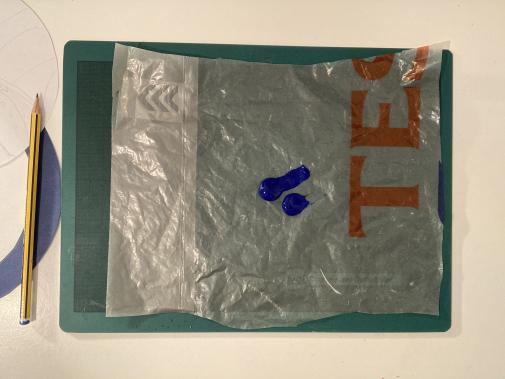
- Acrylic paint
- Craft stick and a plastic bag
- Plastic bag


Congratulations!
Make more monoprinted plates and share them with us!
If you've enjoyed this activity, make sure to check out our range of crafting projects on our Family Activities page! We've got lots of ideas to keep your little ones entertained, from playtime games to bedtime stories.