I was, I am, I will be – Badges to tell a story of YOU

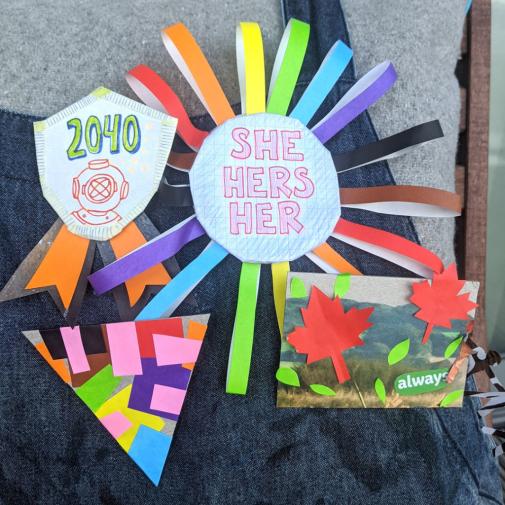
Badges, pins, ribbons and medallions tell a story about the person wearing them.
There are many in the National Maritime Museum’s collection. Some are awards, others are used for identification.
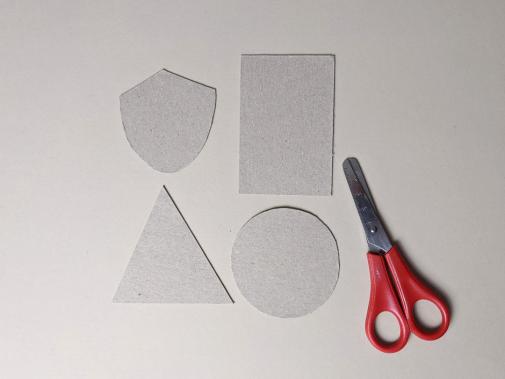
They all use bright colours, symbols and shapes to tell a story.

(Source of four types of badges/medals: first up to the left white badge with blue diving-suit on it, up right green leaf with a golden flower in the middle and an anchor, down left two fabric colorful rectangular badges, down right series of colorful medals Pictures)


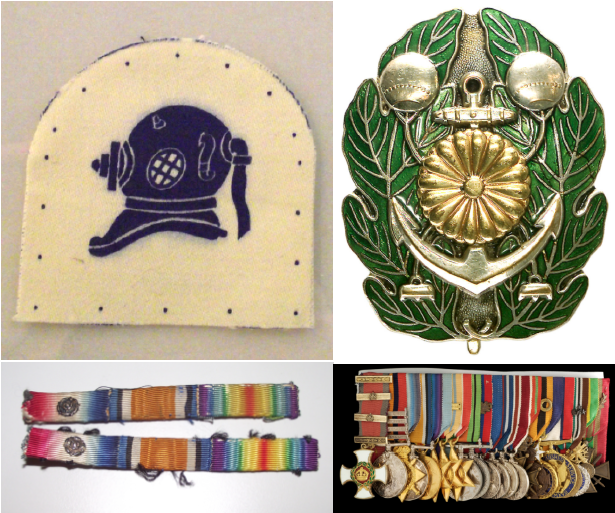
Today, many people wear badges for to share lots of different information.
What would you like other people to know about you?
 

Warm-up activity: Past – Present – Future Brainstorm

You will need:
- One sheet of paper; could be in a sketchbook or diary.
- Pencils and/or pens.
- A clock, watch or timer.

An image for 'Warm-up activity: Past – Present – Future Brainstorm'

Step 1

Draw lines to divide your paper into three columns. Write “Past”, “Present”, “Future” at the top of the columns

An image for 'Step 1'

Step 2

Think about each of these words. 

What would you want someone to know about your past, present, and future?  What are you most proud of?  Is there anything you want to share?  What do you want to do, or be?
What makes you, you?

Set your timer for 2 minutes, and go! 
Scribble, draw, write, doodle for 2 minutes each for your Past, Present, and Future

An image for 'Step 2'

I was, I am, I will be – Badges to tell a story of YOU

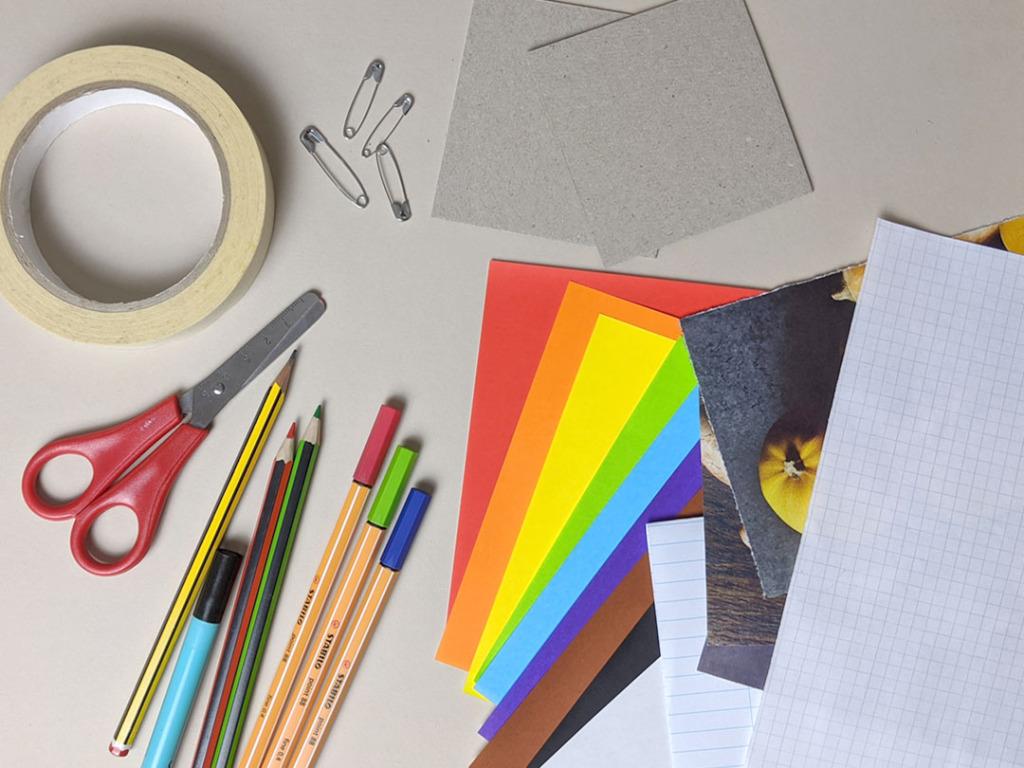
To make your badges, you will need:

  • Paper – colour paper, recycled, junkmail, scrap!
  • Card – from a package, box, or even a loo roll
  • A safety pin or an old badge you do not wear anymore
  • Tape
  • Scissors
  • Pencils or pens
  • Glue (optional)
  • Decorations such as beads, rice, macaroni (optional)
  • Fabric ribbons (optional)
(Source of scissors, colorful crayons, tape, pins, colorful papers Picture)

    Step 1

    Cut your card into a base shape. 

    This could be a circle, rectangle, shield shape, heart, star, whatever you like! 

    An image for 'Step 1'

    Step 2

    Design your badge.

    Use papers, pens, pencils, tape and glue, and any other materials you may have.

    What symbols, words, and pictures can you use to describe yourself, past, present and future? You can mix and match writing, drawing, cutting and pasting.

    An image for 'Step 2'

    Step 3

    Flip your badge over, and tape a safety pin to the back of the card.  Ask a grown up to help with this part.

    Use a piece of masking tape to secure the pin to the back.  Add tape to make it stronger. 

    An image for 'Step 3'

    Step 4

     Wear your badges with pride.

    An image for 'Step 4'