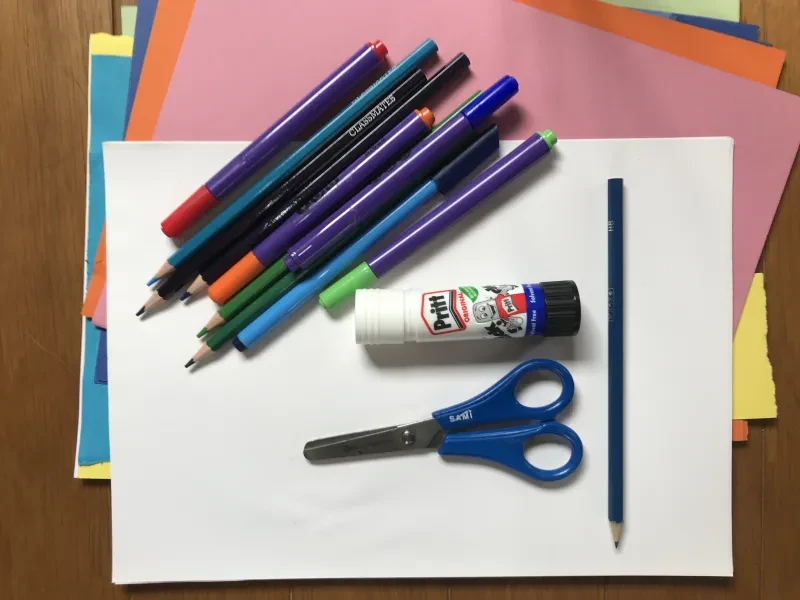
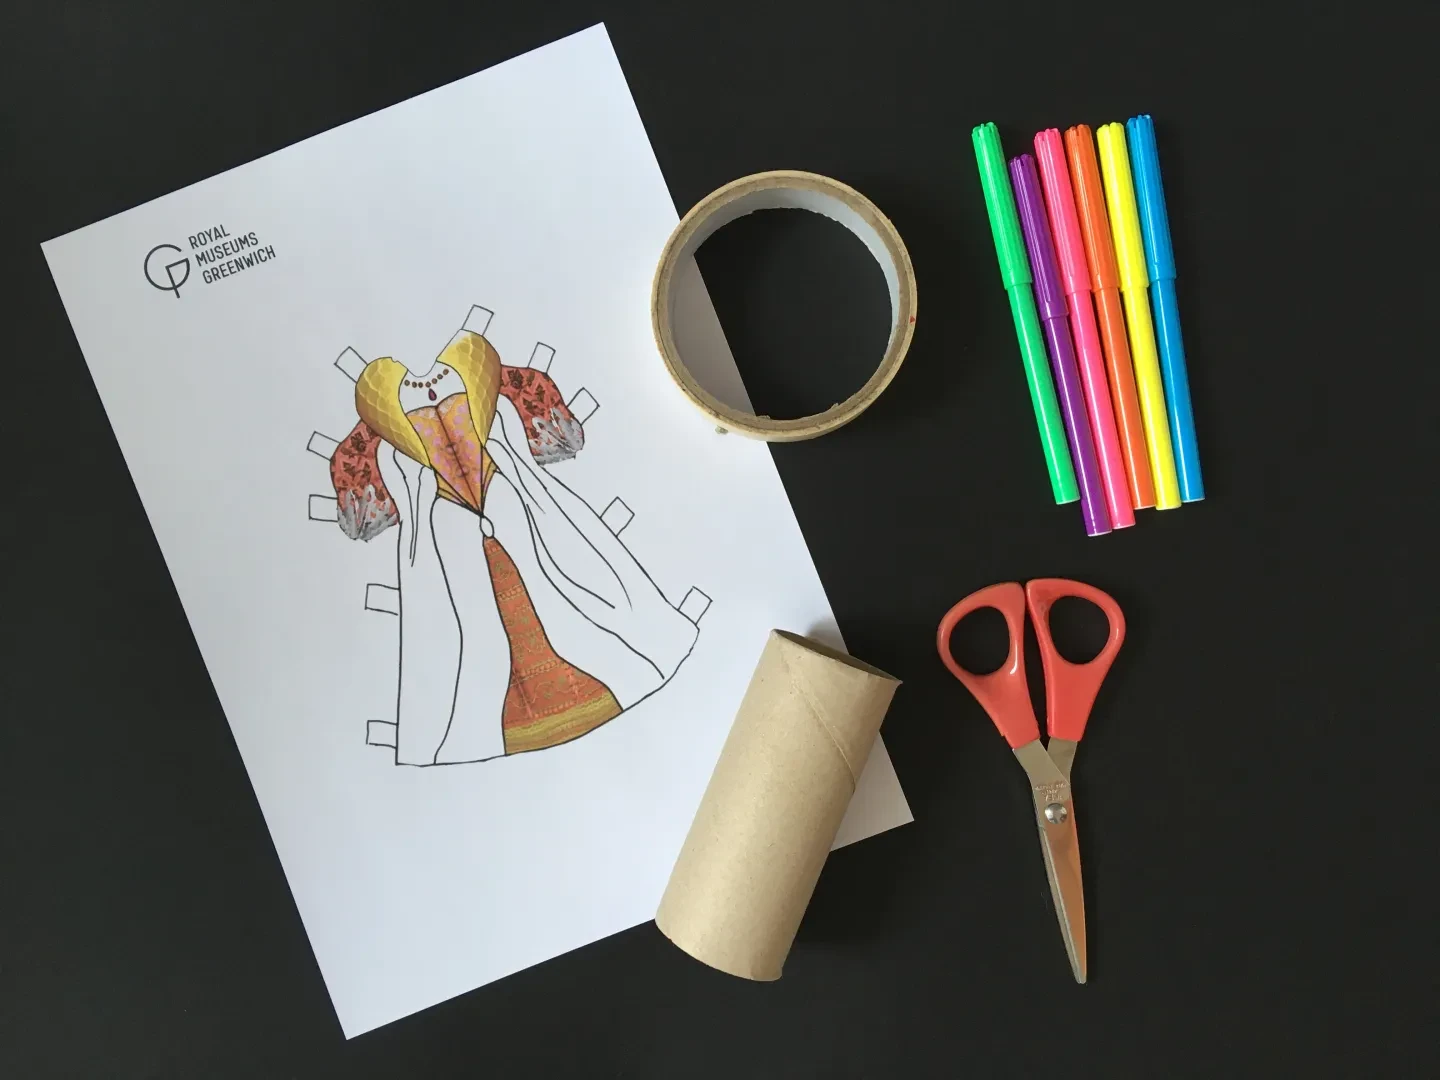
What you will need:
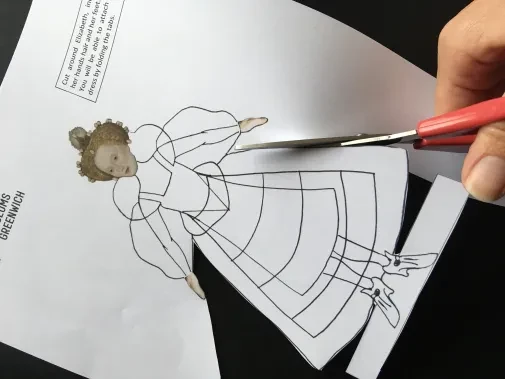
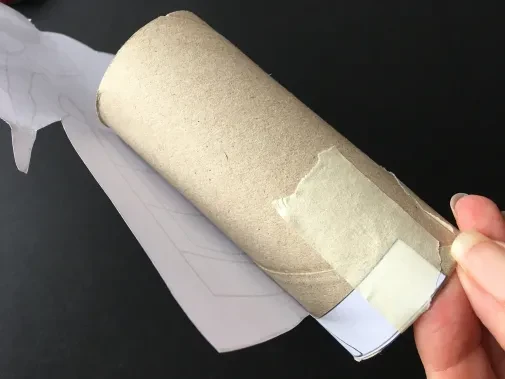
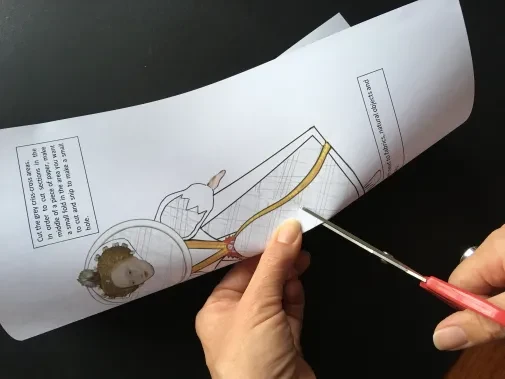
a printer to print templates, paper, pens or pencils, tape, a toilet-roll tube, a camera or smart phone and scissors.
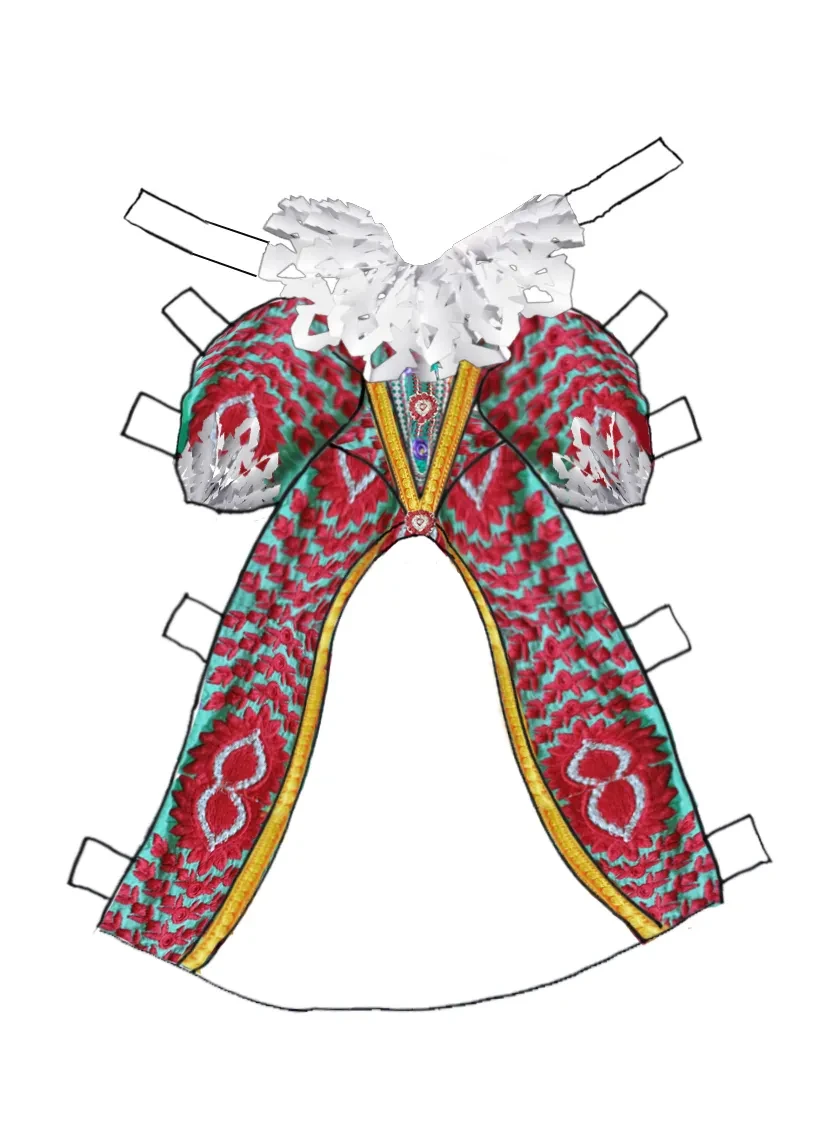
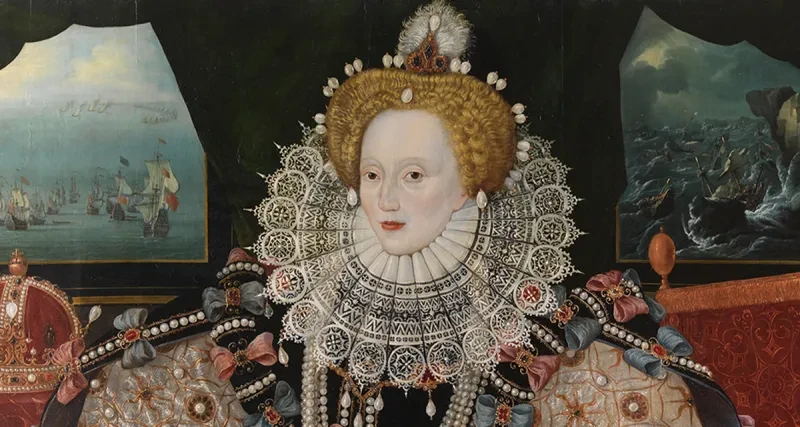
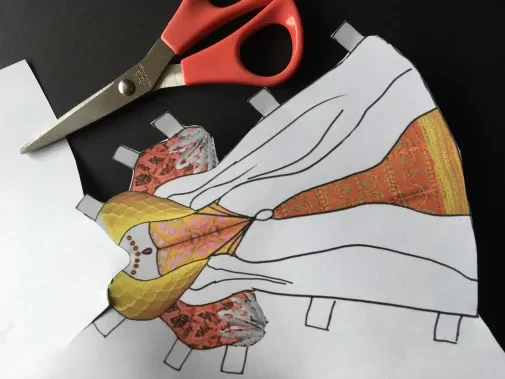
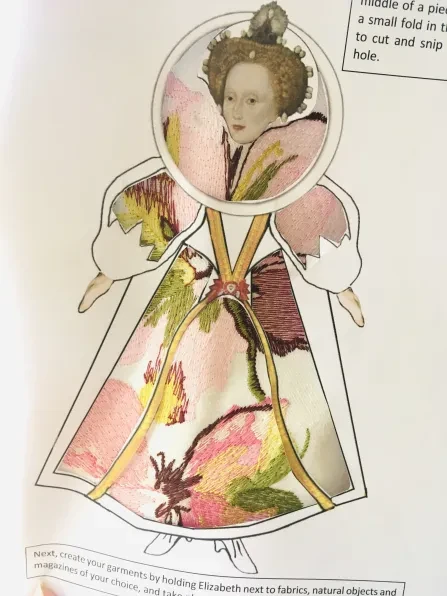
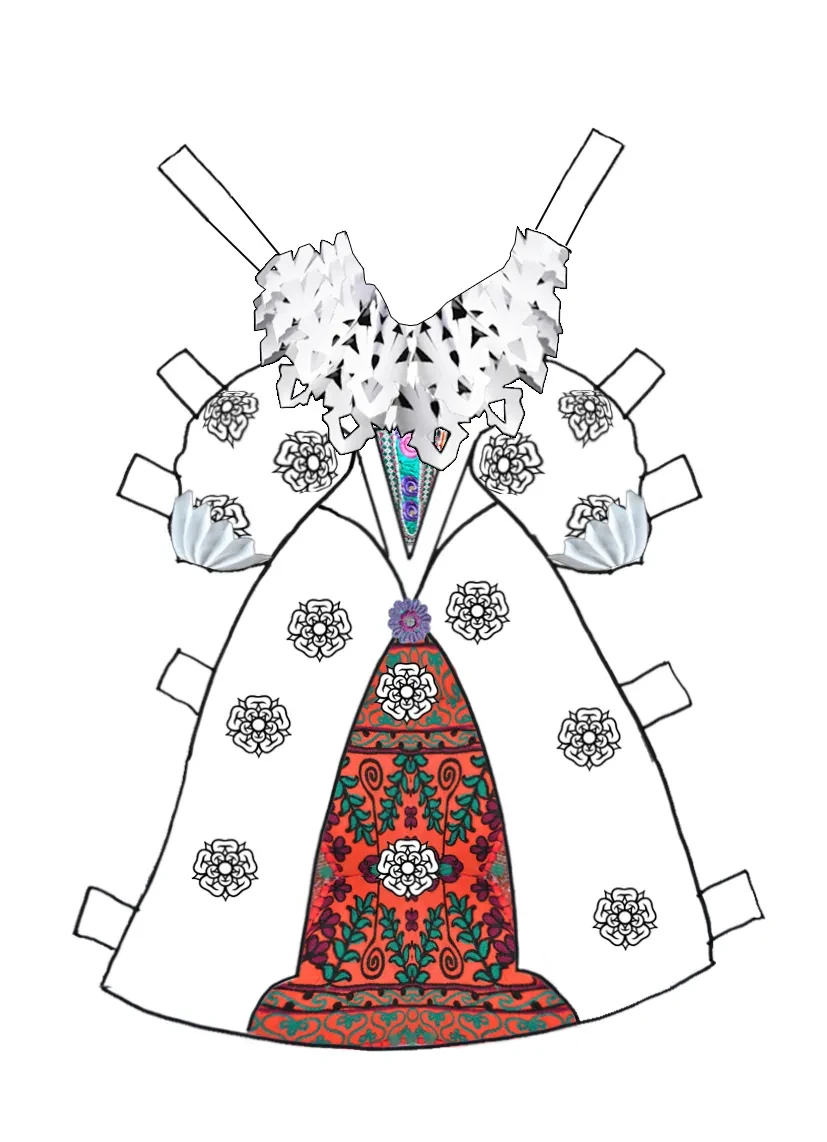
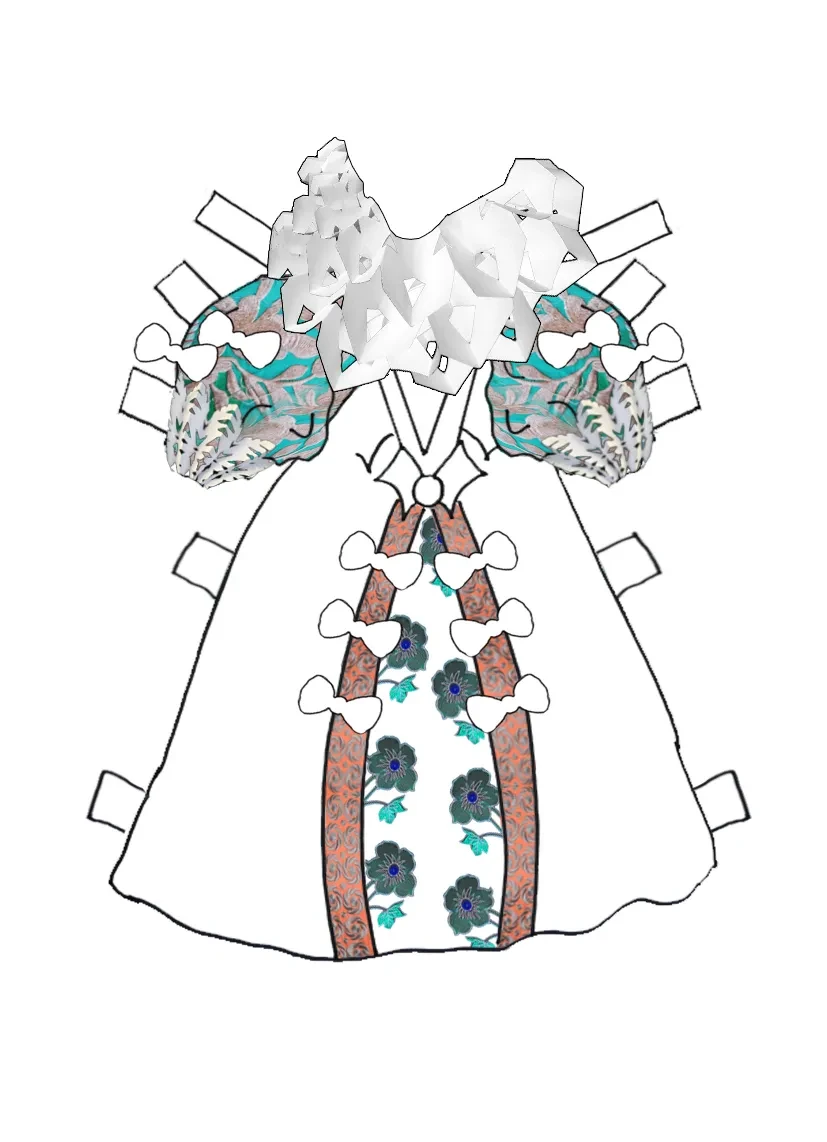
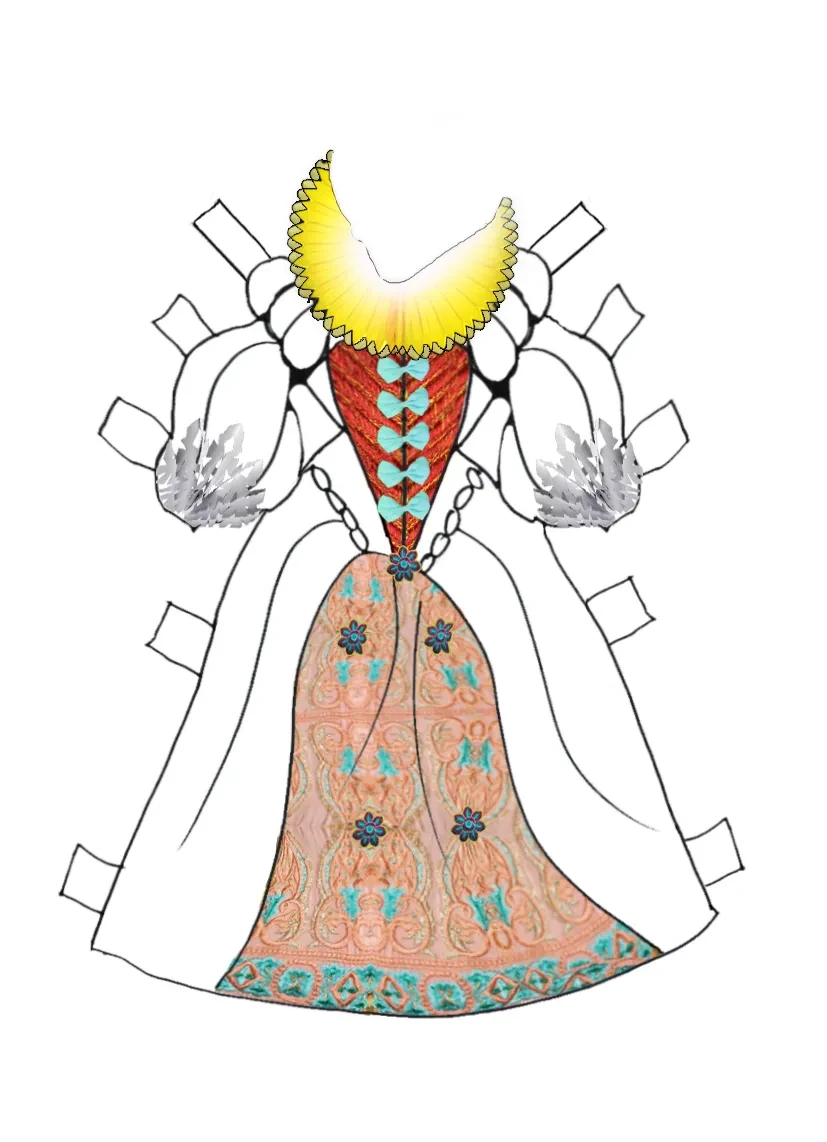
Queen Elizabeth I wore very elaborate garments and dressed to impress.
As a follower of fashion her wardrobe was full of gowns made from rich fabrics adorned with jewels and elaborate surface detail communicating her wealth, luxury, and status.
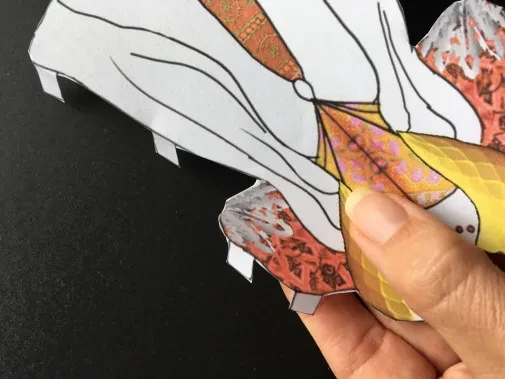
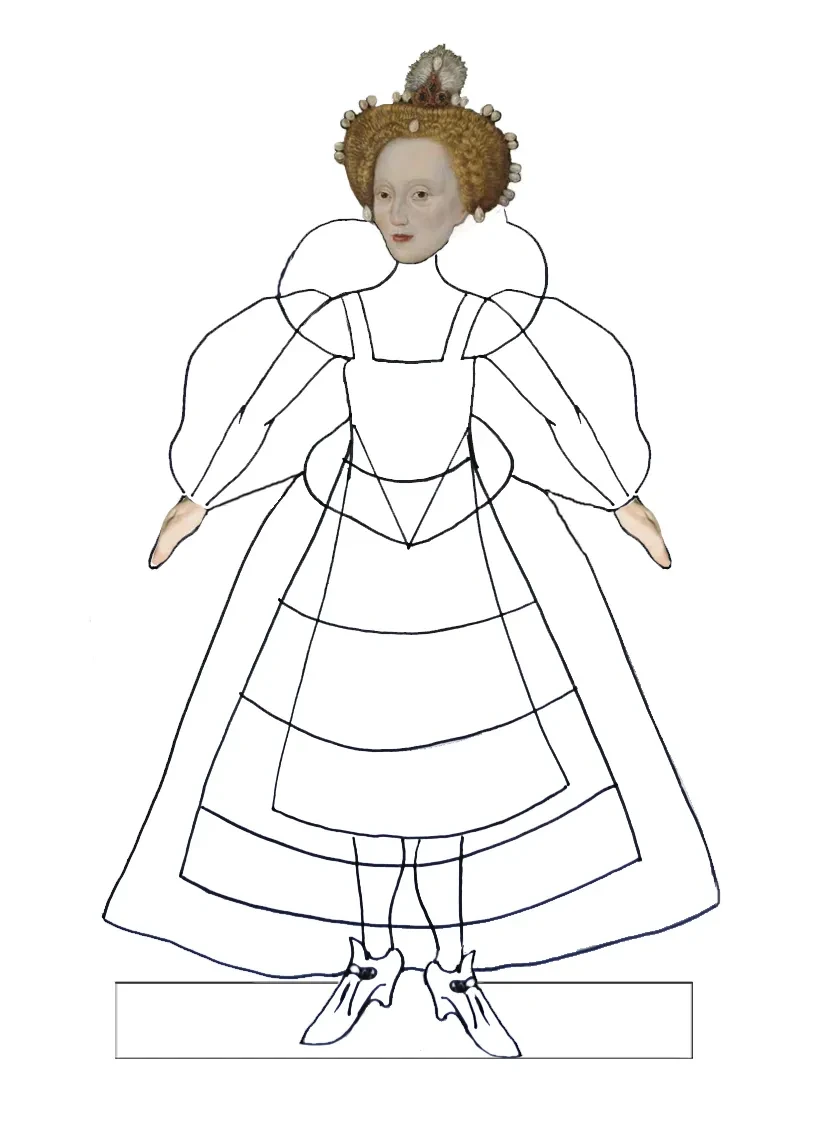
Elizabeth would have worn a petticoat as underwear, a stiffened corset, stockings, a farthingale (a hooped skirt), a bodice and skirt or gown. Her shoes would have been made of the finest velvet and eventually leather. Her bodice would come to a point below the waist and she would have been able to alter her garments with different sleeves, bodices, skirts, ruffs and cuffs to update her look. Her ruffs were exceptionally elaborate, made in a variety of colours and decorated with lace, jewels and embroidery.
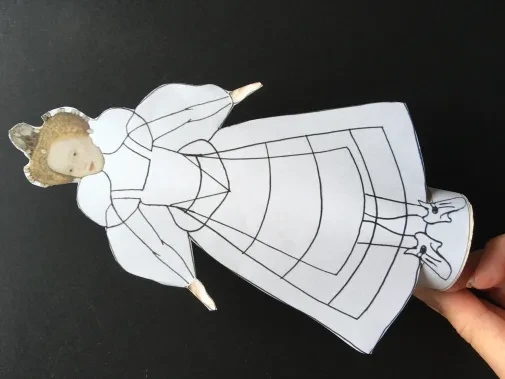
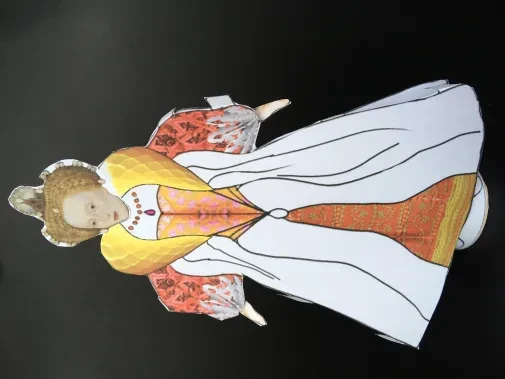
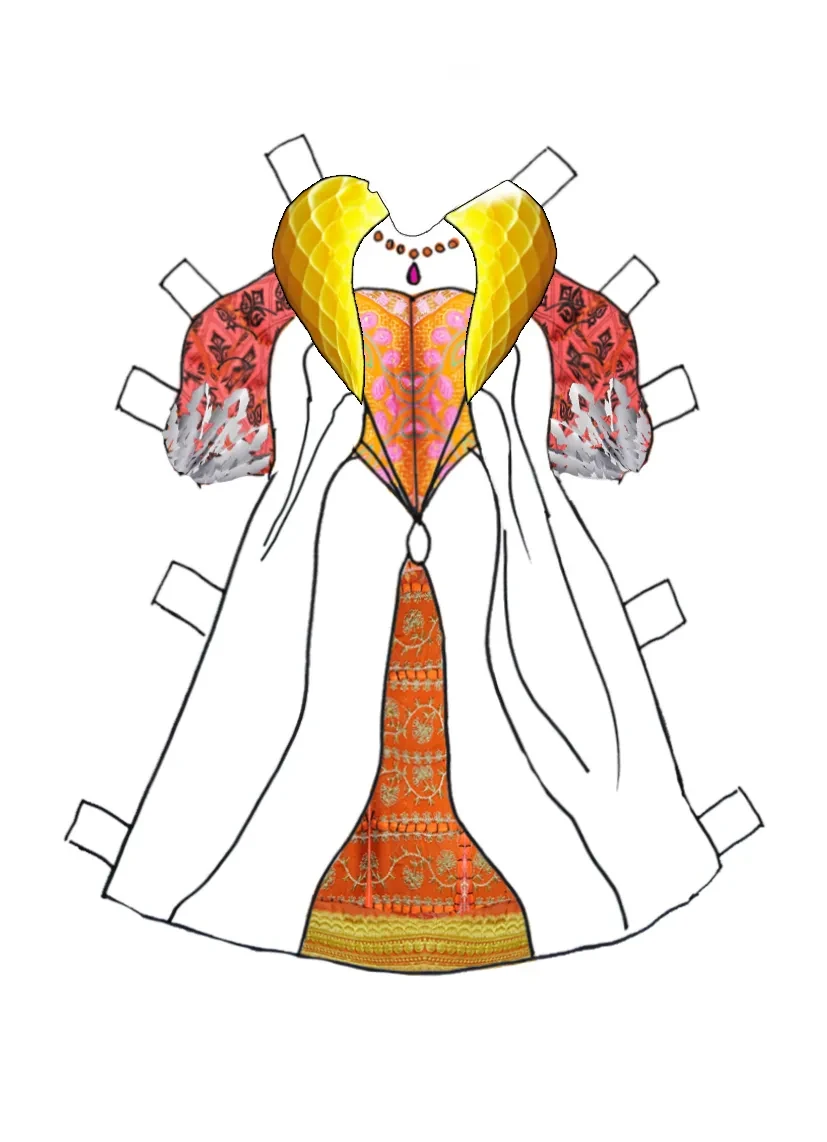
Well done on bringing Elizabeth to life!
If you are up for another challenge, you could design what she might wear when meeting her friends, her subjects, her court or the great and good of the Elizabethan era. Take Elizabeth on an adventure and create a story about what takes place, who she meets and what they say.
Share your pictures with us on social media @RMGreenwich
Why not come and see the Armada Portrait at the Queen's House with your family?
Dress to impress
1 / 7
Dress to impress
2 / 7
Dress to impress
3 / 7
Dress to impress
4 / 7
Dress to impress
5 / 7
Dress to impress
6 / 7
Dress to impress
7 / 7
Dress to impress