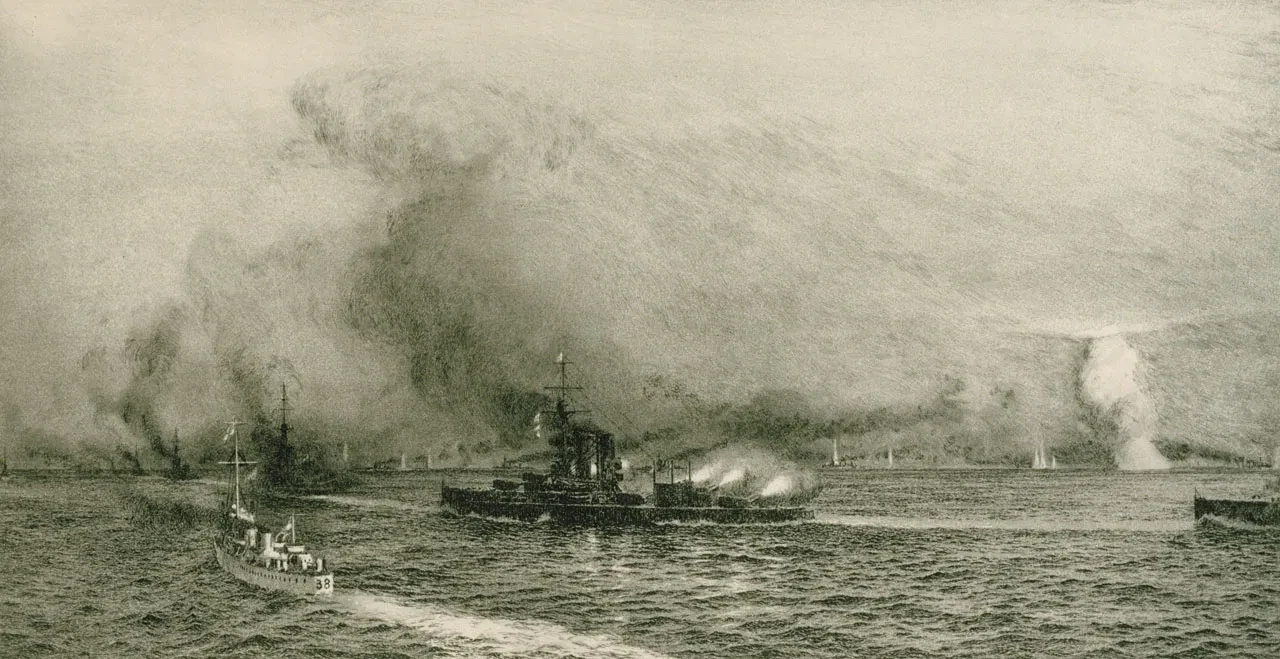
Involving a total of 250 ships, the Battle of Jutland was a major clash between the British Grand Fleet and the German High Seas Fleet.
Both sides suffered heavy losses, but the result was one of the most keenly felt disappointments of the war.
Background to the Battle of Jutland
As an early war aim, the outnumbered Germans sought action with a small part of the Grand Fleet, which they planned to ambush and defeat with their full strength. From November 1914 German battlecruisers occasionally raided the English coastline. If challenged, their task was to draw pursuing British ships within range of the High Seas Fleet’s powerful dreadnought battleships.
The British responded by creating two rapid-reaction forces.
The first comprised Admiral David Beatty's fast battlecruisers at Rosyth, and the second a squadron of dreadnoughts at Cromarty. The British plan called for these forces to be supported by the rest of the Grand Fleet from Scapa Flow whenever they intercepted a German raid. These arrangements resulted in only one clash between the rival battlecruisers in January 1915, but they nonetheless made a major fleet action in the North Sea more likely.
The four phases of the Battle of Jutland
This long-awaited fight took place on 31 May 1916. The Battle of Jutland was a complicated affair that, for ease of understanding, is usually narrated in four phases:
- ‘Run to the south’ (roughly 3.30 to 4.40pm)
- ‘Run to the north’ (roughly 4.40 to 6pm)
- The main fleet action (roughly 6 to 8pm)
- The night action (about 8pm to 3am on 1 June)
Run to the south
An encounter between both sides' scouting vessels brought the British and German battlecruisers into contact and initiated the run to the south. The German Admiral Franz Hipper steered his squadron southwards towards his fleet's distant dreadnoughts.
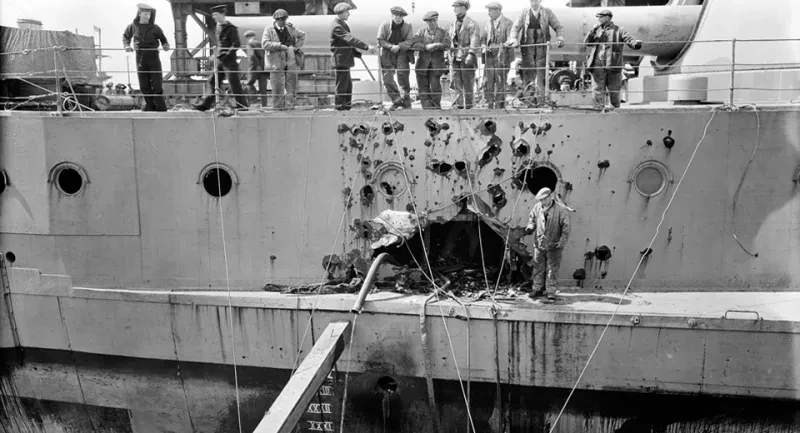
Admiral Beatty gave chase but within half an hour had lost two of his battlecruisers to catastrophic explosions. Worse for Beatty and his surviving battlecruisers, by 4.40pm the leading German dreadnoughts were in sight and rapidly bearing down on him.
Thus far the German plan was succeeding brilliantly; not only had Beatty’s battlecruisers been lured into the trap but so had four dreadnoughts temporarily attached to his force. These ships, the Queen Elizabeth class, were the most powerful warships in the world and the Germans now had a perfect opportunity to isolate and destroy them.
Despite his losses and serious tactical predicament, however, Beatty saw his chance to reverse the situation by luring the Germans towards the Grand Fleet. The run to the north had begun.
Run to the north
Over the next hour and a half, the initial German success began to unravel. As Beatty’s ships headed northwards, they were hotly pursued by the High Seas Fleet, but despite intense German fire none of his remaining ships were sunk or crippled, and some managed to score damaging hits on the Germans.
Most significantly, at this stage of the battle the Germans still had no inkling of the threat that lay ahead of them. Shortly after 6pm, Beatty beheld the welcome sight of the leading British dreadnoughts.
The main fleet action
The main fleet action that followed represented the critical point in the battle. Despite very limited incoming information and poor visibility, Admiral John Jellicoe positioned his ships superbly.
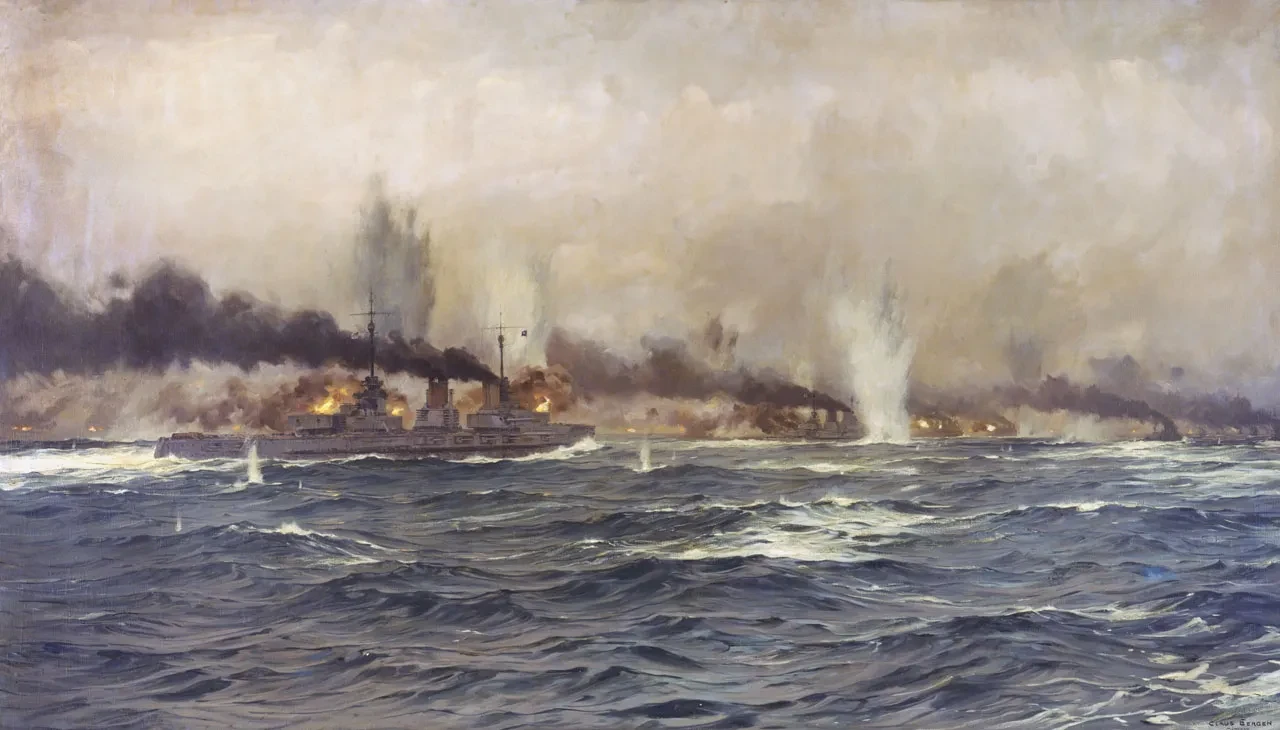
When the Germans appeared at 6.17pm they were subjected to very heavy fire from a Grand Fleet formed up across their line of approach. Despite some successes against individual British cruisers, the Germans were unable to retaliate effectively and turned away.
Believing he had shaken off the British, the German commander-in-chief, Admiral Reinhard Scheer, tried to re-engage on more favourable terms at about 7pm, only to discover the British dreadnoughts again arrayed across his path. Facing the massed guns of the Grand Fleet a second time proved too much, and Scheer again withdrew, this time for good. Wary of exposing his ships to mine and torpedo attacks, Jellicoe declined to pursue. His ships were now between the Germans and their base and by 8.45pm he had grouped his fleet into night cruising formation, hoping to resume the battle in the morning.
Night action
Despite Jellicoe's precautions, brushes continued to occur in the darkness between both sides' smaller warships.
Scheer meanwhile decided to risk a full nocturnal encounter to get his dreadnoughts home to Wilhelmshaven, precipitating the night action phase. His route took the German fleet through the British destroyer flotillas guarding the rear of the Grand Fleet, from whom they met determined but largely ineffective resistance.
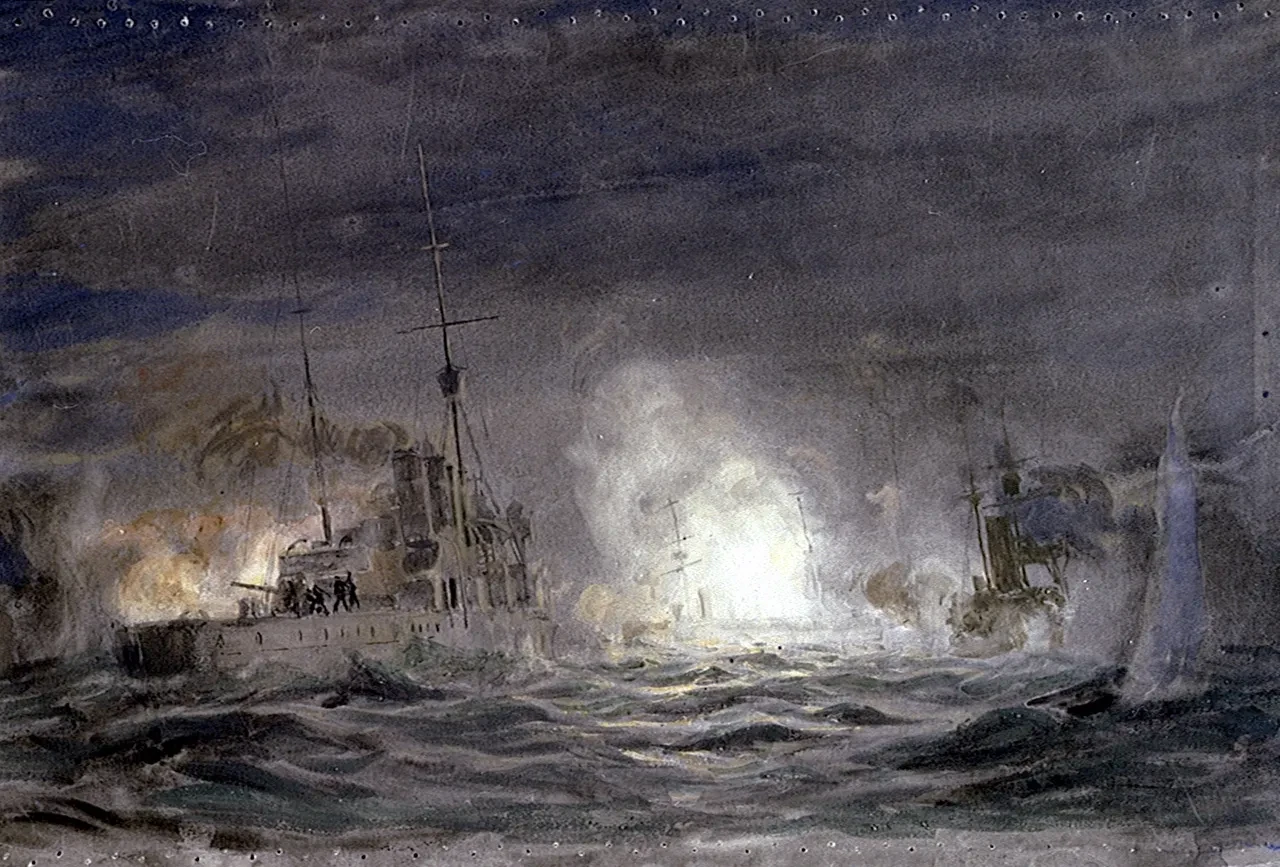
The Germans lost an old battleship, but by 3am had made good their escape.
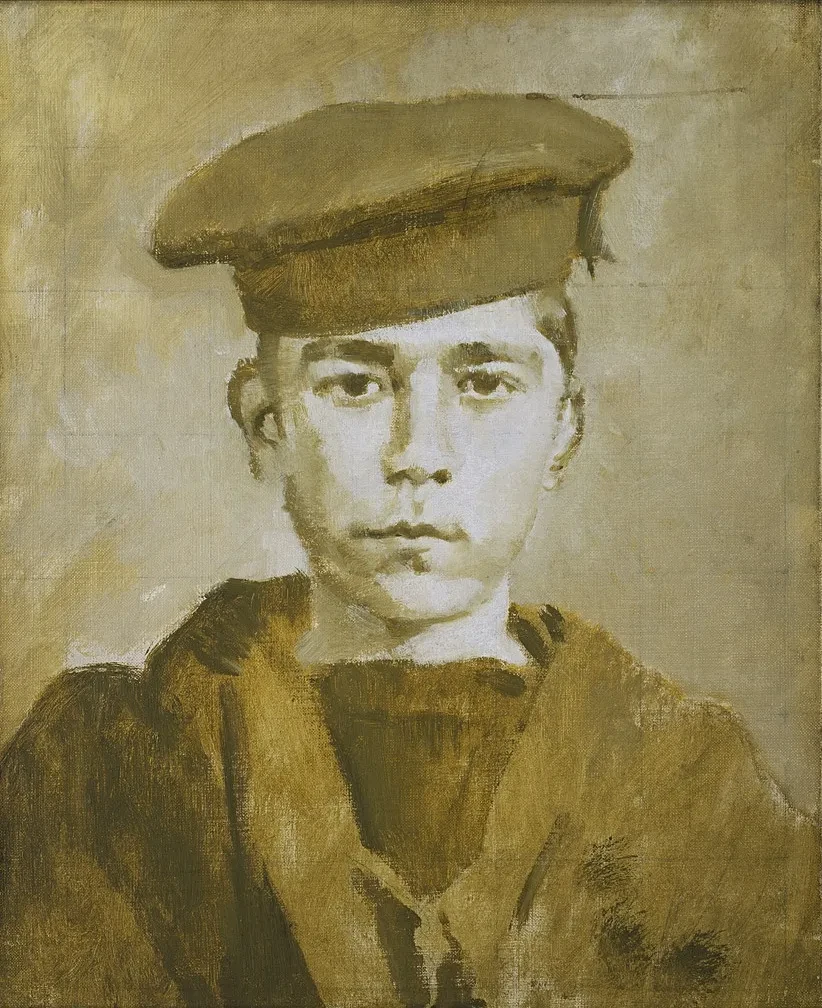
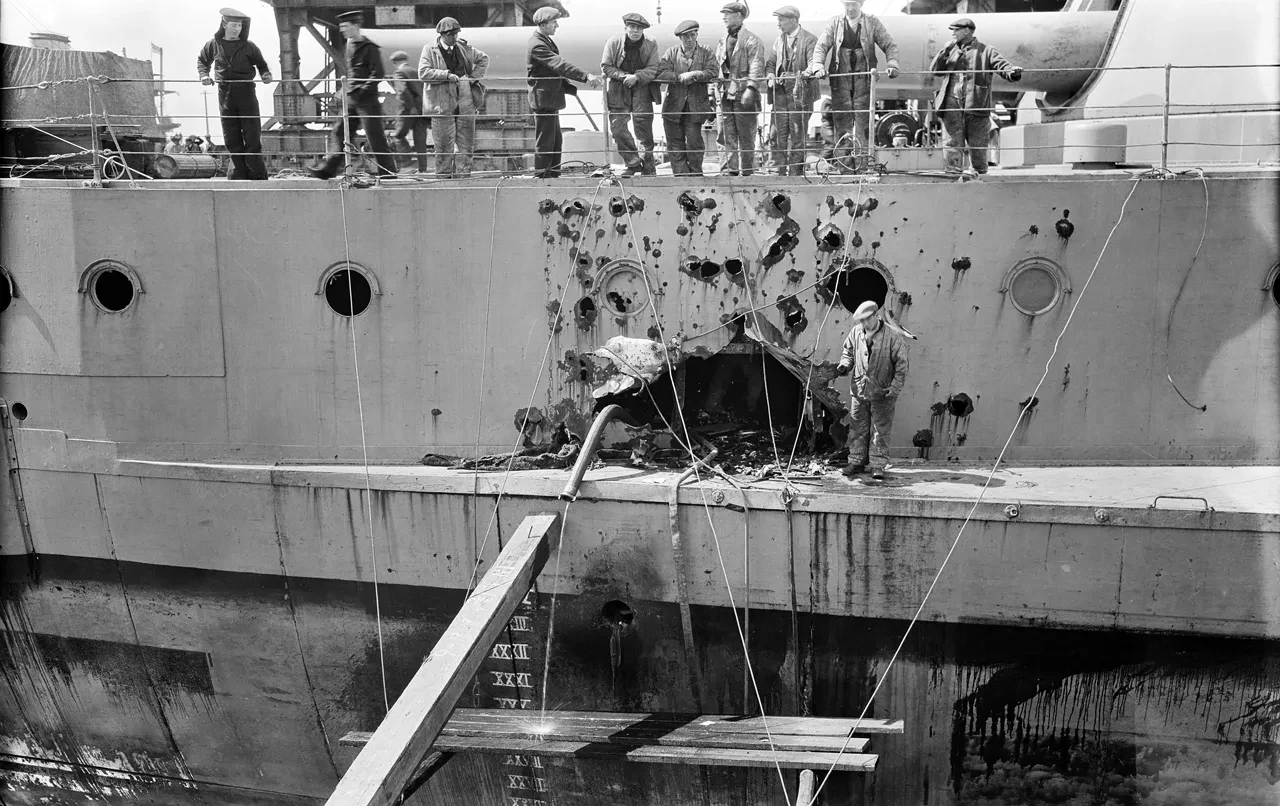
The Battle of Jutland was over, with the loss of 14 British and 11 German ships, and 6,094 British dead against 2,551 Germans.
The post-battle 'war of words'
Barely had the fleets returned to port when the propaganda ‘war of words’ began. Both sides claimed victory, and both faced accusations of having been defeated. The balance of losses favoured the Germans, but they had failed in their primary strategic aim of decisively defeating the Grand Fleet. Worse, the larger Royal Navy was better able to absorb such losses.
In a confidential report to the Kaiser, Admiral Scheer admitted that there was no possibility of knocking Britain out of the war through a decisive fleet battle. Instead, he added his voice to those advocating unrestricted submarine warfare against the British Empire. Germany took this path, to her ultimate detriment as the submarine campaign – while coming close to defeating Britain – failed to weaken the British blockade of Germany and was a major factor in the USA entering the war.
Jutland failed to live up to public expectations of a 'second Trafalgar', but it was a very important battle for both sides and had a profound impact on the course of the First World War.