
The Moon is a striking sight in the sky, making it a popular target to photograph.
However, it’s not an easy object to capture: the Moon’s size, distance and brightness means it often shows up on smartphone photos as a fuzzy white orb.
Whilst the Moon is best captured using a digital camera and telephoto lens or, better yet, through a telescope, it is still possible to take good photographs of it with the most common of cameras – the one on your smartphone.
And you don’t need to have the latest phone to take a good photo either; all that’s required are some helpful tips to get the best out of your phone camera and a little bit of patience.
Here are some tips to help you get started photographing the Moon with a smartphone.
Getting to grips with your phone camera
First of all, get to know your smartphone camera. Most of us simply point at and shoot our targets without a second thought, and most of the time we are rewarded with great results.
However, this is not always the case when photographing the Moon. Unless you're lucky it will probably take you a few attempts to get a great shot, so it’s worth spending a bit of time learning about the camera settings and how to adjust them.
The default photo setting can be used to capture the Moon using automatic settings such as shutter speed, exposure and focus.
Understanding your camera’s zoom
Your phone camera’s zoom setting allows you to magnify the Moon to make it appear larger in your photograph. But even if your smartphone has a good zoom range (most do), it can be challenging to use it effectively.
Some smartphones have a mixture of ‘true optical’ zoom and ‘digital’ zoom.
Optical zooms typically work in the 3x to 10x magnification range, often by switching the lenses on the back of the phone. This, whilst making the Moon appear larger on screen, will not be sufficient to fill the screen if that’s what you want for your photo.
You will probably need to rely on the digital zoom feature, which effectively crops around the target to make it appear larger, and attempts to rescale the image with some interpolation.
Interpolation is where digital software adds new pixels to an image by estimating and averaging the colours of neighbouring pixels. It is mainly used to artificially enlarge a photo's resolution beyond its lens’ capabilities.
However, during interpolation the quality of the image can be compromised by some pixelation around the edges.
You can buy special zoom lenses to attach to your smartphone camera, which may help.
Of course, whether you use zoom at all depends on whether you want to capture a close-up of the Moon, or if you want to photograph the Moon with something in the foreground to provide some context.
If you time it right or are simply lucky, you may capture a bird or an aircraft flying across the face of the Moon.
Keeping the camera perfectly still
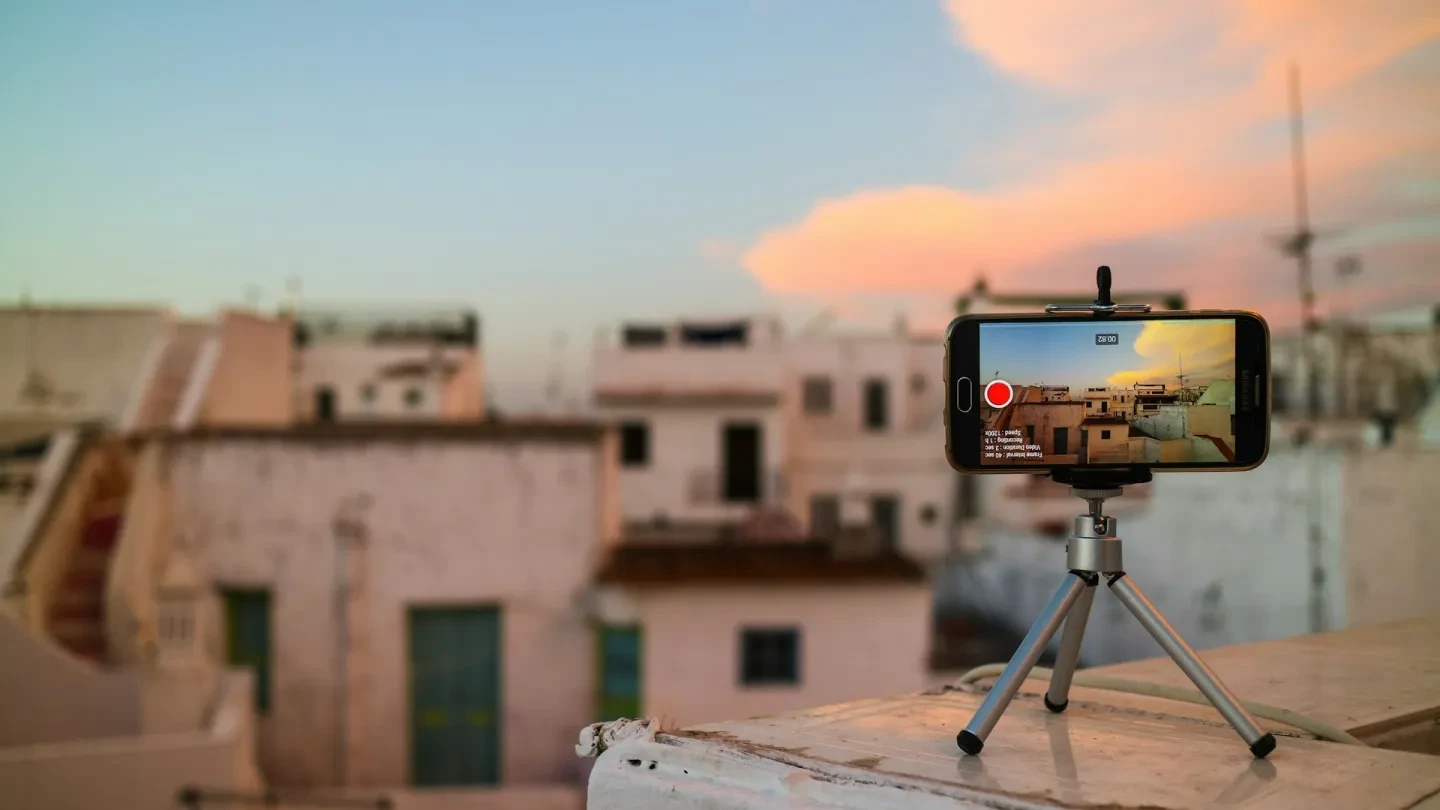
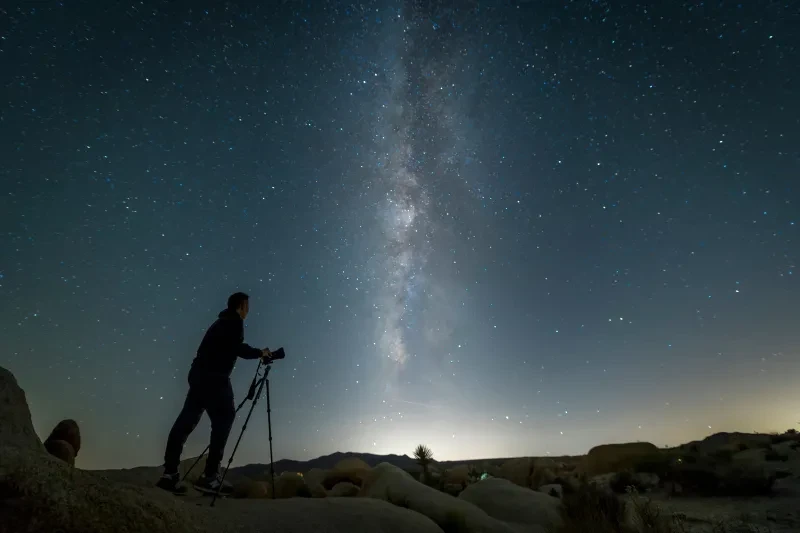
Although it’s possible to photograph the Moon by holding your smartphone, it’s much better to use an adapter to fix your phone to a tripod.
If this is not an option, you could lean your phone against a wall, table or another object to make sure the Moon is stable onscreen.
Any slight movement when taking a photo of the Moon will show up in the final image as blurring, especially if you are on a high zoom setting.
To reduce any shaking of the image it’s best to use the shutter delay setting, giving you 2, 5 or 10 seconds before the shot is taken, which will avoid the phone moving when you tap the screen or press a button to take a photo.
Setting exposure
Once you have the Moon positioned as you want it, you can rely on the camera’s autofocus most of the time, but you will need to check the exposure.
Exposure is the amount of light that reaches your camera's sensor, controlling the overall brightness of the image.
You’ll need to get the right level of exposure: ensuring that the Moon is not over-exposed so you can’t see any surface details, nor under-exposed where it is too dim.
One way to do this is to aim your phone, then tap the Moon on your camera screen, which will bring up an exposure slider. You can adjust and lock the exposure slider before taking the shot.
If you want to be more adventurous you can try setting your phone camera to 'Pro' mode, which gives you control over most of the exposure settings including shutter speed, ISO, exposure compensation, white balance (or colour temperature) and focus. However, this will require a little knowledge of the basics of photography.
Making basic edits to your smartphone Moon photo
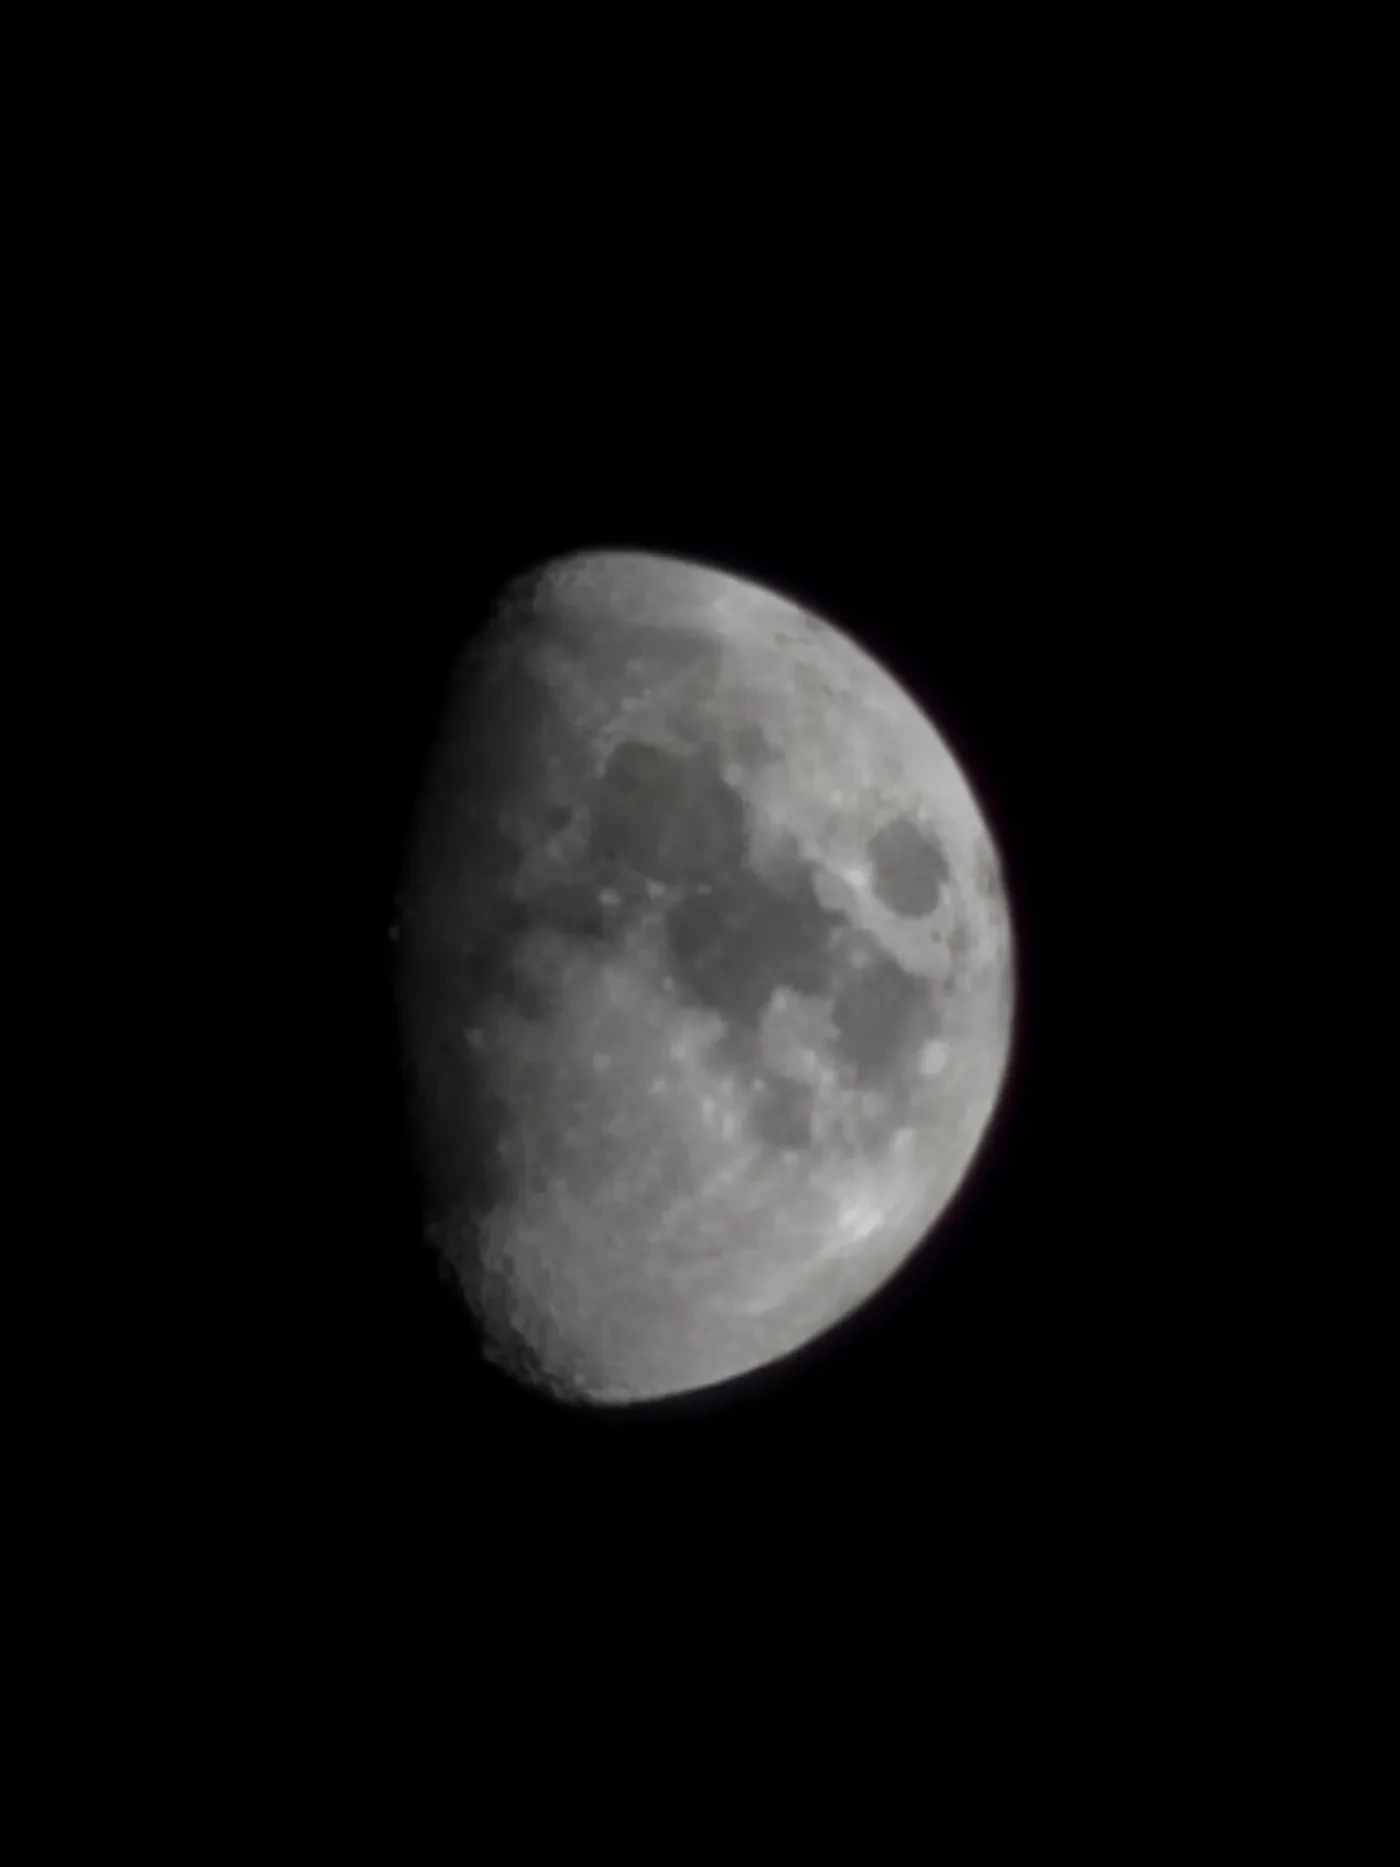
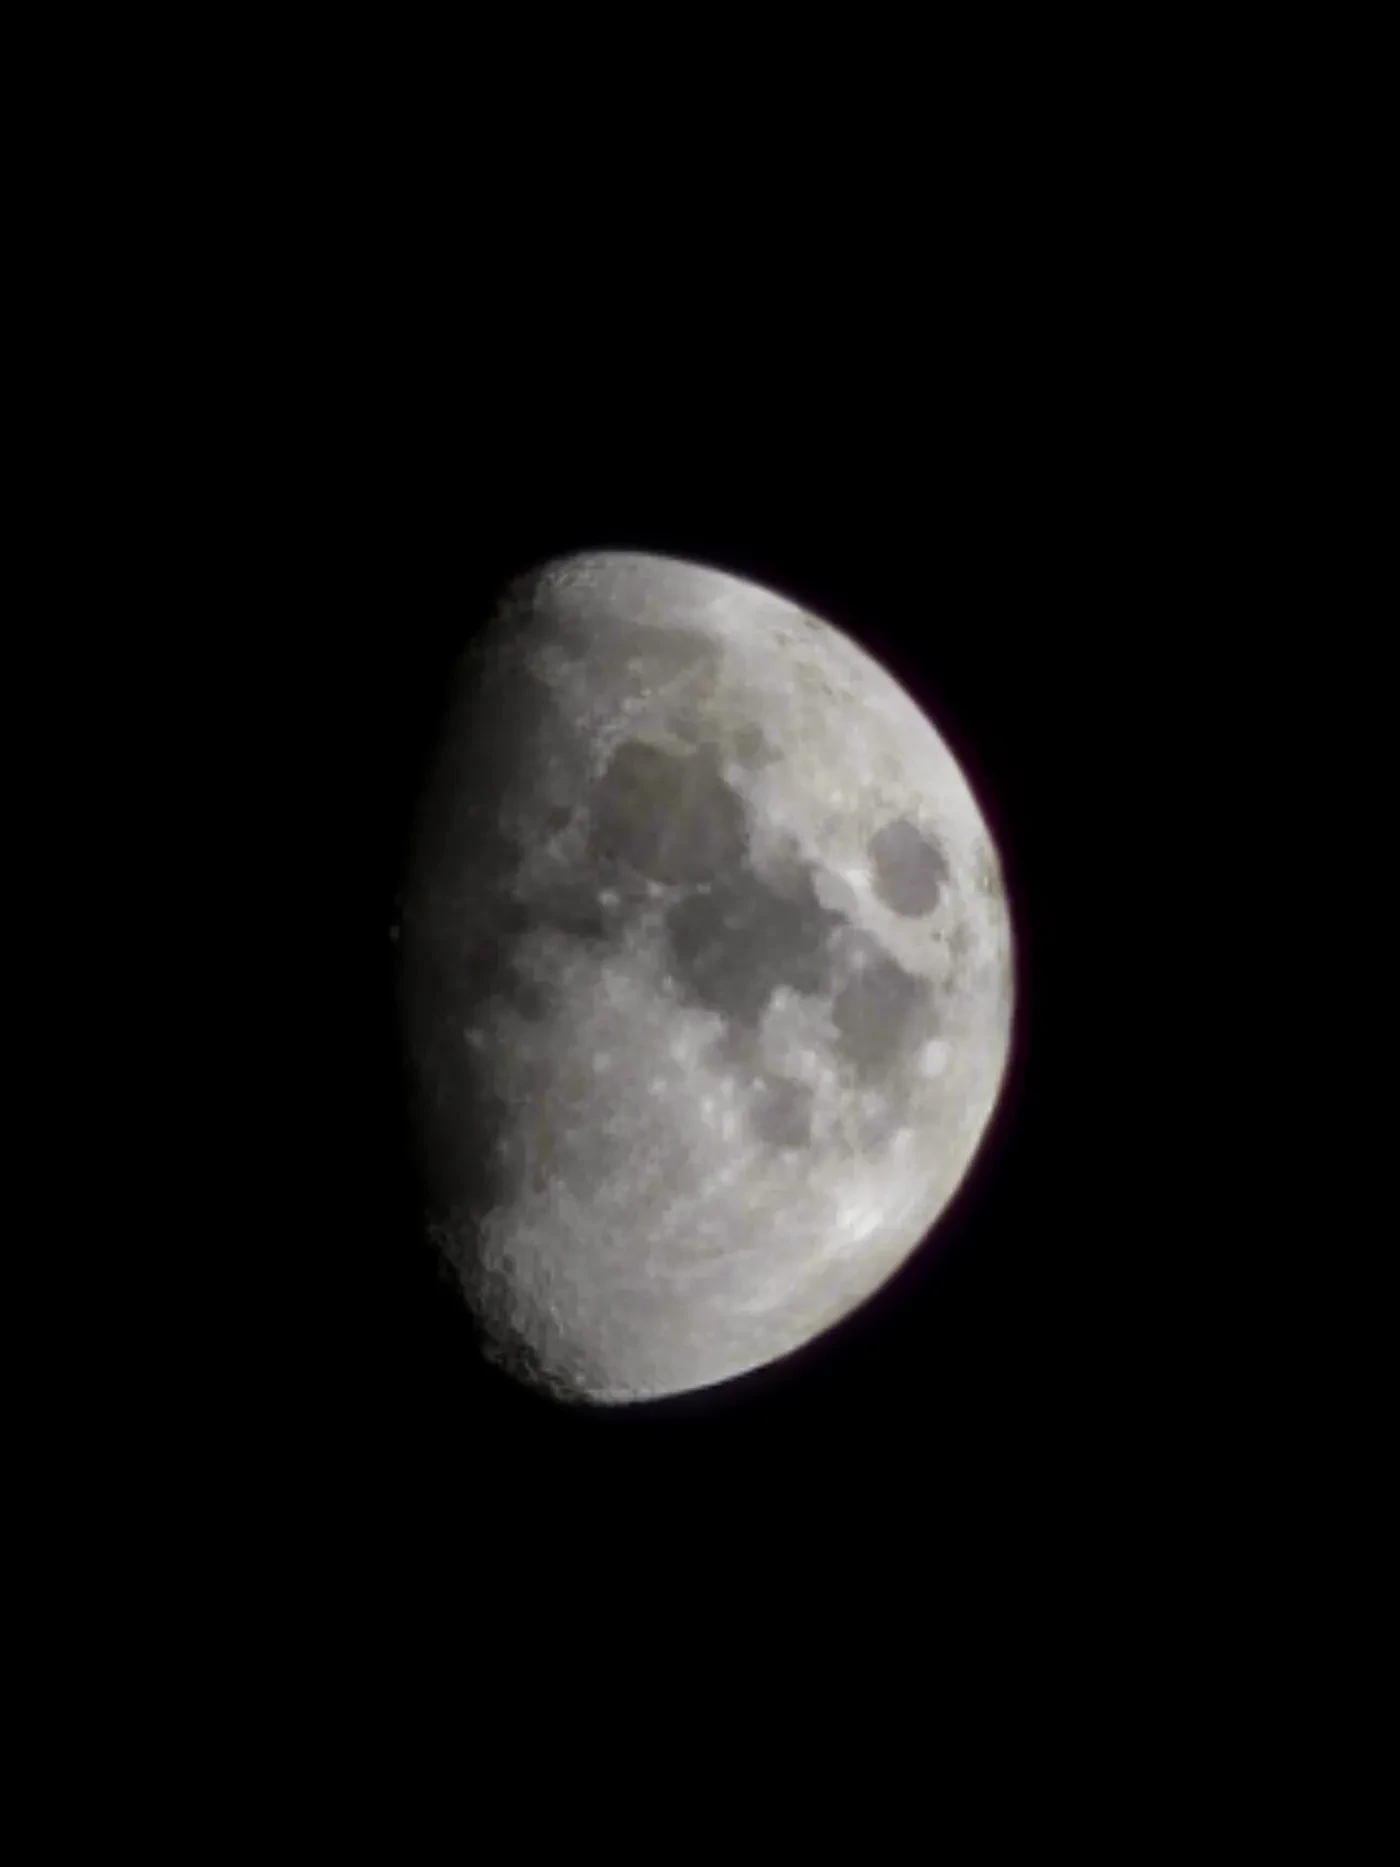
Once you have taken your photograph, you could try to use your camera’s inbuilt photo editing capabilities to make some small adjustments to the image.
This could be simply adjusting the sharpening, contrast or colour to see how this could enhance the final photograph.
1 / 2
Smartphone moon photo - without edits
By Les Brand
2 / 2
Smartphone moon photo - with edits
By Les Brand
Best times to photograph the Moon with your phone
You may be tempted to photograph the Moon when it is full, and therefore at its brightest and most impressive. But why not try shooting it during its different phases, such as a thin crescent or at first quarter?
When the Moon is not full, the surface features such as craters, valleys and mountains cast shadows, increasing the contrast and making the photo more interesting.
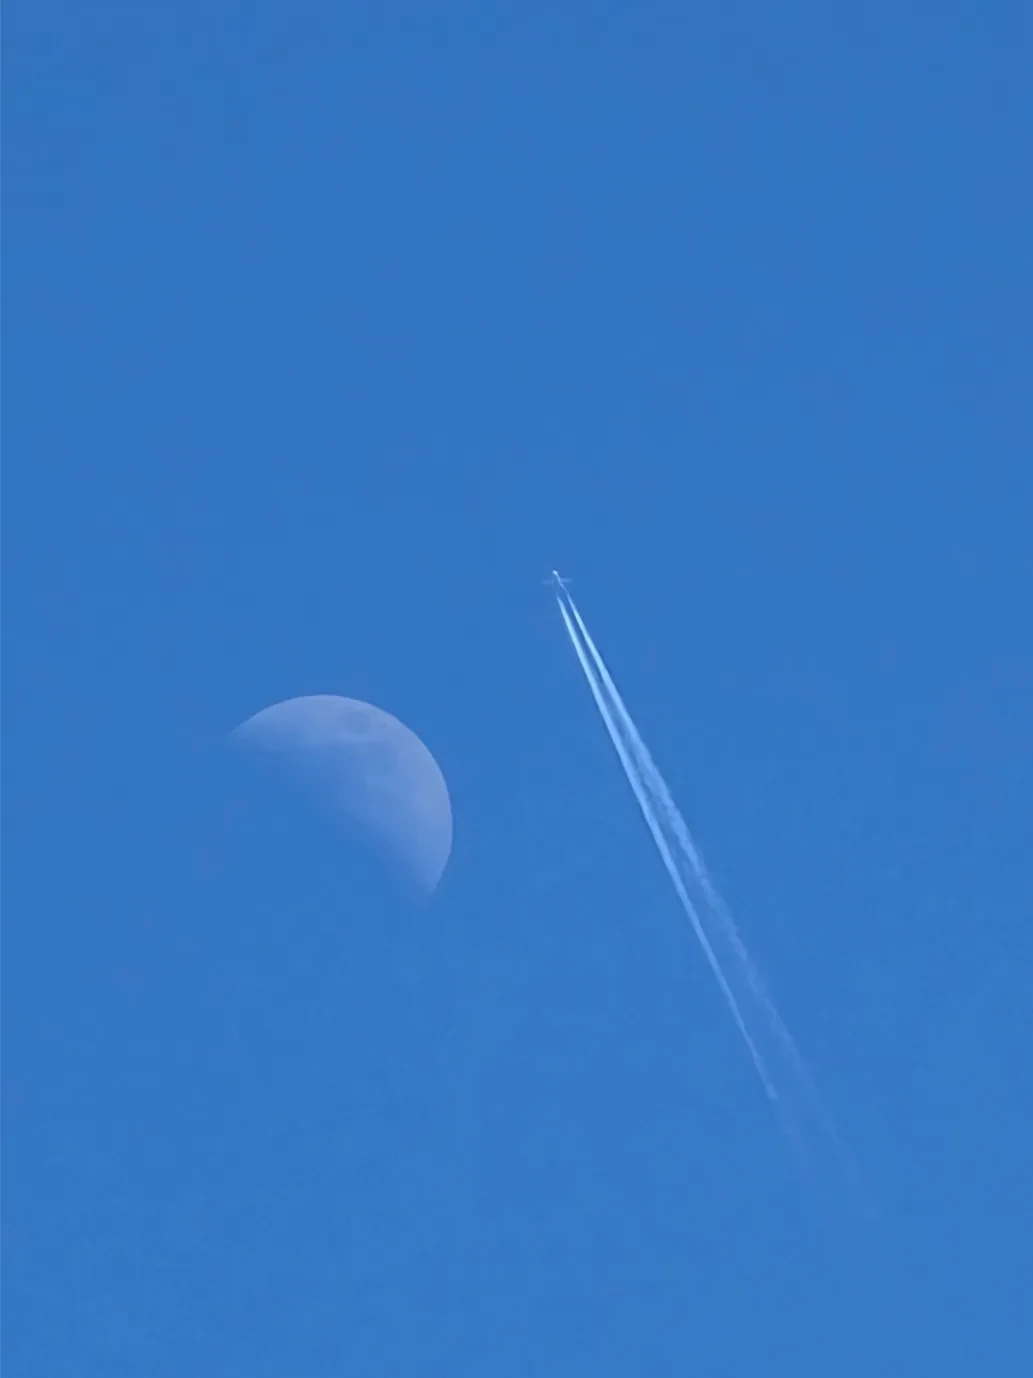
If you increase the exposure carefully, you may make out Earthshine on the part of the Moon in shadow, caused by reflected light from the Earth’s surface. However, the lit side will be totally overexposed.
You could even try to capture the changing face of a full Moon during a lunar eclipse, when the Moon falls in the shadow of Earth. Remember to set zoom and fix focus, then take photos every few minutes (or at longer intervals) and watch the Moon change in colour as it is increasingly covered by Earth’s shadow.
AI features on smartphones
You might take a photo of the Moon and be surprised at the amount of detail you’ve captured on the Moon’s surface. But a word of caution – beware of enhancements made by your smartphone without you knowing.
In recent years, smartphones have become increasingly ‘smart’ and are now packed with AI tools.
For example, Samsung’s ‘Moon AI' camera feature on certain Galaxy phones automatically detects when you’re taking a photo of the Moon and fills in details like its mare (the dark areas) and craters on the surface.
If you want to maintain full control of your Moon photos, switch off AI features in your phone settings. Or, enjoy the photos of the Moon produced by you and your smartphone!

Phone photography accessories


More space and astronomy
Astronomy with the naked eye
Learn what you could see in the night sky with no equipment from the Royal Observatory Greenwich; from galaxies and meteor showers to comets, star clusters, cloud formations and more
Meteor shower guide 2026
Want to see shooting stars? Check the key dates for major meteor showers in the UK in 2026, and how to see them in the night sky
What are the Pleiades?
Take a closer look at the Pleiades, an extremely hot cluster of young stars. Also known as the 'Seven Sisters' or M45, this stellar family has been the subject of numerous myths in cultures worldwide
Astronomy blog
Read our monthly guides to the night sky, and check out the latest news from the Royal Observatory Greenwich astronomy team
Full Moon calendar 2026
Check the dates for every full Moon throughout the year, learn about the Moon's phases, 'supermoons' and more
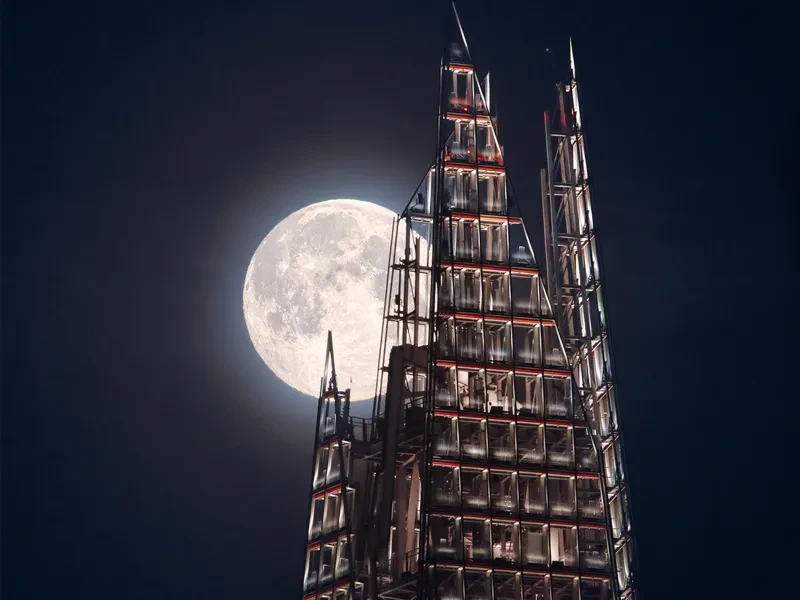
What is a supermoon?
Everything you need to know about this natural phenomenon – including how to photograph a supermoon, and when we can next expect to see one
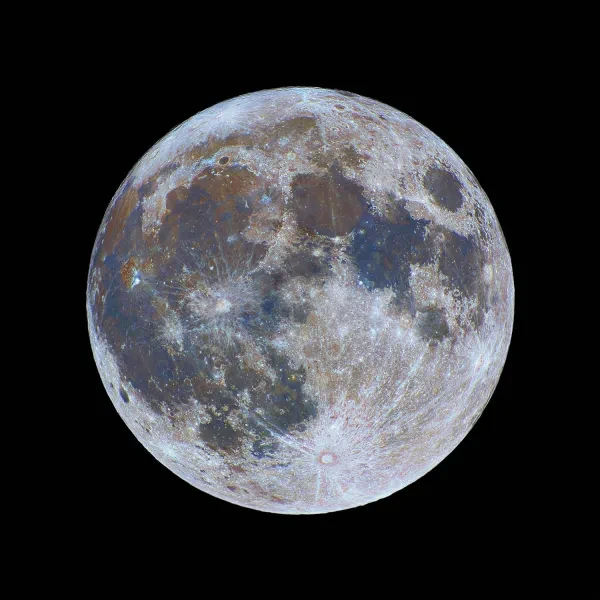
Everything you've ever wanted to know about the Moon
The Moon is Earth's most familiar companion, the closest astronomical object to the Earth. No other planet has a satellite as large in comparison to its own size
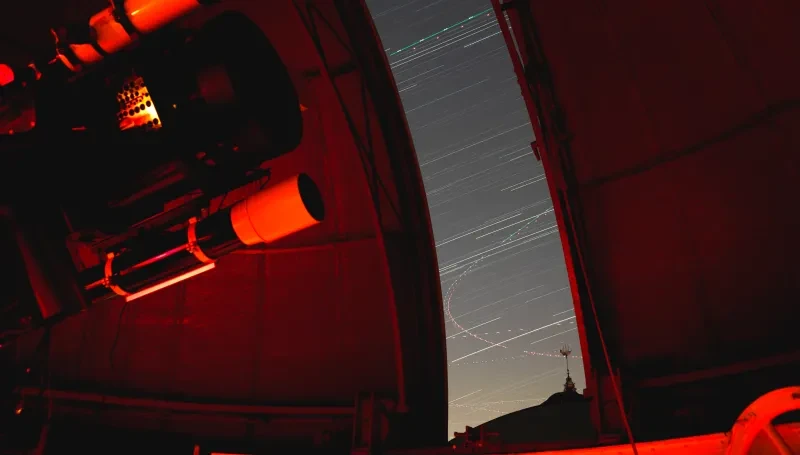
Photographing the Universe from the Royal Observatory: past and present
Royal Observatory astronomers are photographing the skies from historic buildings, continuing a long history of astrophotography at Greenwich
Header image by Burak The Weekender on Pexels