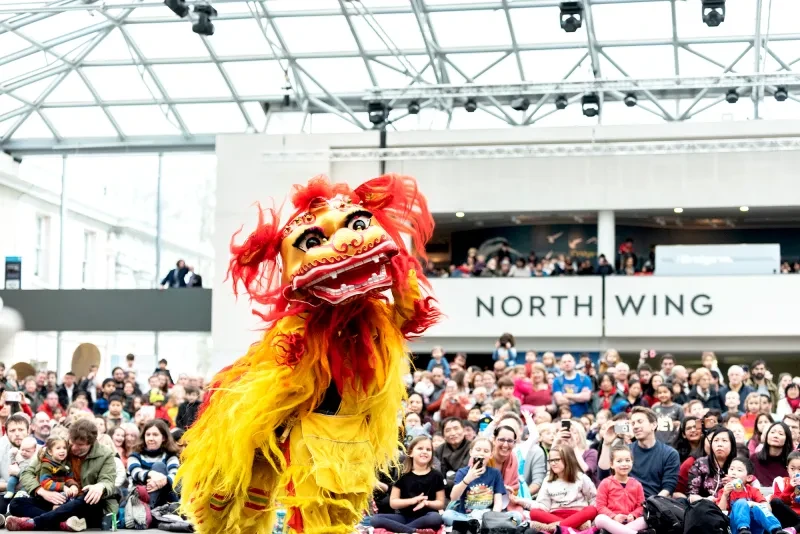
Many cultures celebrate the Lunar New Year and for some, this includes the giving of red envelopes.
In Mandarin, these are called Hong Bao, but other languages have different names for them.
| Cantonese | Lai see |
| Vietnam | Li xi |
| Cambodia | ang pav or tae ea |
| Philippines (Chinese Filipino) | Ang pao |
In China, the envelopes are traditionally given to children and young adults as a gift. The envelopes are red to symbolise good fortune and prosperity for the coming year, and traditionally contain money.
Variations on the red envelope
However, other countries have variations to this tradition.
In South Korea, for instance, the envelopes are white. In Japan they may be white or they may be decorated.
The origins of the Hong Bao
It is not known where or how the tradition began, but it may date back to a Qin-Dynasty (221 - 206 BC) custom where coins were threaded together on red string to ward off sickness.
Another story tells how a demon would visit the homes of children on New Year's Eve and touch their forehead three times, making the child very poorly. One New Year's Eve, two parents gave their child eight coins wrapped in red paper to play with, hoping this would keep the child awake through the night and protect them from the Demon. When the Demon entered the room and tried to touch the child's forehead, bright light came from the envelope and scared the Demon away. The story spread through the village and from then on, families wrapped coins in red paper on New Year's Eve to protect their children.
Spreading the envelope-giving custom
More recently, the custom of giving envelopes has been taken on by other cultures.
For instance, Malay Muslims in Malaysia, Brunei, Singapore and Indonesia give out green envelopes for Eid al-Fitr. In Singapore and Malaysia, the local population give out purple envelopes for Deepavali.
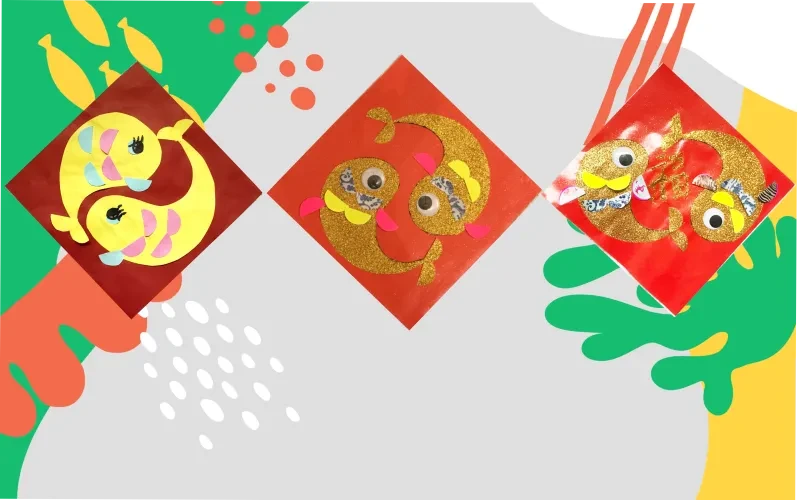
In this activity, try your hand at some simple origami (paper folding) to create your own red envelope inspired by the hong bao.
Image
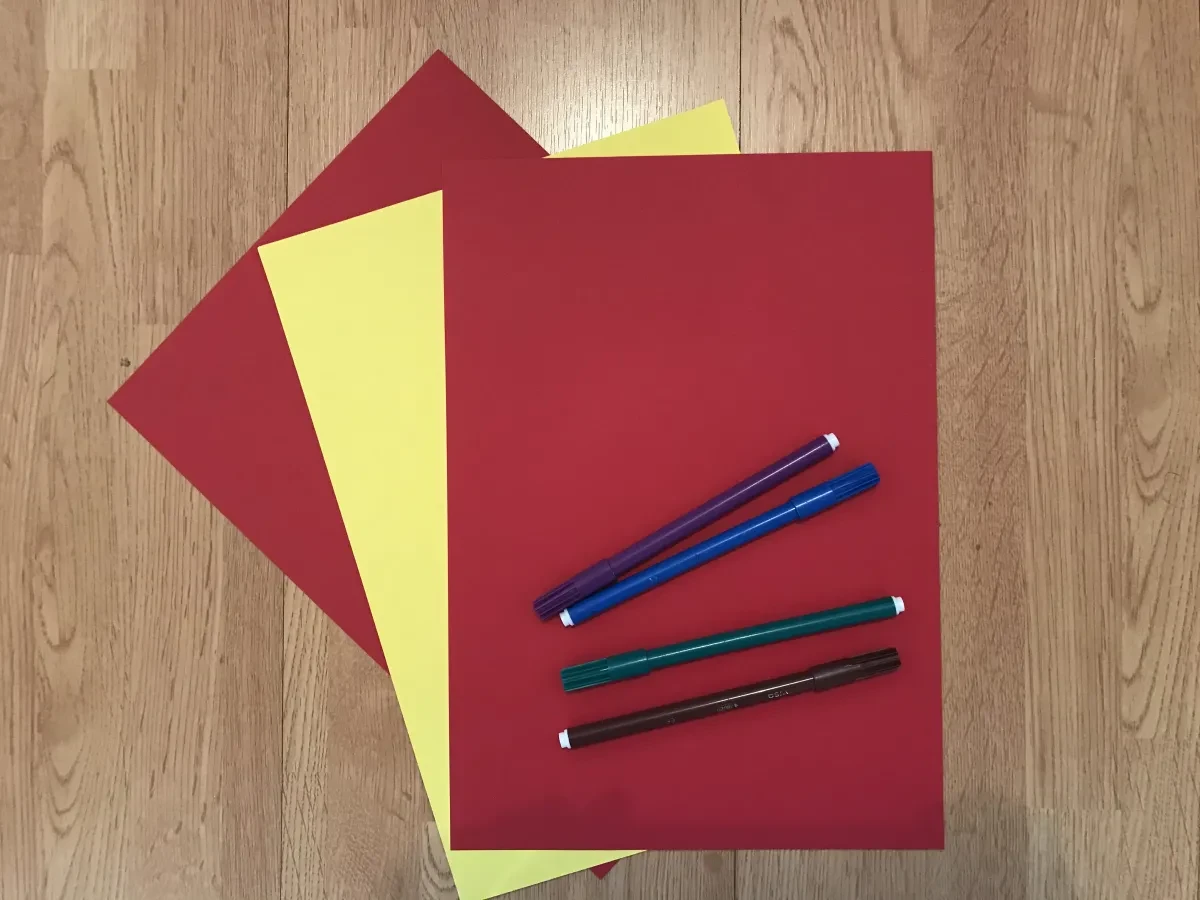
You will need:
Three pieces of paper in two colours. We have used red and yellow, but you can use any colours
Optional – pencils, pens or crayons to decorate
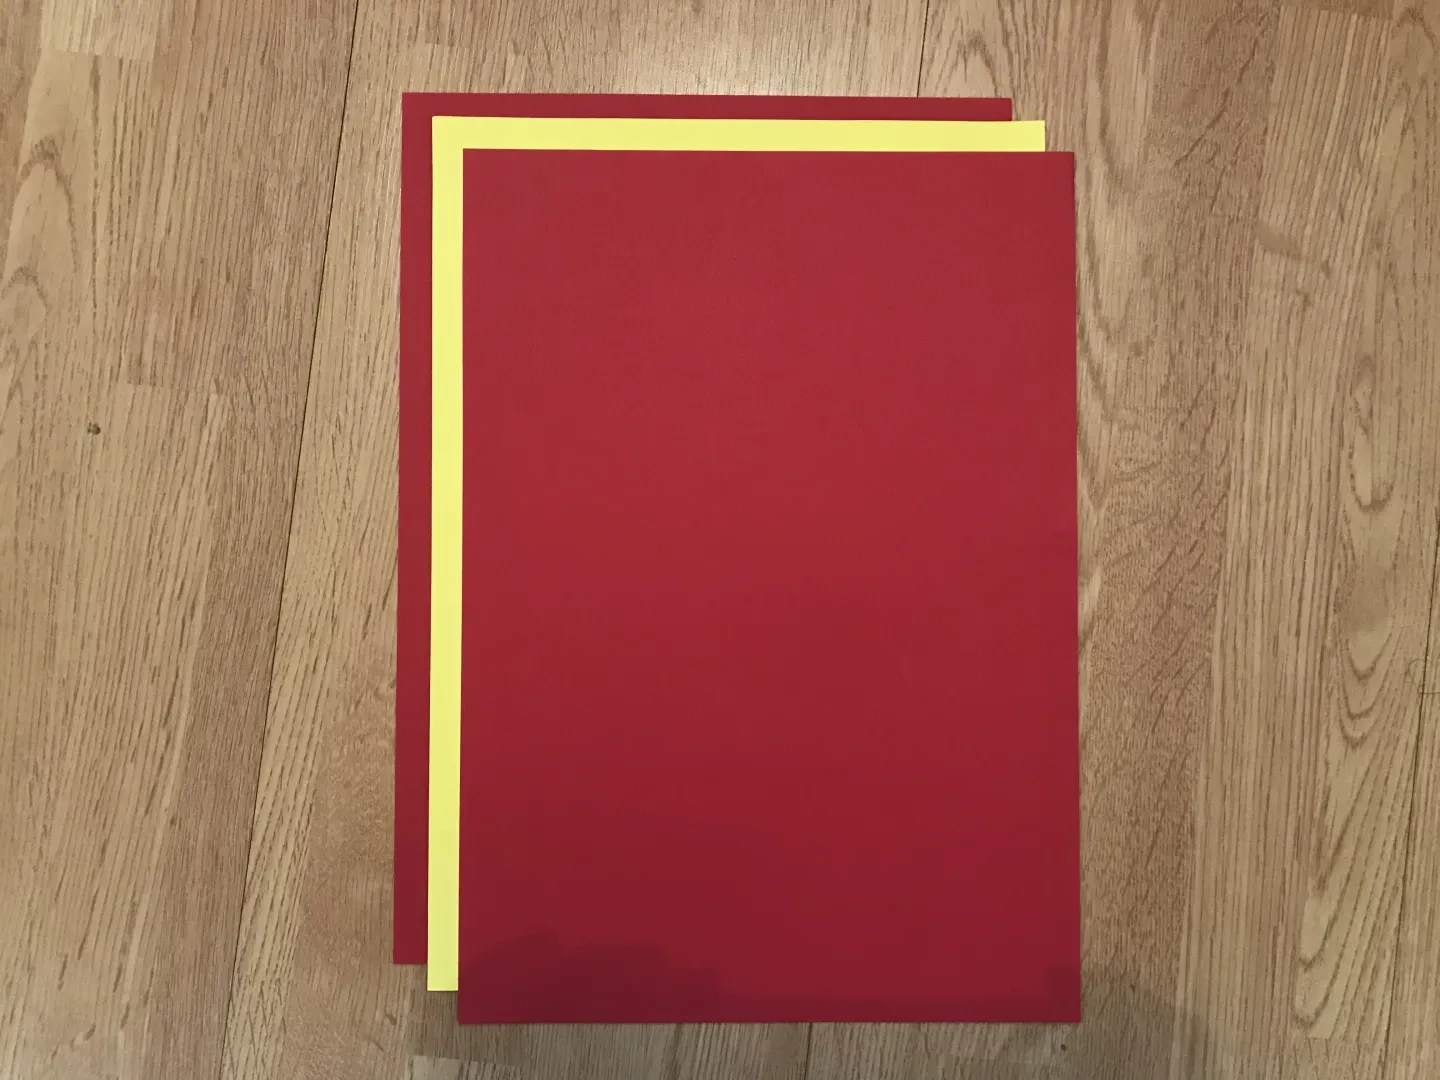
Step 1:
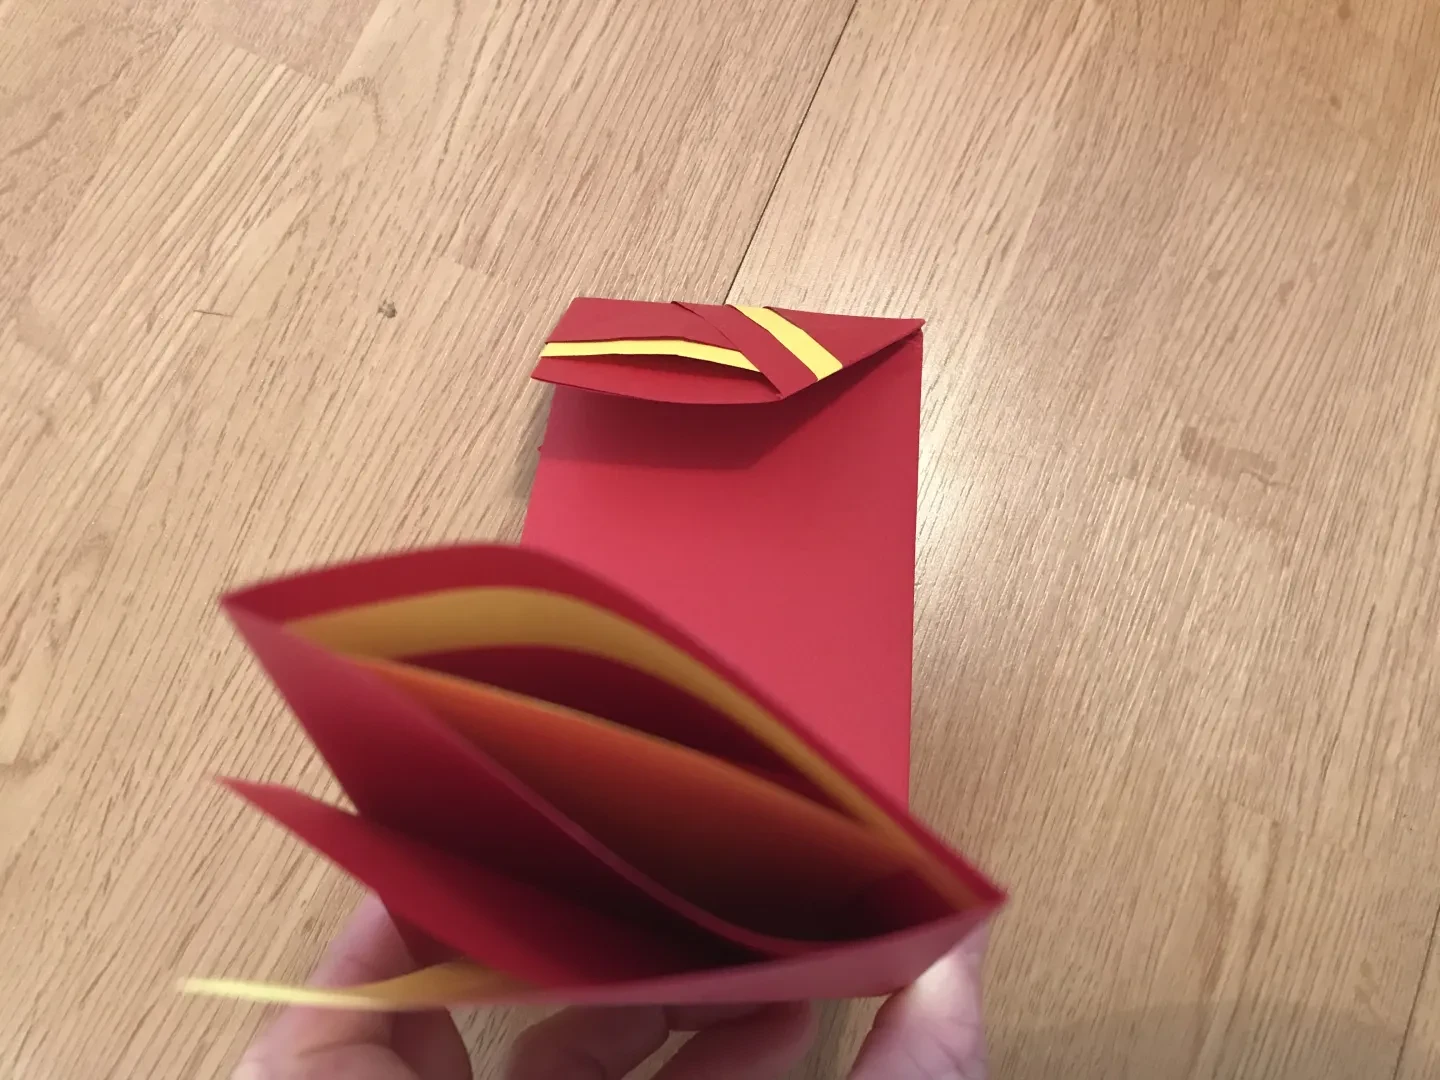
Line up your three pieces of paper, one on top of other, portrait style (with the shorter ends at the top and bottom). Each piece should be around 1cm from the top and edge of the piece of paper behind it.
Step 2:
Fold all three pieces of paper at the same time along the long edge.
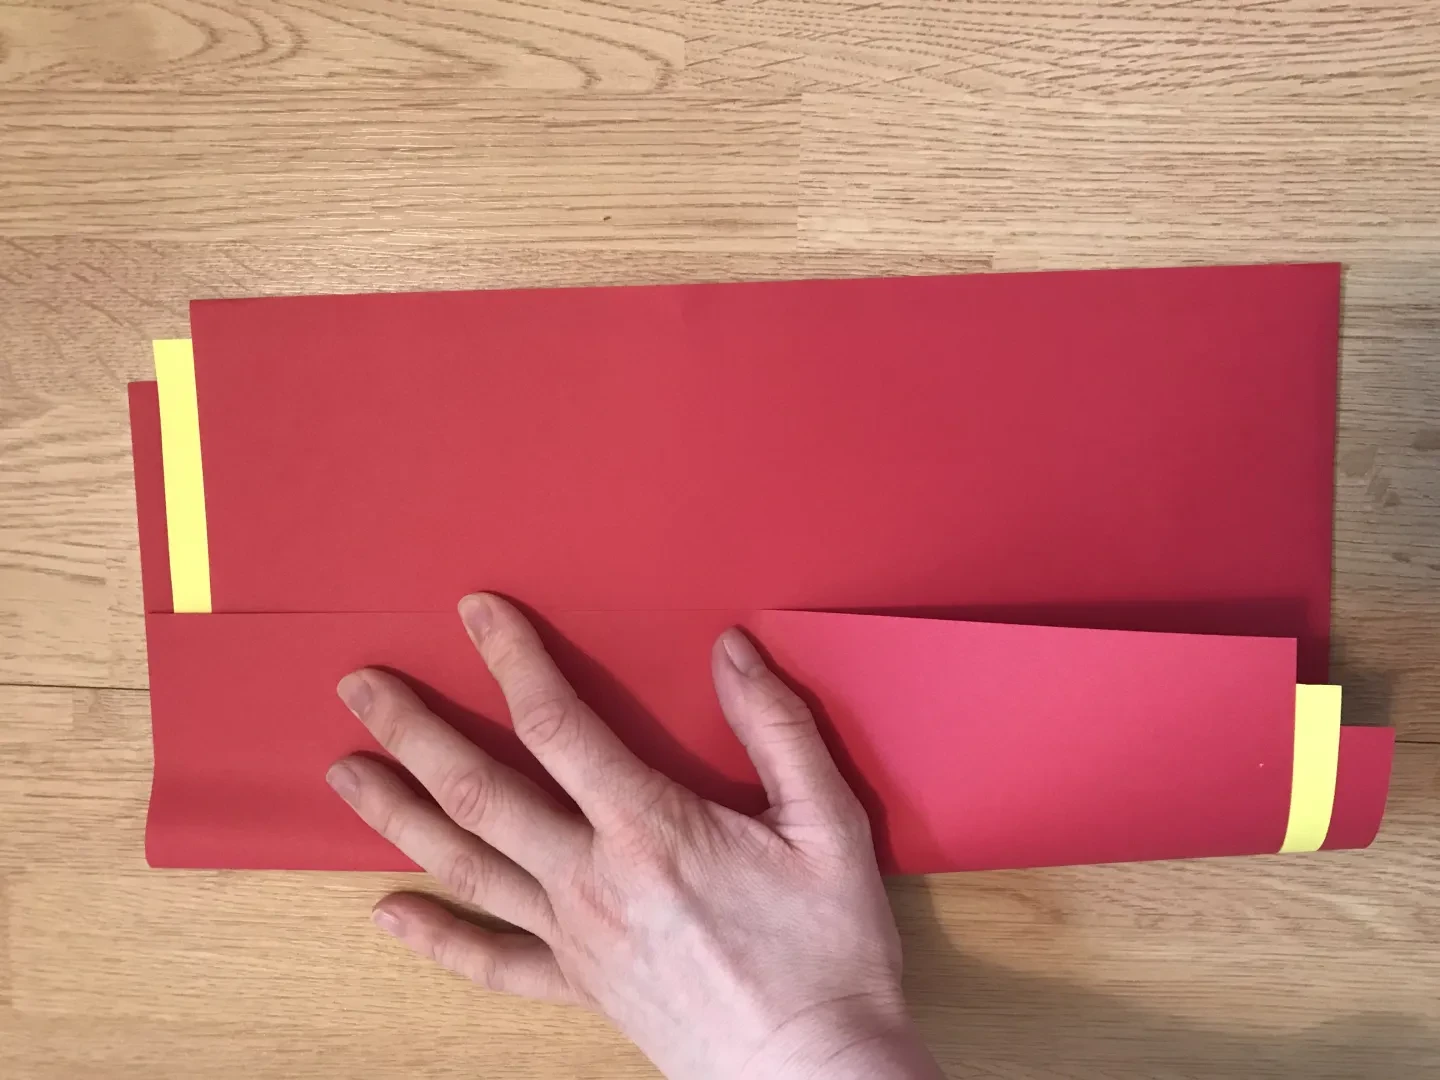
Step 3:
Now select all three pieces along the other long edge, and fold them over to meet the other side, folding your paper into thirds.
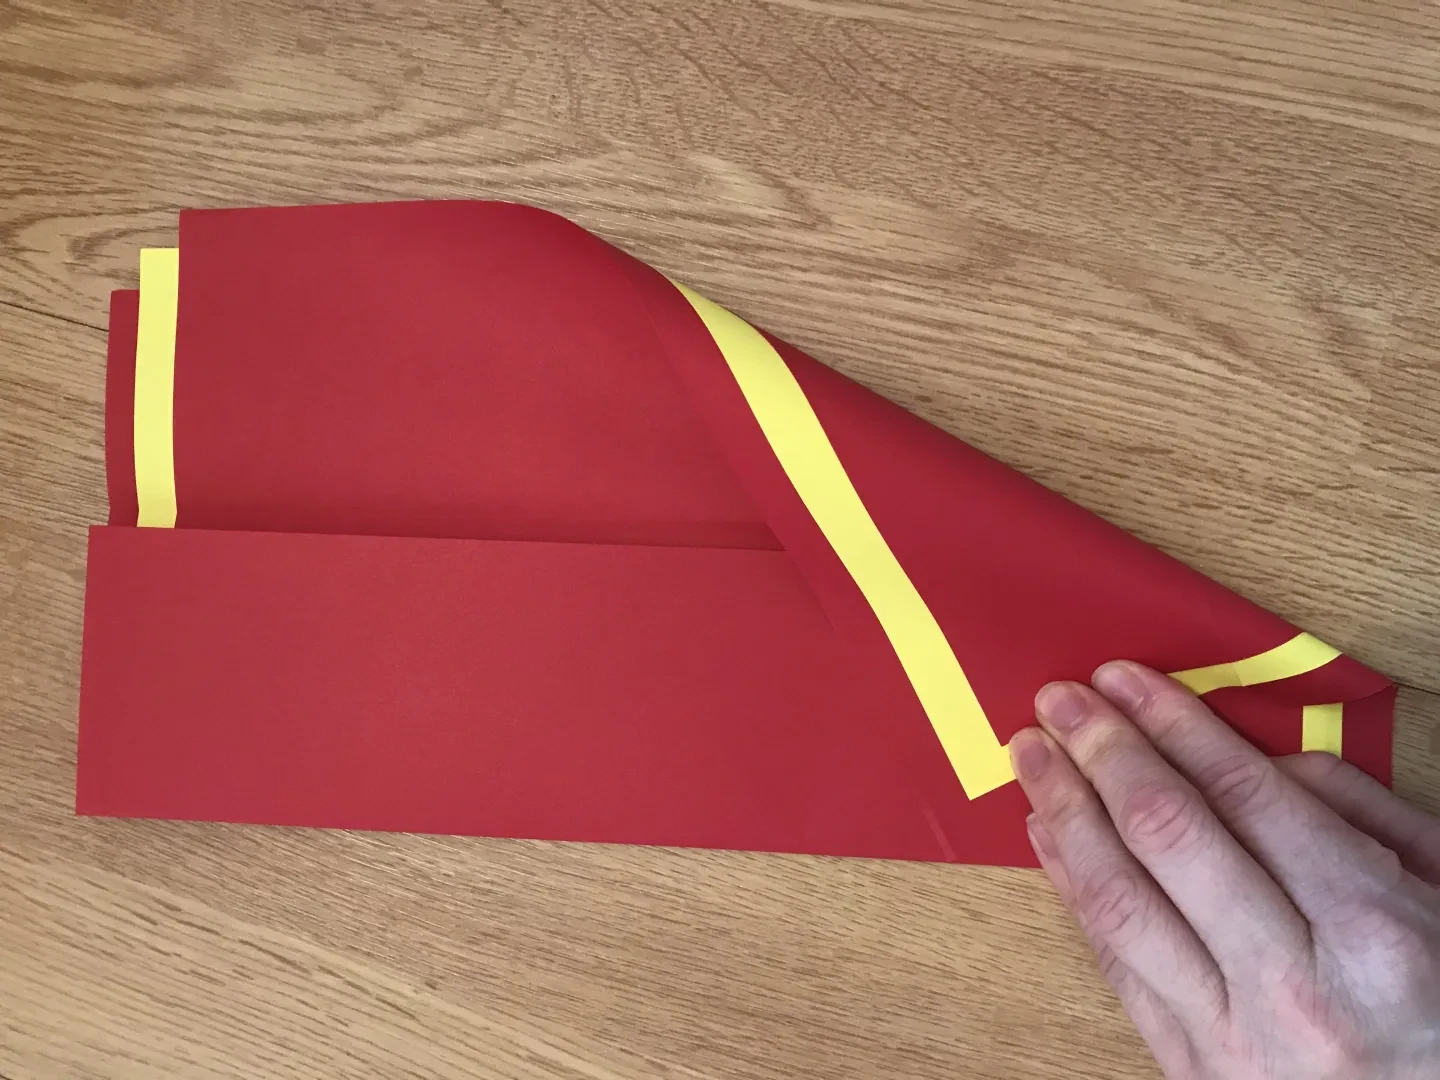
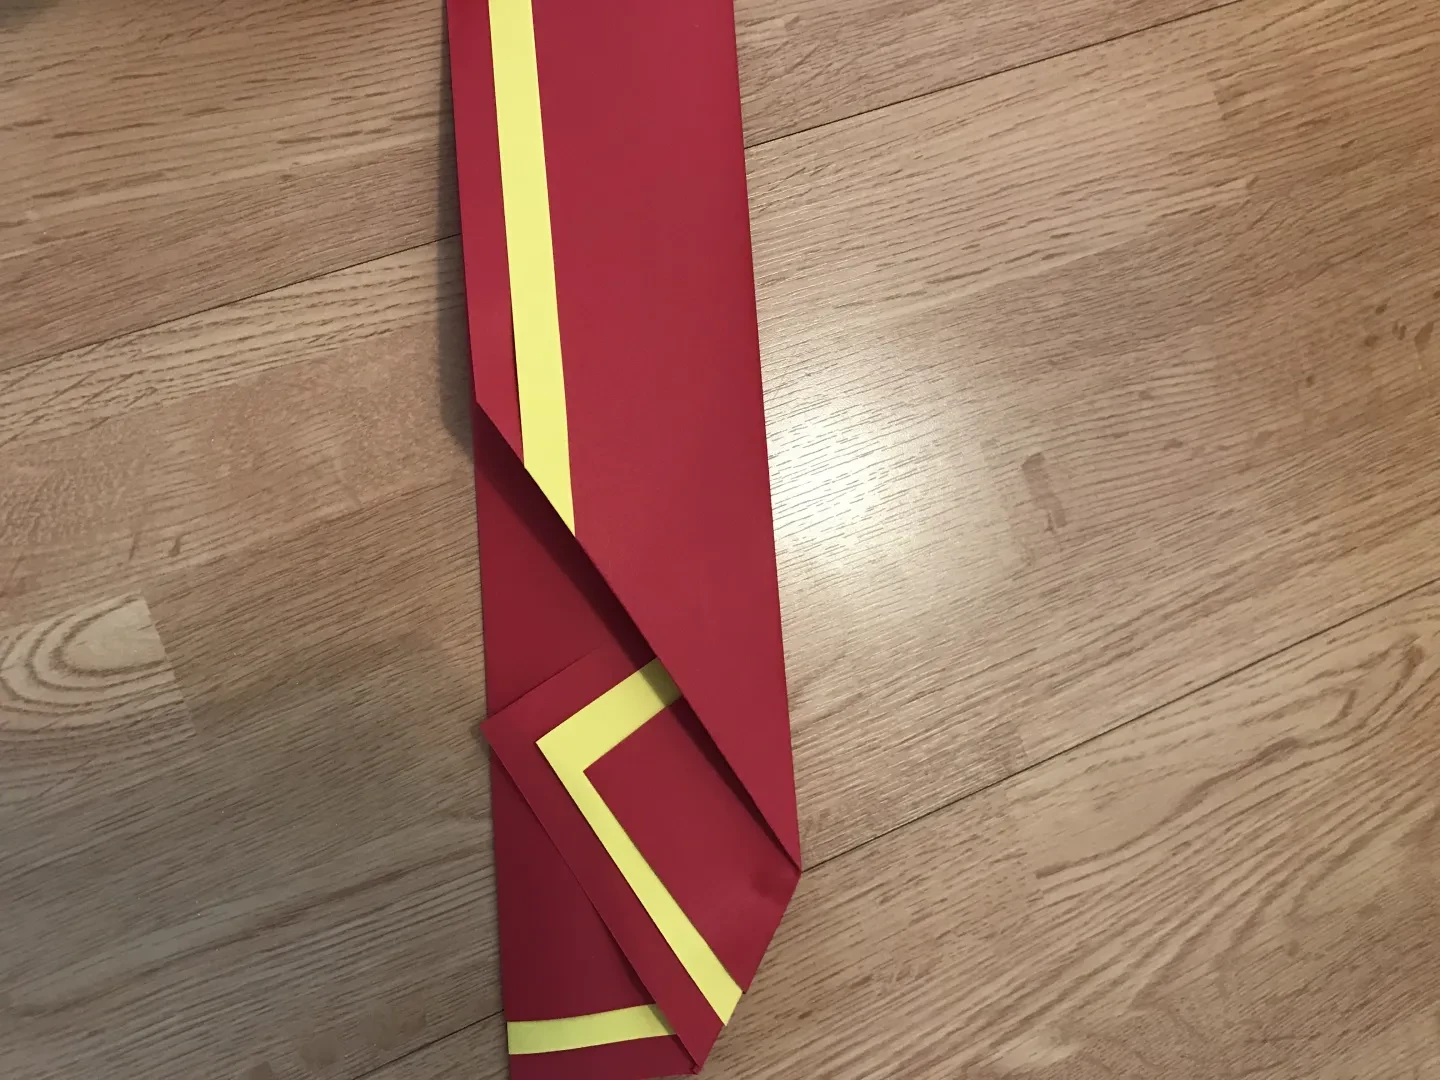
Step 4:
Undo your previous fold, leaving a crease. Take the bottom corner and fold it across to meet the long folded edge from step 2. Make sure you press down hard on your fold to keep it sharp.
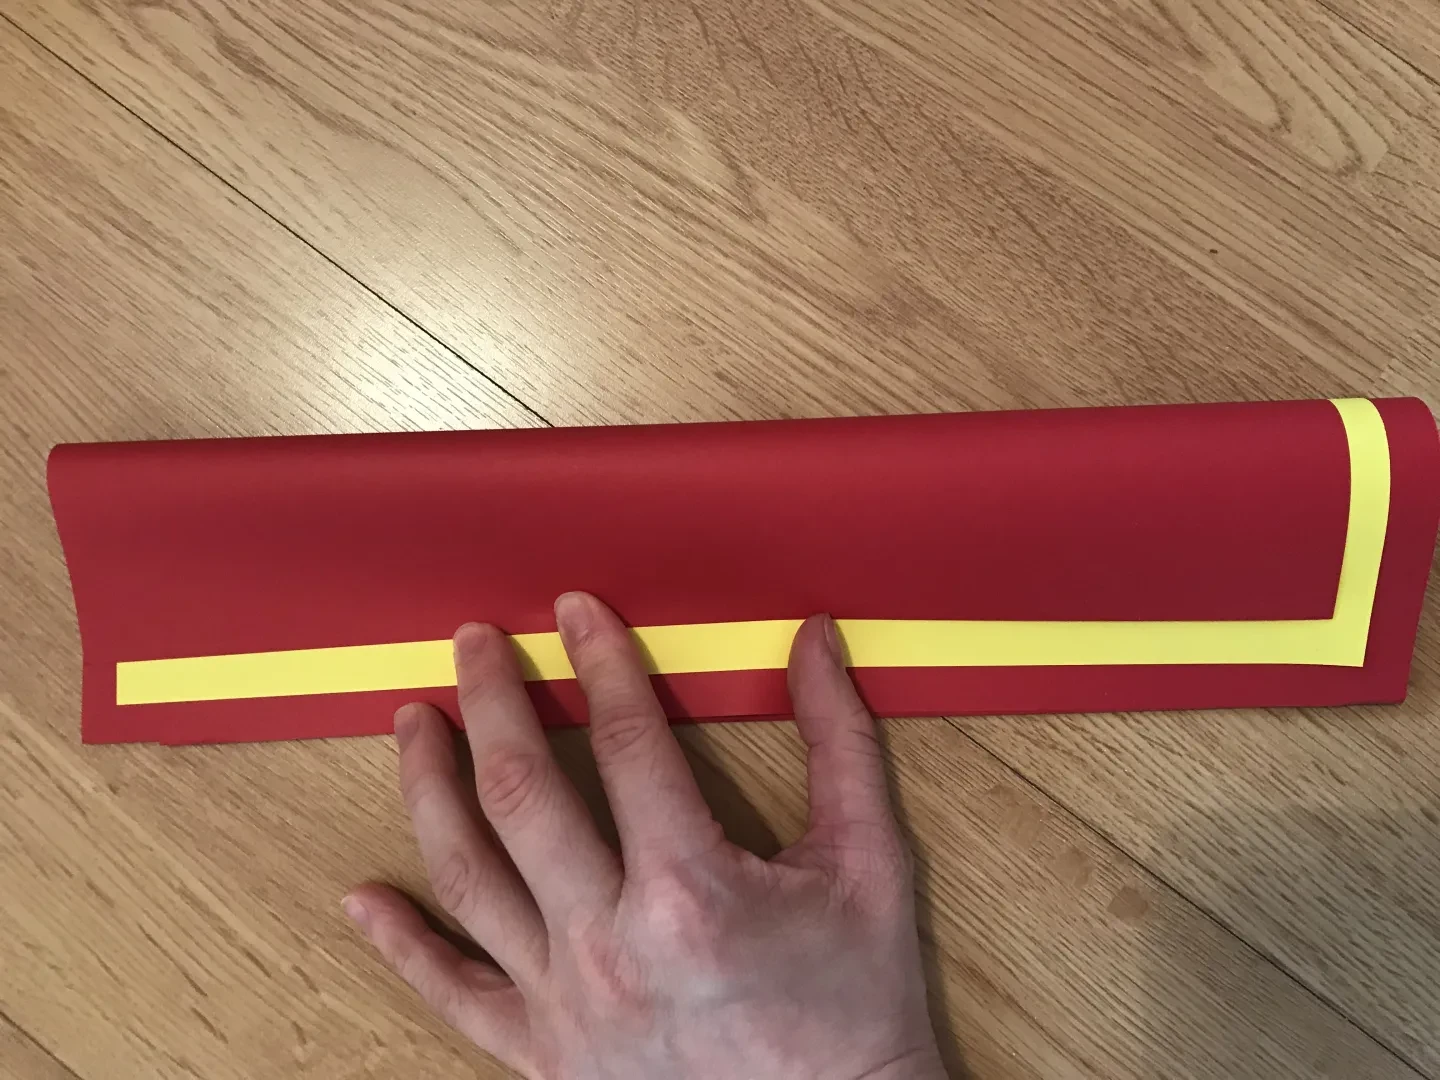
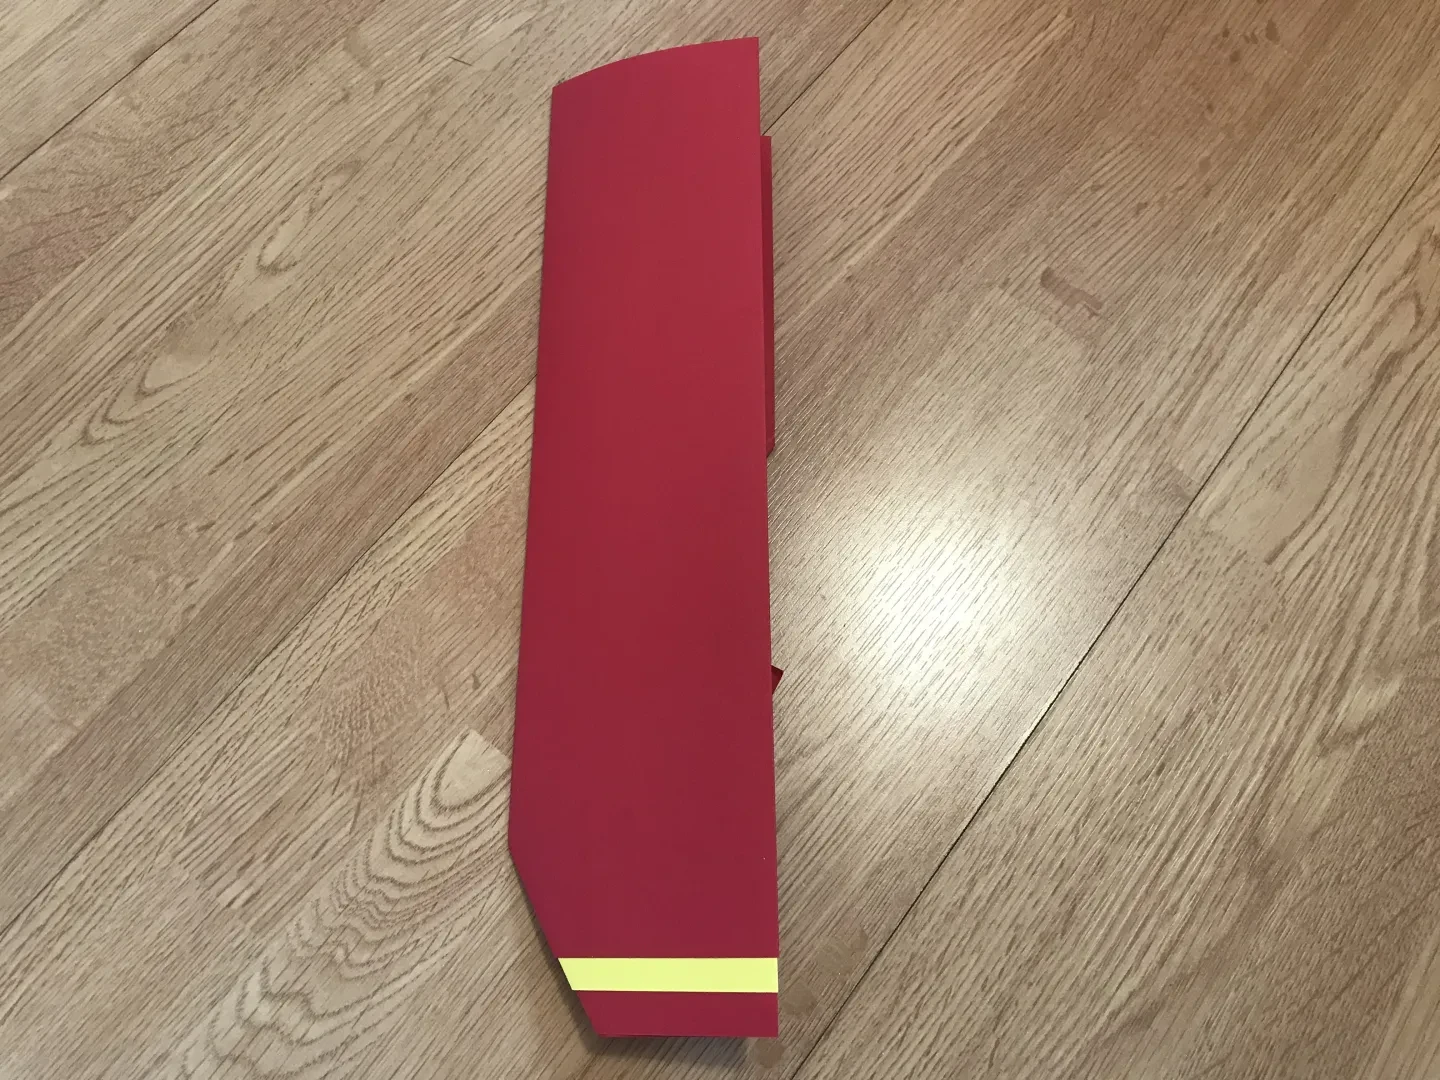
Step 5:
Refold your paper along the crease that you created in step 3.
Step 6:
Turn your project over so you are looking at the back.
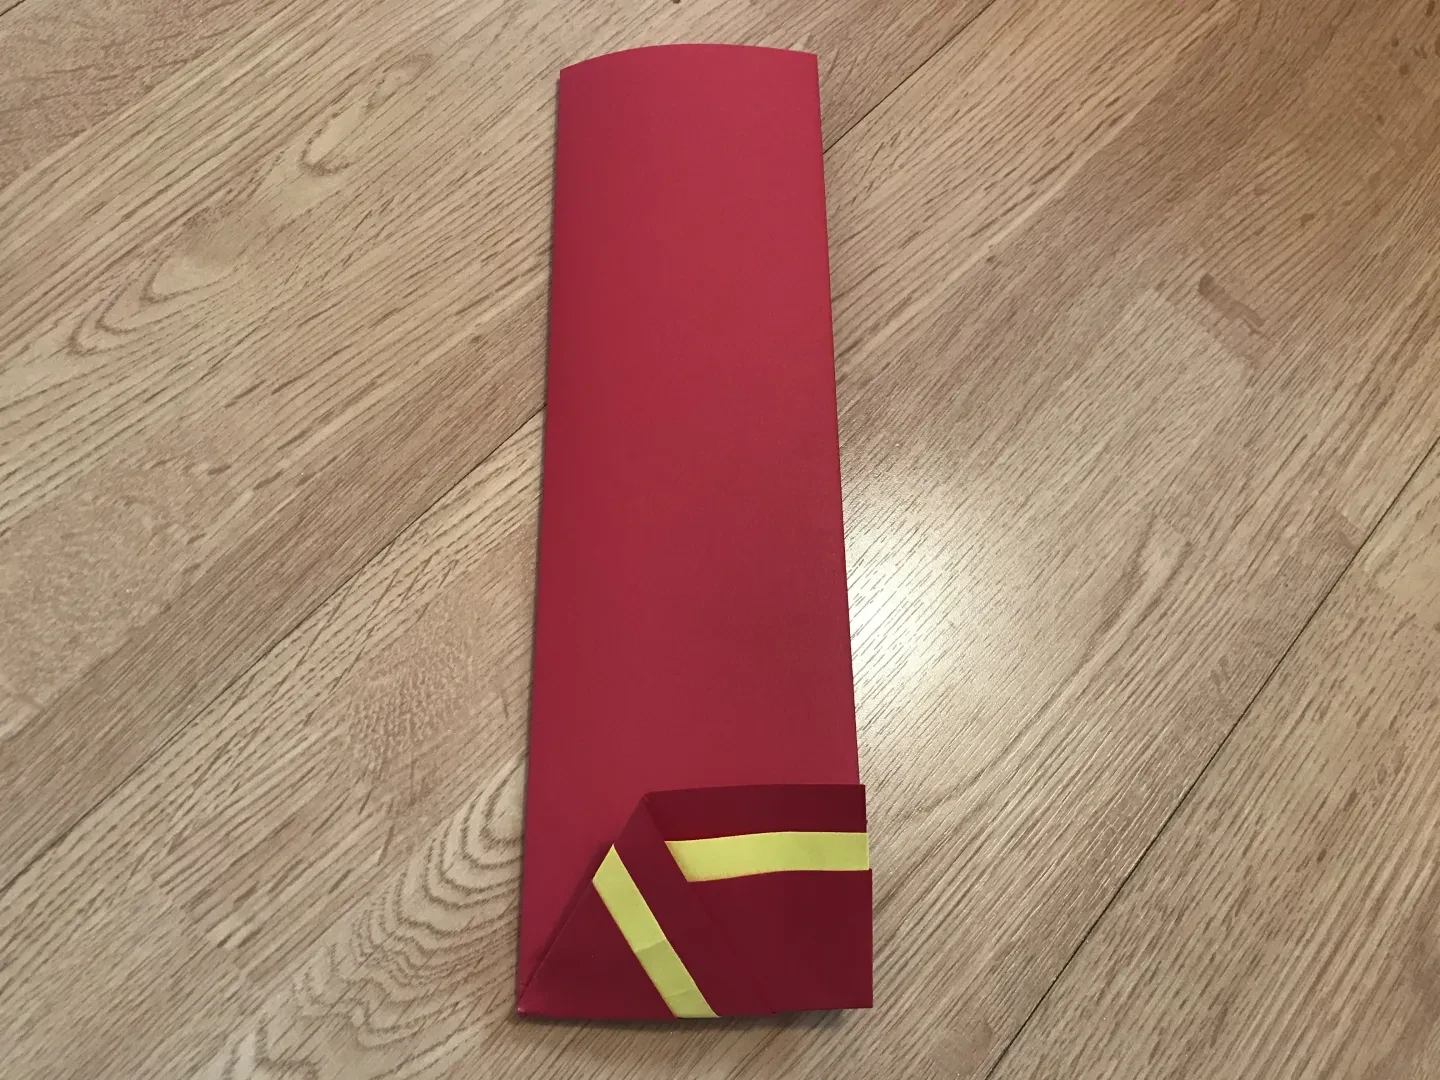
Step 7:
Take the bottom edge and fold it up. You should be able to see the pattern more clearly.
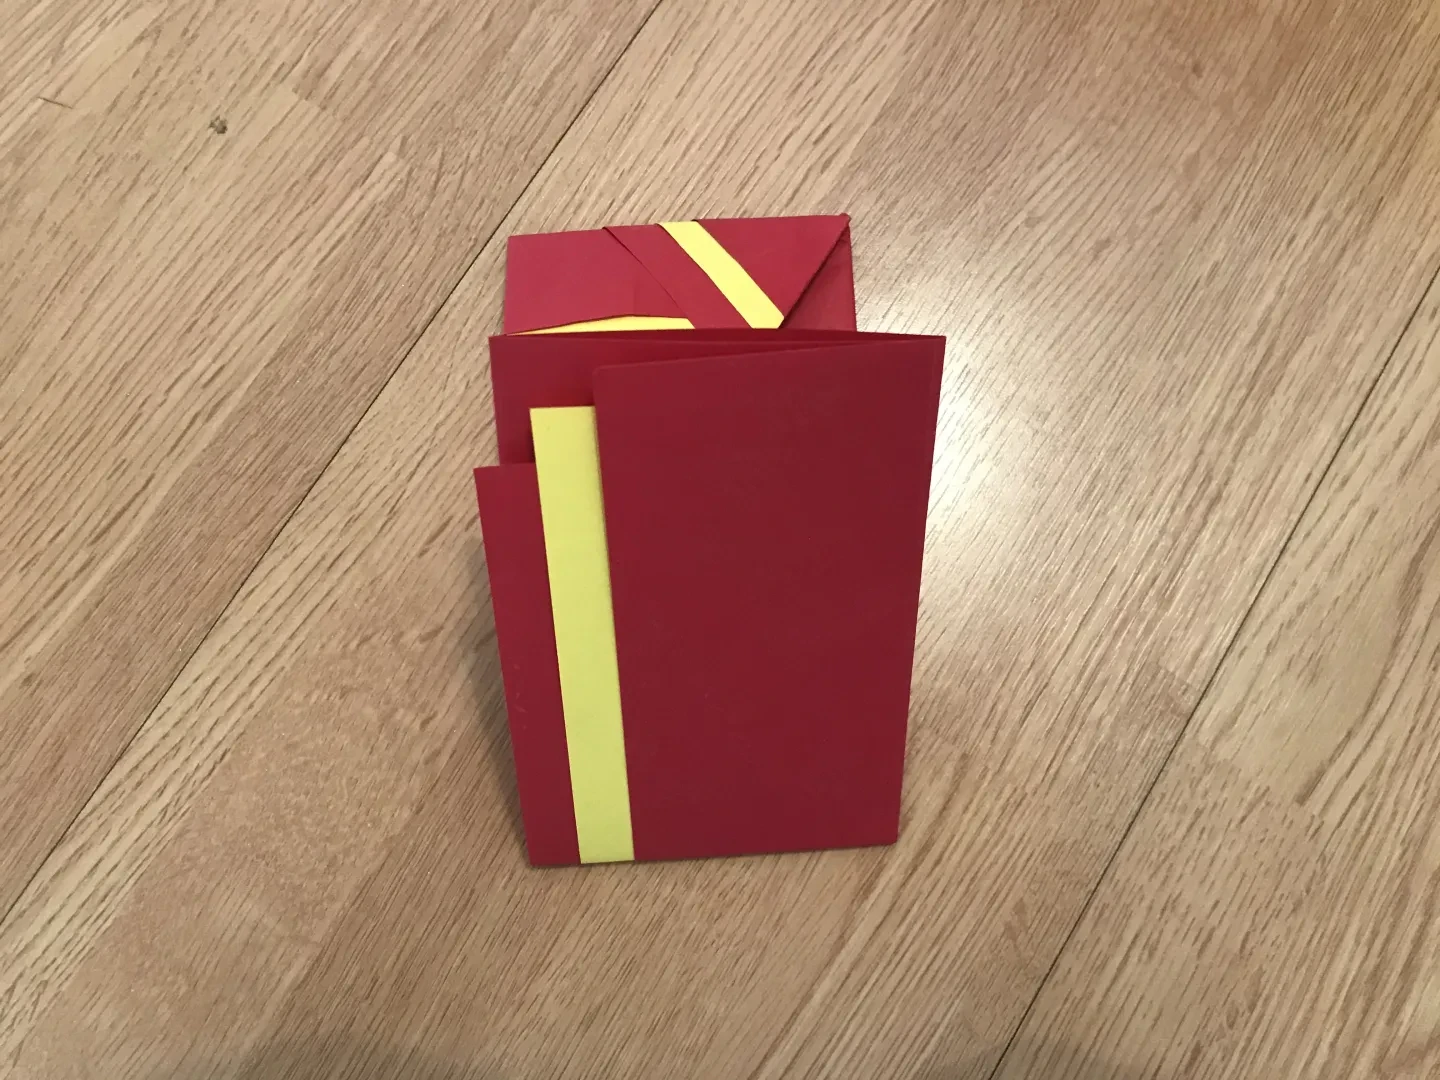
Step 8:
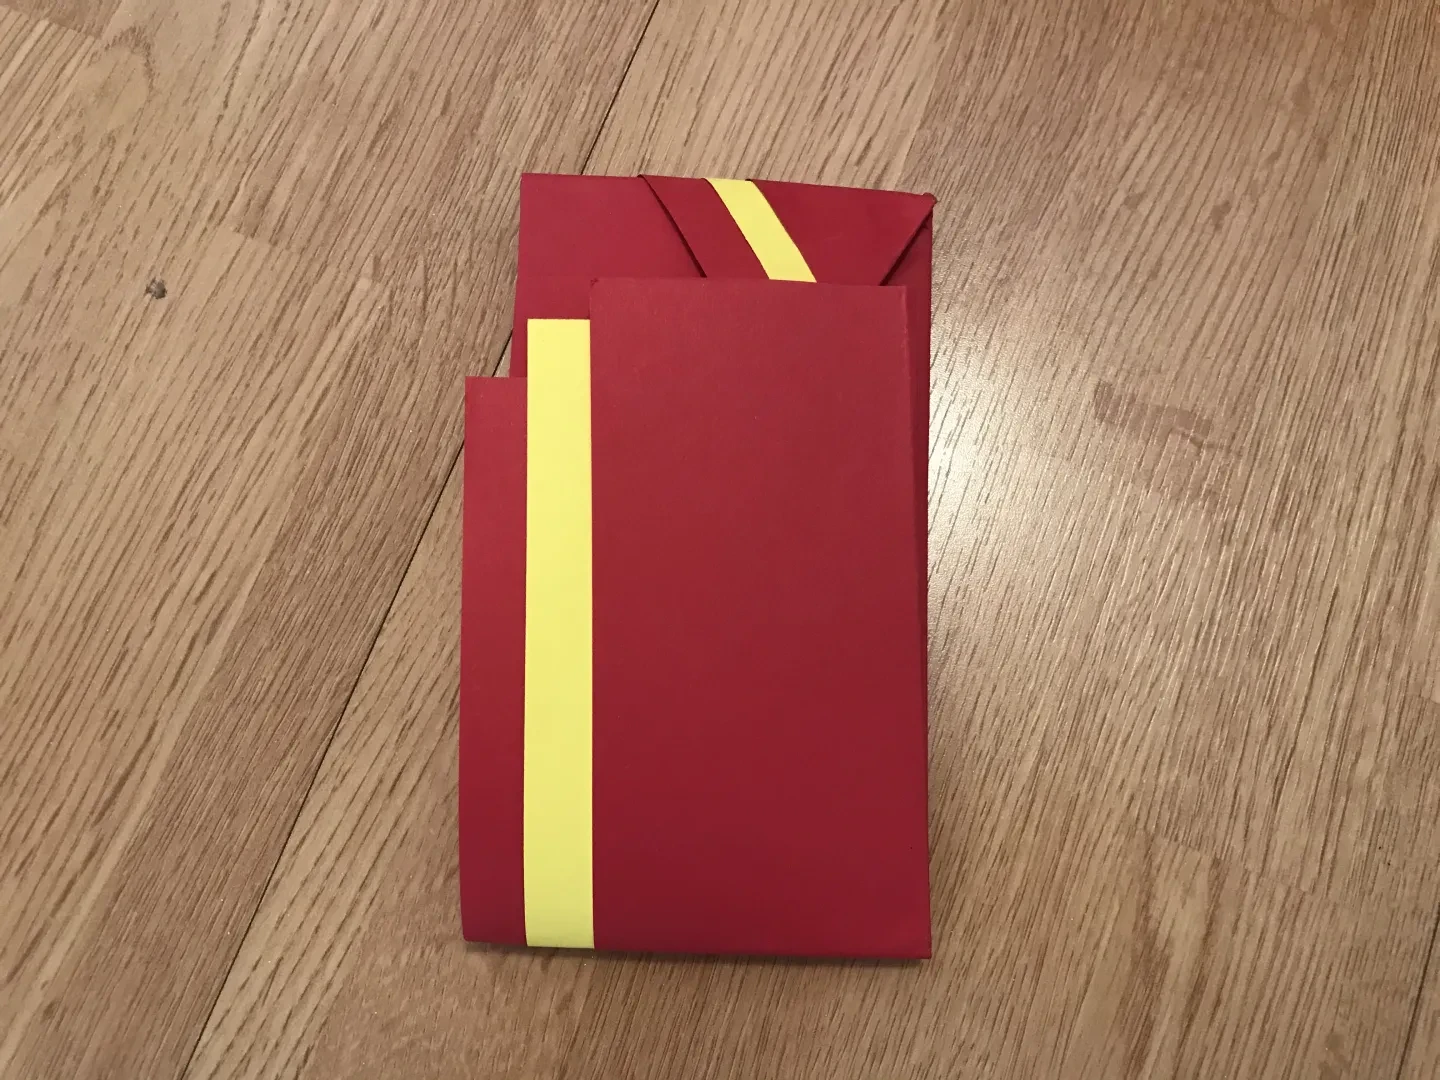
Fold the other end over to meet the end of the fold you just created.
Step 9:
Look at the end that you just folded. You should be able to see a hole.
Step 10:
Tuck the short folded end, into the hole you just found. Press down on all the edges to keep the folds sharp.
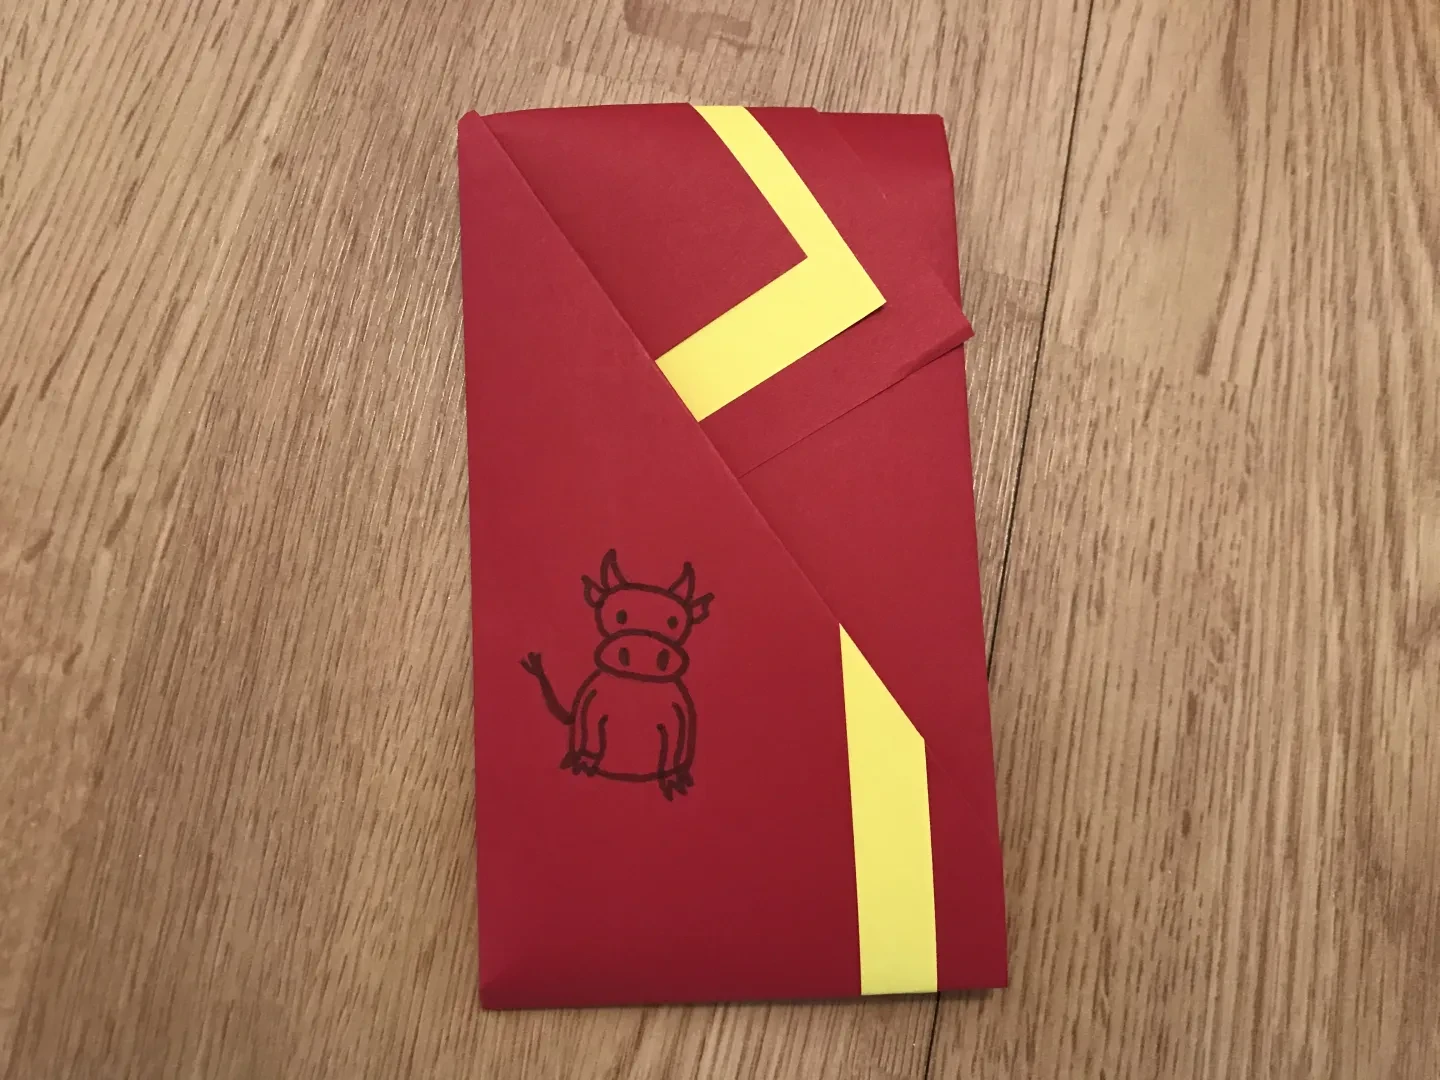
Step 11:
Turn your envelope over and add some decoration. We've drawn a small ox on ours inspired by the ox in the zodiac. You could draw or decorate it with anything that inspires you.
Fill your hong bao
To add a gift to your hong bao, unfold everything and return to step 1. Place your flat gift in the centre and redo the folds around it.
Celebrate with us